Every week, we provide you with a new and free Divi layout pack which you can use for your next project. Along with every layout pack, we also share a use case that’ll help you take your website to the next level.
This week, as part of our ongoing Divi design initiative, we’re going to show you how to make social follow icons show up right after someone has requested early access on the coming soon page of the software marketing layout pack. This is a great way to promote your product or service even before you’ve put it out there.
Sneak Peek
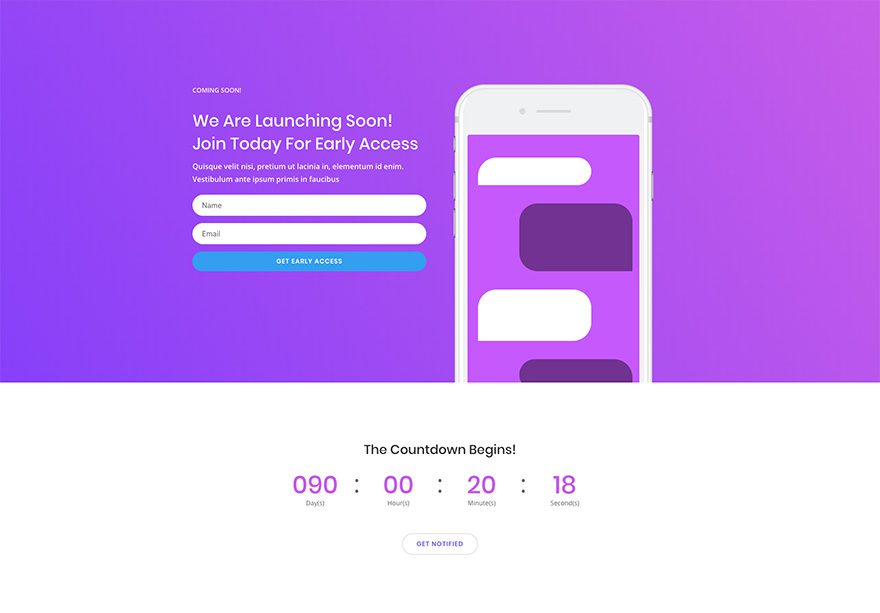
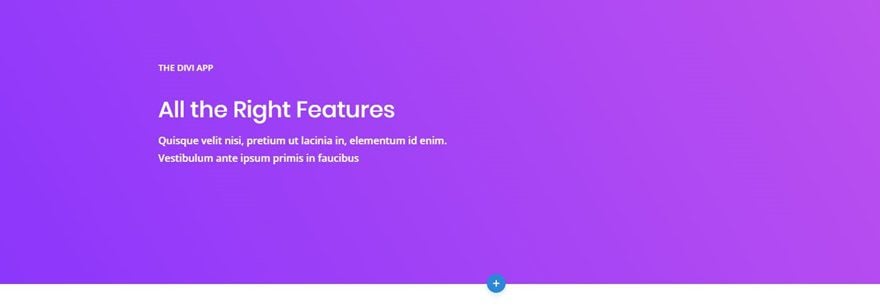
Before requesting early access on the coming soon page, the following layout is used:
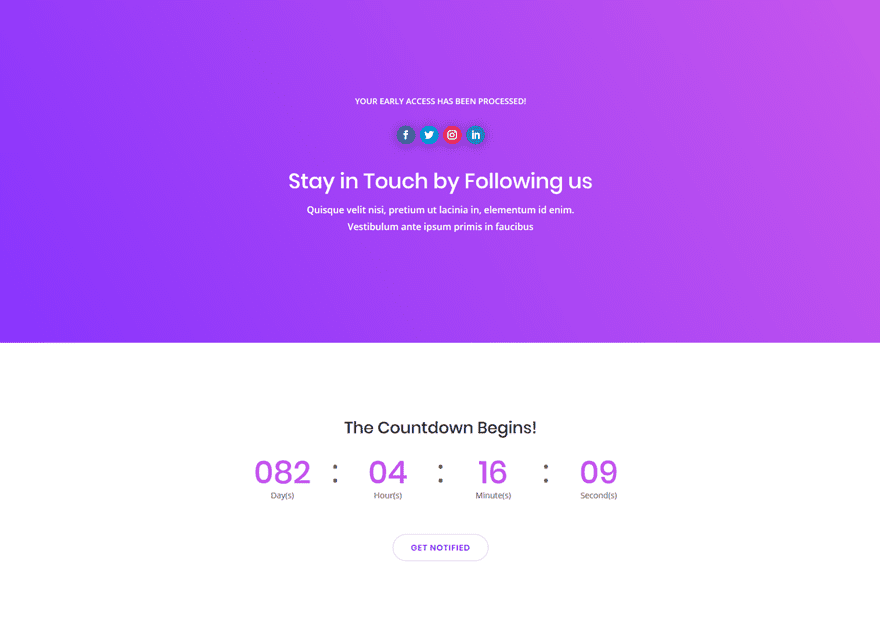
Without changing anything visually about the coming soon page, the following (redirect) page will open once someone requests early access through the email optin form:
The process, in its total, looks like this:

Part 1: Make Your Coming Soon Page Functional
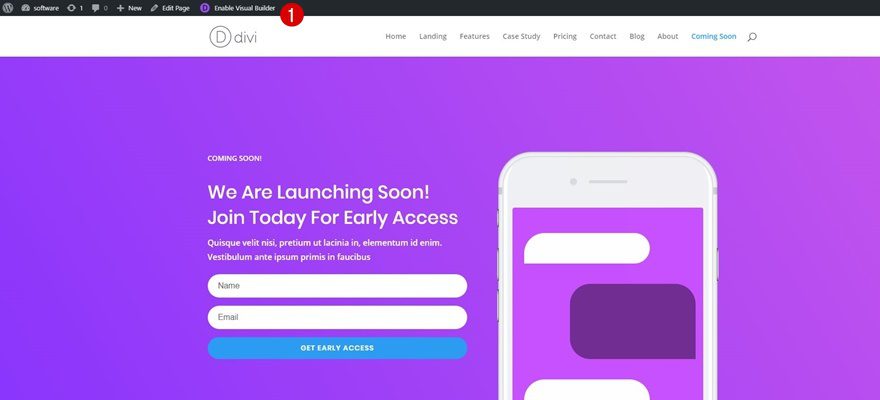
Step 1: Open Coming Soon Page with Visual Builder
The first thing you will need to do is create a page using the coming soon page from the software marketing layout pack. Once you do that, enable the Visual Builder on that page.
Step 2: Add Service Provider to the Email Optin Module
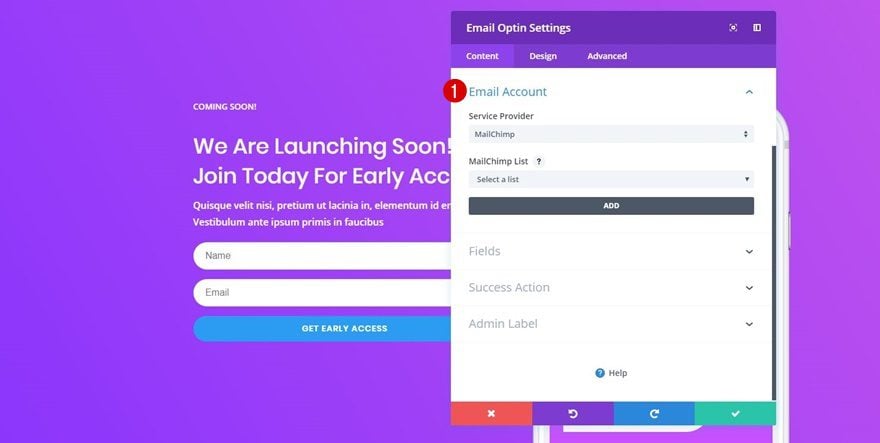
One of the modules that is part of this layout is the Email Optin Module. To continue using this module, you’ll have to add an email account to it using your service provider of choice.
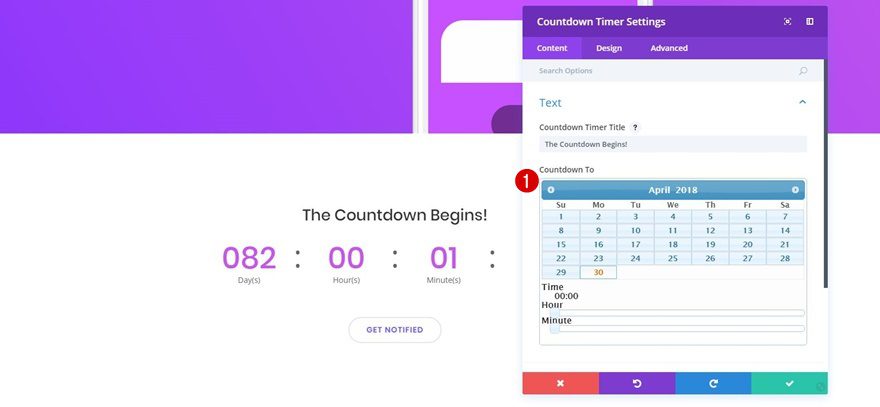
Step 3: Change ‘Countdown to’ of Countdown Timer
Next, scroll down your page and add the countdown date that matches your launching date to have a fully accurate coming soon page.
Part 2: Create Redirect Page
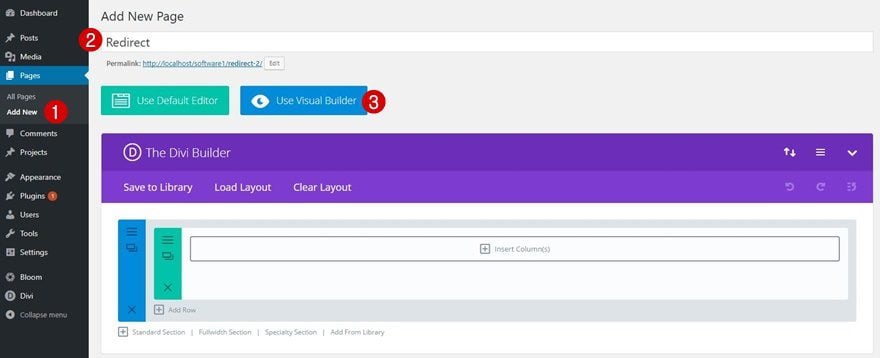
Step 1: Create a New Page, Enable Divi Builder & Switch Over to Visual Builder
After making these small modifications to the coming soon page, you’ll have to create another page which will be used as the page your visitors get redirected to after subscribing to the Email Optin Module of your coming soon page. Use whatever page title you want for this page, enable the Divi Builder and switch over to Visual Builder right away.
Step 2: Use Coming Soon Layout
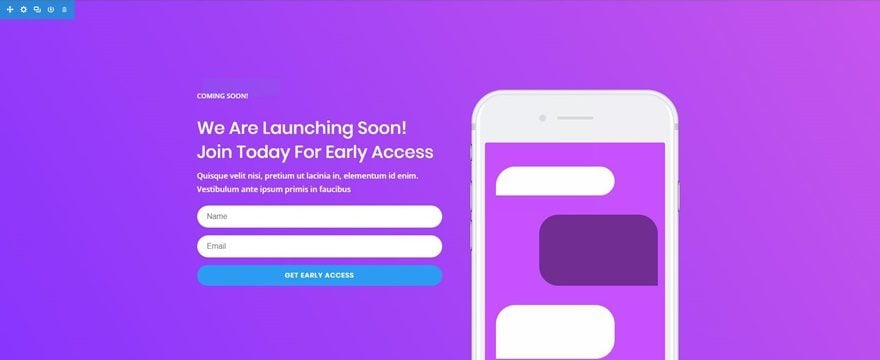
We don’t necessarily want people to know that they’re being redirected to another page. That’s why, for most of the page, we’re going to reuse the coming soon layout of the software marketing layout pack. If you’re uploading the coming soon pack from the premade layouts in your library, make sure you change the countdown timer once again.
Step 3: Remove Current Row in Hero Section
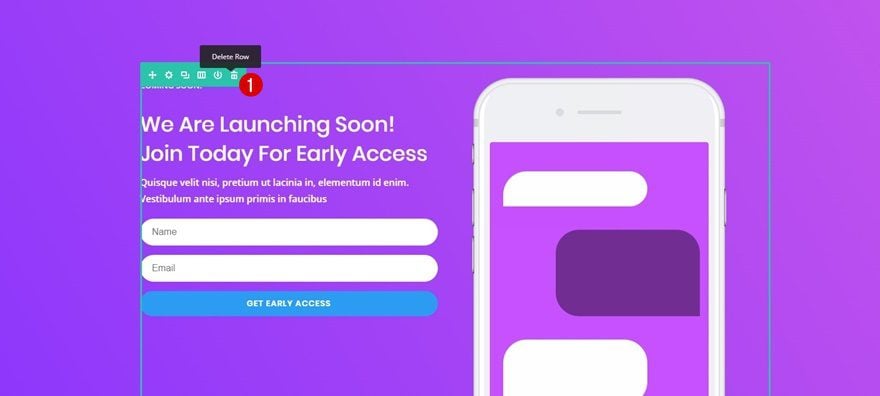
We’re going to replace the modules within the hero section with a Social Follow Module and two matching Text Modules. To accomplish that, we’re going to need another column structure and for the sake of saving time; remove the current row in the hero section altogether.
Step 4: Add One-Column Row Instead
Instead, we’re going to add a row with one column to our hero section.
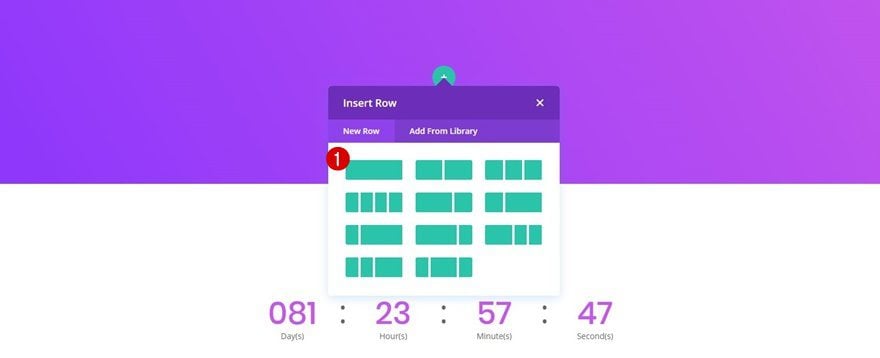
Step 5: Clone Hero Section Text Modules of Landing Page
You could start creating your Text Modules from scratch or you could use some Text Modules that are already present in the software marketing layout pack to match with the rest of your website, which sounds like a better idea. The hero section on the landing page, for instance, has two Text Modules that only need small changes to work on our redirect page. Go ahead and add both Text Modules to your library individually.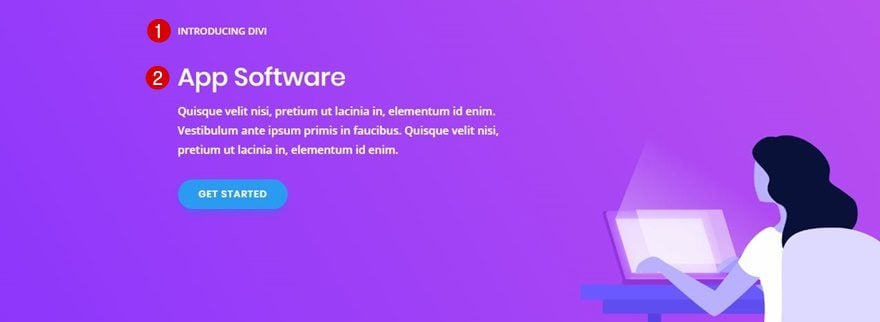
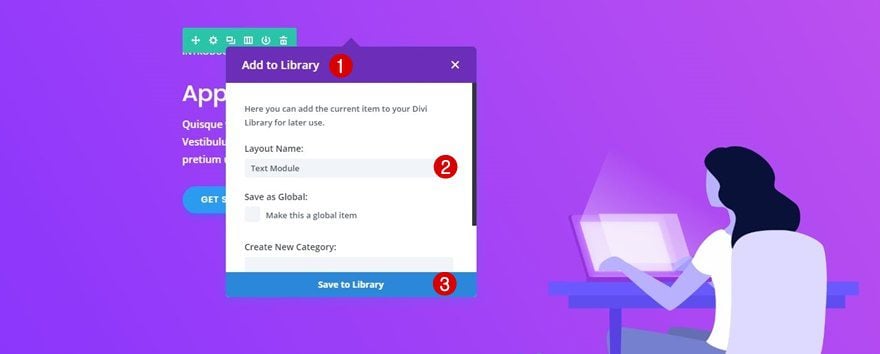
Step 6: Add Text Modules to One-Column Row
Right after adding the Text Modules to your library, go back to your redirect page and add both Text Modules to the one-column row you’ve created.
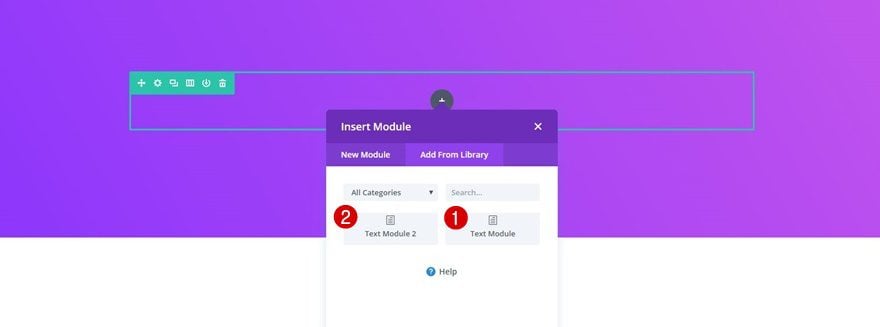
Step 7: Change Content & Alignment of Both Text Modules
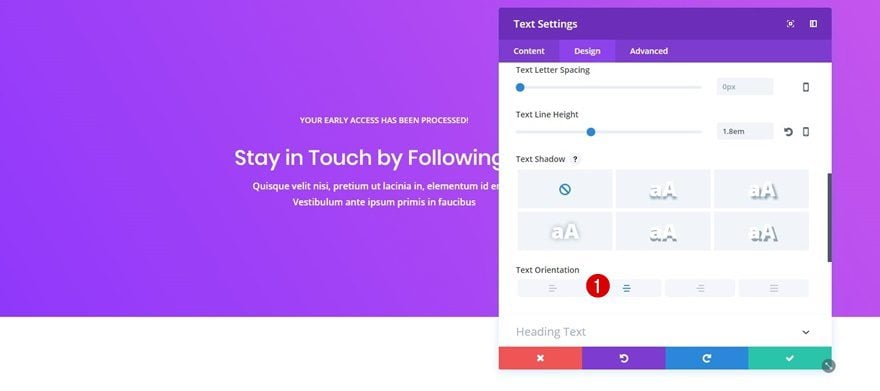
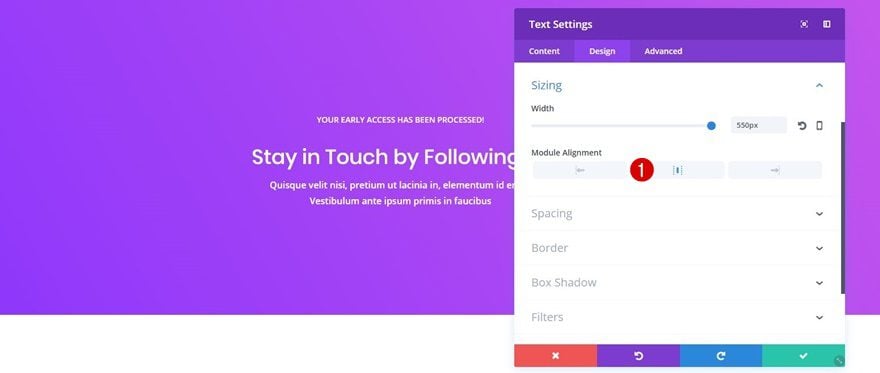
Since we’re using a row with one column, it’s recommended to use center alignment. Both Text Modules need a center Text Orientation in the Text subcategory and a center Module Alignment in the Sizing subcategory.
Step 8: Add Social Follow Module Between Text Modules
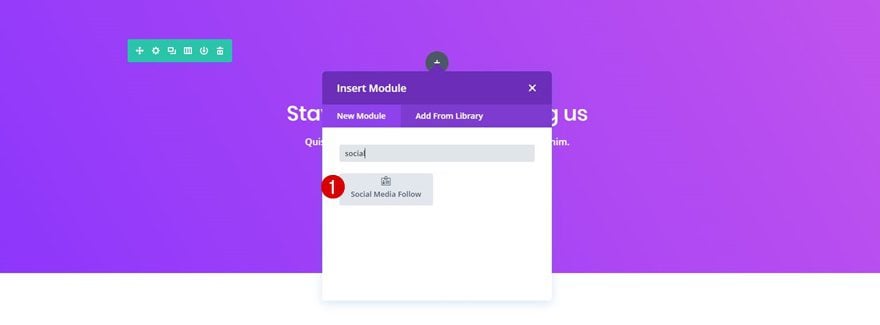
After you’re finished with the Text Modules, you can add a Social Media Follow Module right in between both Text Modules.
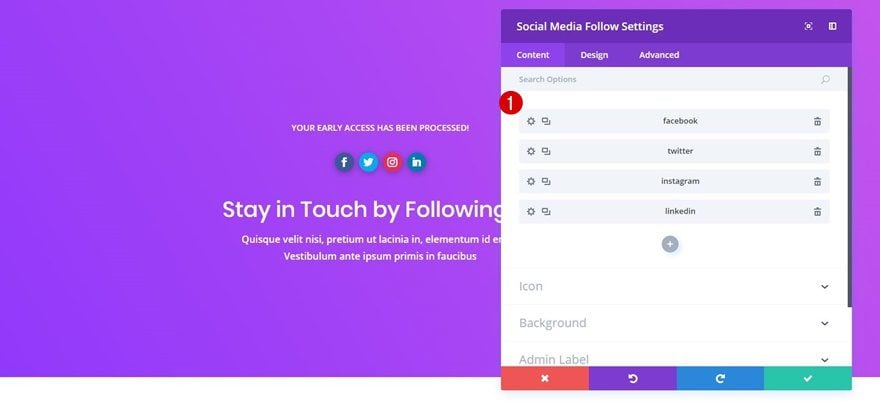
Step 9: Add Social Media Channels
Add as many social media channels as you want to your Social Media Follow Module and don’t forget to include the URLs to your own social media channels for each one.
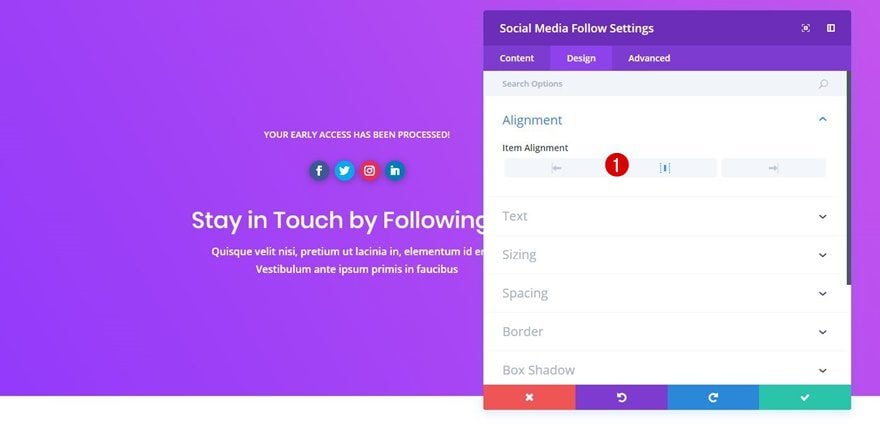
Step 10: Change Alignment of Social Follow Module
No need to modify the design settings of each one of the social media channels individually, you can apply changes to all of them at once by going to the Design tab of your Social Media Follow Module. The first thing you will need to do there is use a center Item Alignment for your module.
Step 11: Apply Additional Rounded Corners
To make each one of the social icons appear in a circle, you can simply add ’20px’ to each one of the corners within the Border subcategory.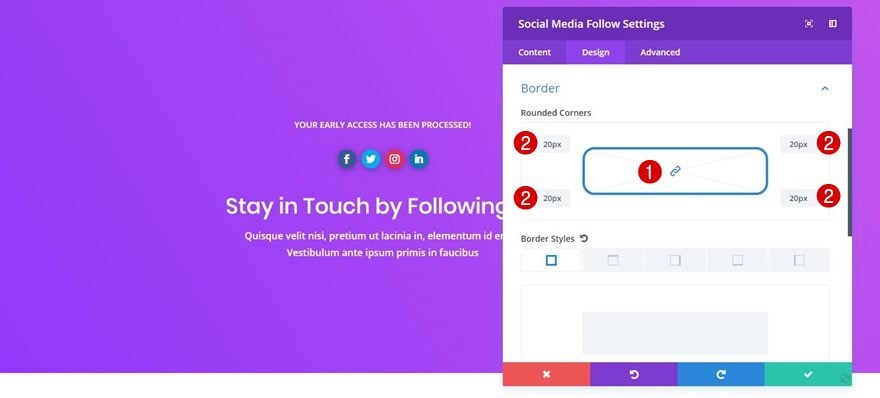
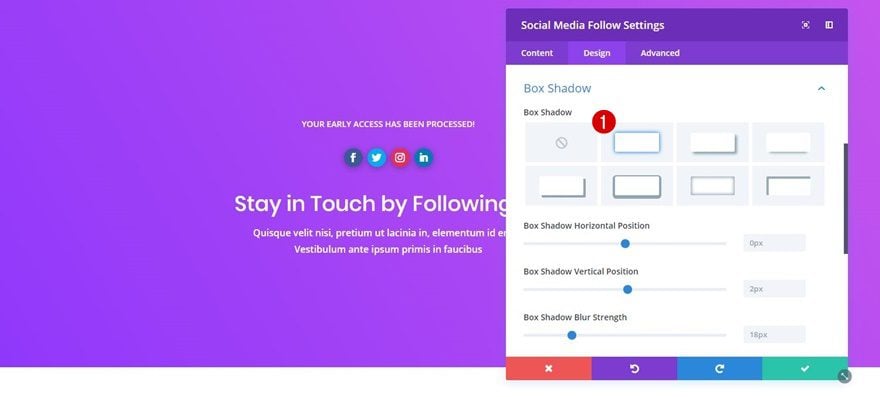
Step 12: Add Box Shadow
Last but not least, a bit of Box Shadow can help you create depth for your social follow icons. The box shadow we’ve used in our example is the first one in the list (by default). However, feel free to play around with the settings and the shadow color to match the design with your own taste and expectations.
Part 3: Add Redirect Page to Email Optin Module
Step 1: Copy Your Redirect Page URL
Now that you’ve created and finished the redirect page, you can save your page and exit the Visual Builder. Once you do, go ahead and copy the URL of your redirect page and go back to your coming soon page.
Step 2: Add it to Your Email Optin Module
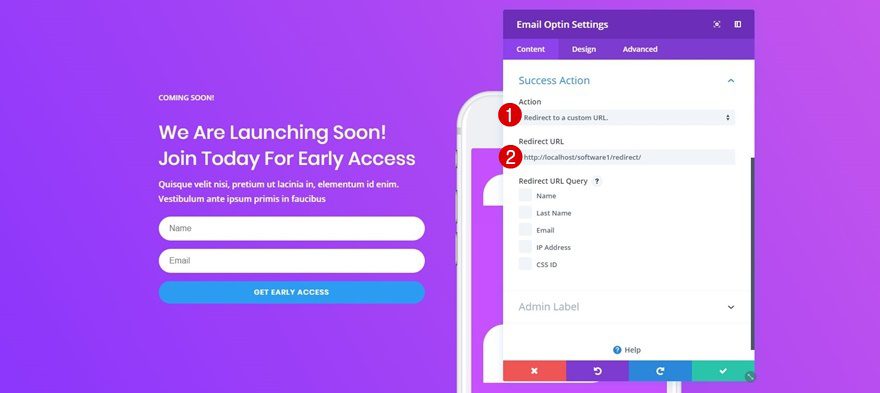
The last thing that’s left to do is adding the new redirect page you’ve created in the previous part of this blog post to the Success Action subcategory of your Email Optin Module. Don’t forget to choose ‘Redirect to a custom URL’ as the action as well.
Final Thoughts
In this use case blog post, we’ve shown you how to make social follow icons show up right after someone has requested early access on the coming soon page of the software marketing layout pack. This use case is part of our ongoing Divi initiative where our design team shares a new layout pack with you each and every week. If you have any questions; make sure you leave a comment in the comment section below!
The post How to Make a Social Follow Prompt Appear After Visitors Subscribe with Divi’s Software Marketing Layout Pack appeared first on Elegant Themes Blog.
