PaintShop Pro is designed to be a Photoshop alternative for Windows users. It was designed with photo editors and graphics designers in mind and has features for beginners and professionals. The 2018 edition is faster and easier to use. It loads 50% faster than the previous edition. Many of the tools are faster and have enhancements.
PaintShop Pro 2018 (normally shortened to PSP) requires Windows 7 or above. I’m running it on an ASUS i7 laptop with GeForce 940m graphics and Windows 10 Home edition.
Welcome Screen and User Interfaces
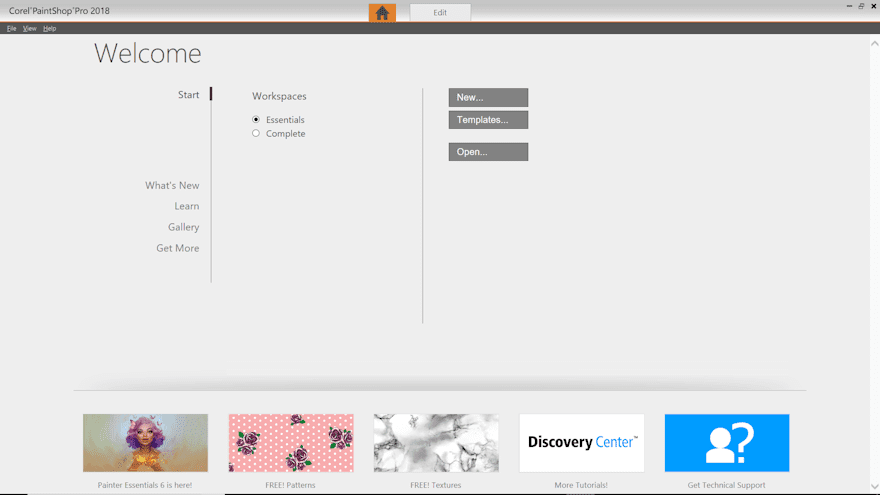
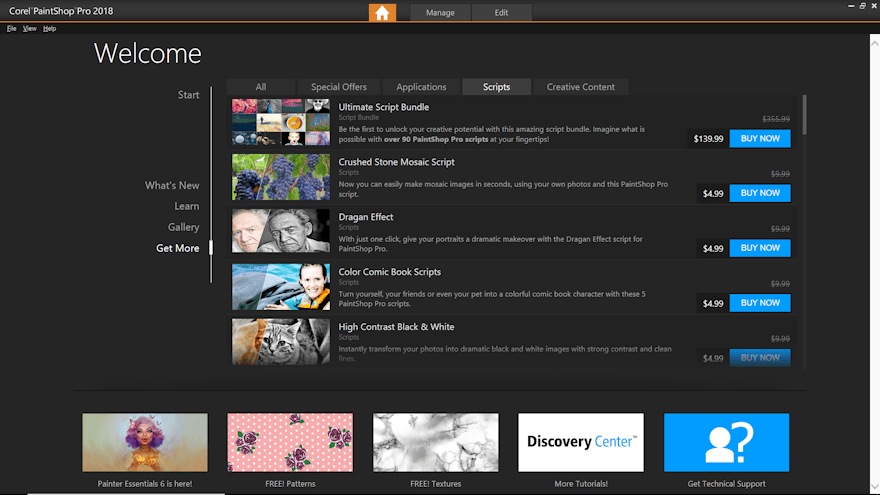
PSP opens to a welcome screen where you can see your recent files, see what’s new, access the tutorials, see user galleries, get expansions and other content, choose between the two user interfaces, create a new project, open a template, or open a file. Both user interfaces are designed to make PSP easier to learn. The color of the Welcome screen will match the Workspace you used last.
Essentials
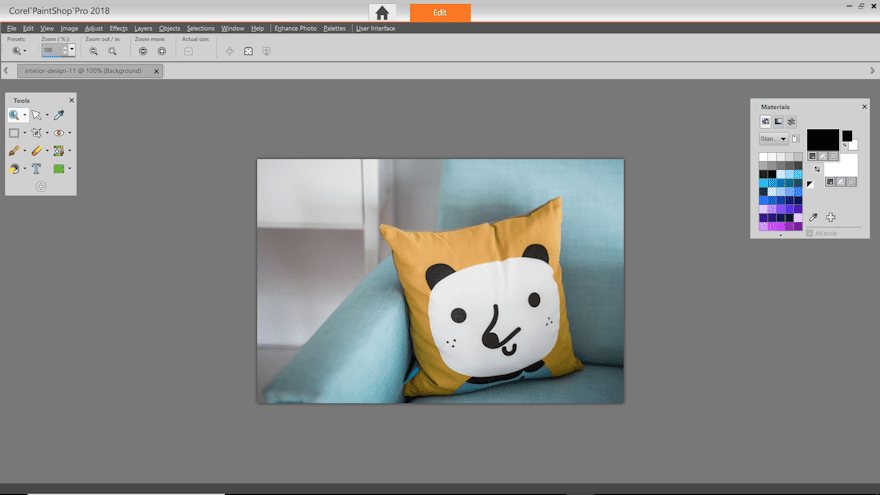
The Essentials Workspace removes the advanced tools to create a cleaner workspace. It includes the essential tools that beginners would need. It has larger icons. You can add tools to your simplified toolbar, making this a good choice to add to as you learn or for professionals that want to only see the tools they use. This is the Edit tab. The Home tab takes you back to the Welcome screen.
Complete
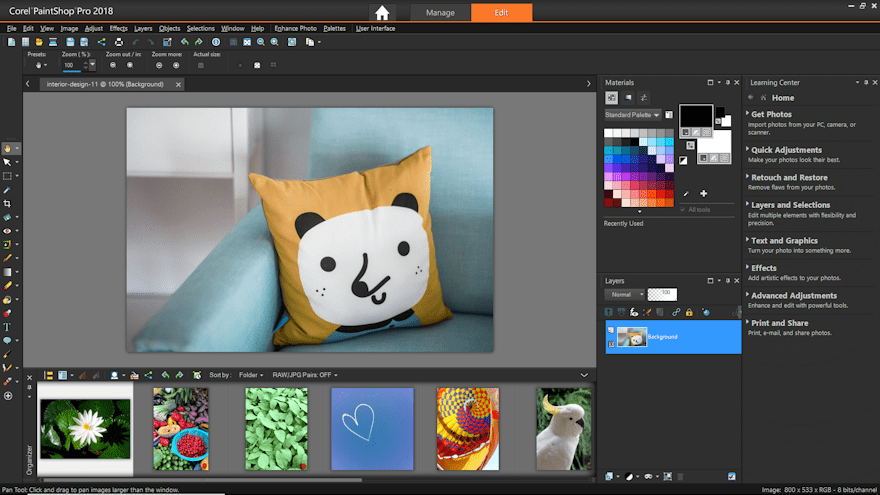
The Complete Workspace was designed with professionals in mind and includes the Home, Manage, and Edit tabs, and the professional design tools. You can choose the size of the toolbar, icons, etc., and choose which tools appear on the toolbar. This is the Edit tab.
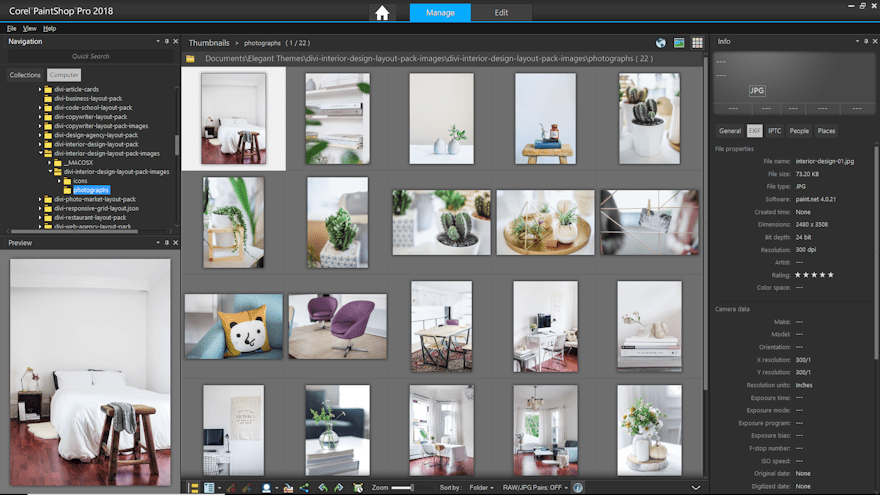
The Manage Tab shows thumbnails of the images in my current folder. The Home icon takes you back to the Welcome screen. If you switch between the two Workspaces you can get back to the image you were working with by clicking on it under Recent Files.
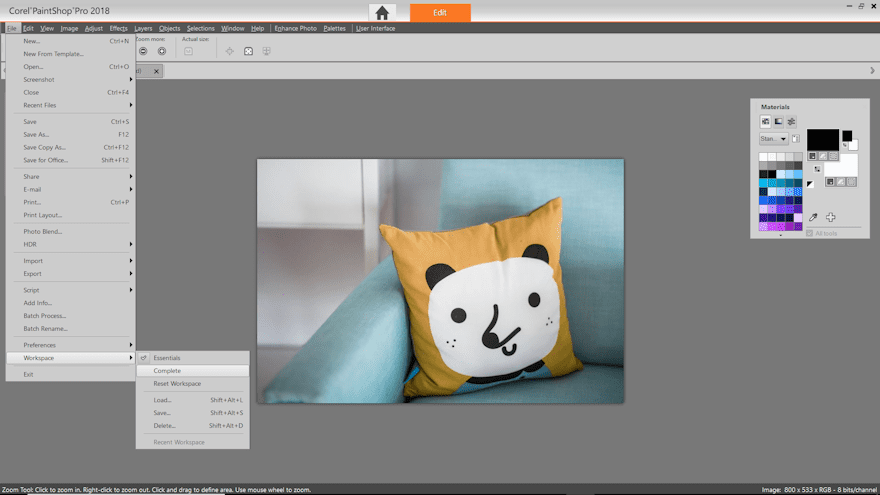
You can switch from one to the other in the File menu. Adjust the Workspace and Background colors in the View menu.
Tools
PSP 2018 has a ton of features. It includes HDR tools, lens correction, edit RAW, makeover tools, batch processing (which saved me a lot of time resizing the images of this article), one-click fixes, crop, straighten, correct perspective, drawing and painting tools, layers, text, gradients, and use scripts to create actions of repetitive tasks. Retouch features include selection tools, remove red-eye, remove objects with magic fill or clone tools, restore with fade correction, etc.
Here are a few of the tools that stand out to me.
Photo Blend
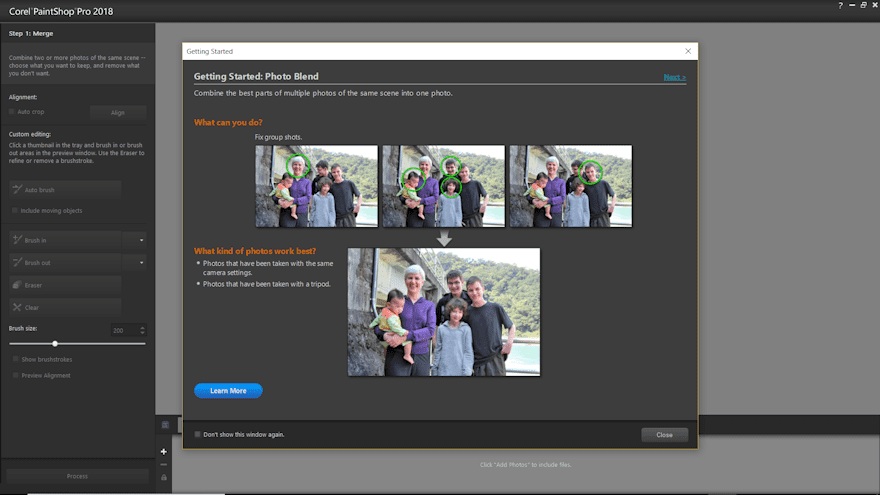
Combine elements from multiple photos to create a new photo with those elements. The photos need to be from the same scene and works best if they have the same settings. This is great for changing which direction someone is facing, making them smile, etc.
HDR Exposure Merge
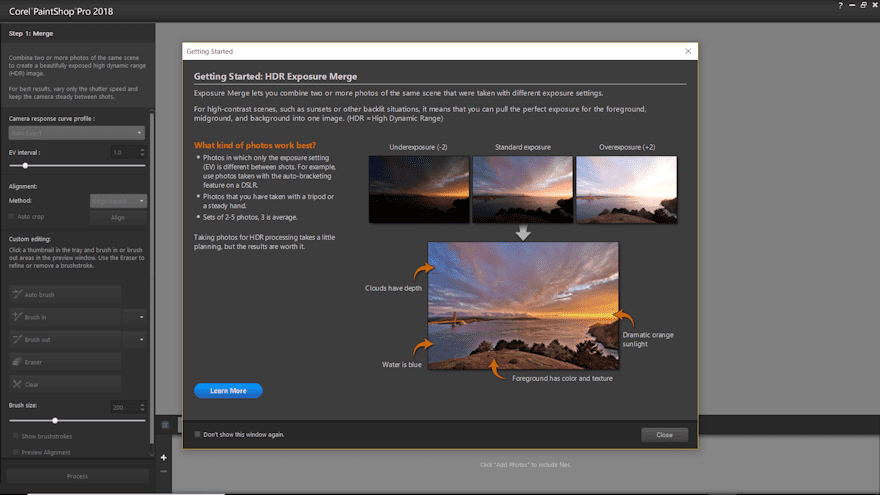
Take two photos of the same scene with different exposure settings and merge them to create a new image with the elements you want from each.
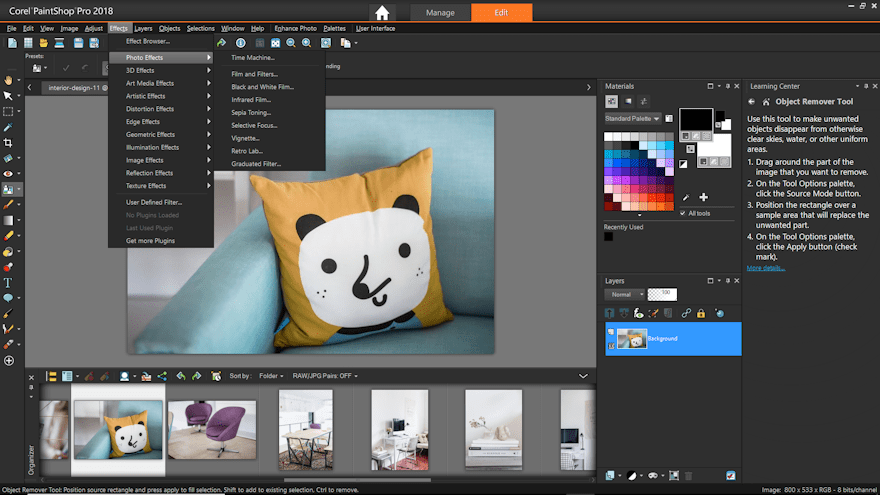
Screenshot
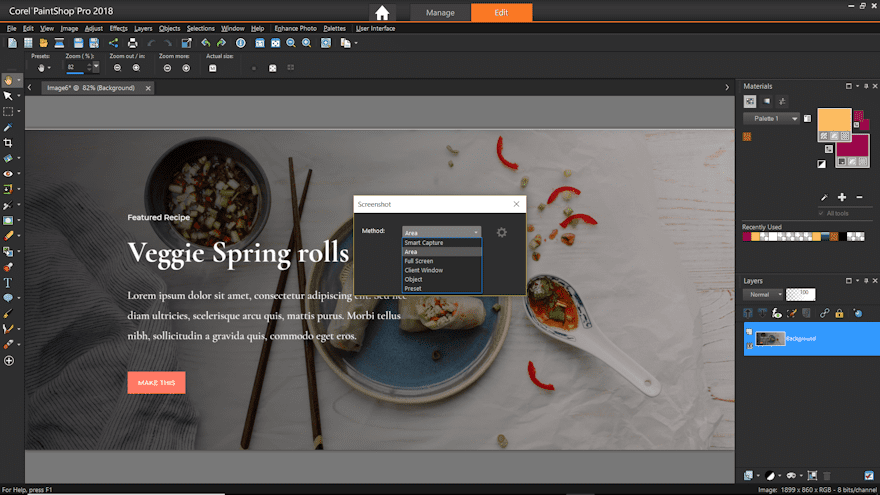
This is a screen capture tool with several options for screens, objects, etc. The capture automatically opens the image in PSP. I wasn’t able to capture a full layout (which would be awesome for layout designers, which hopefully can be added through a plugin) but it works great for screen captures.
Adjustments
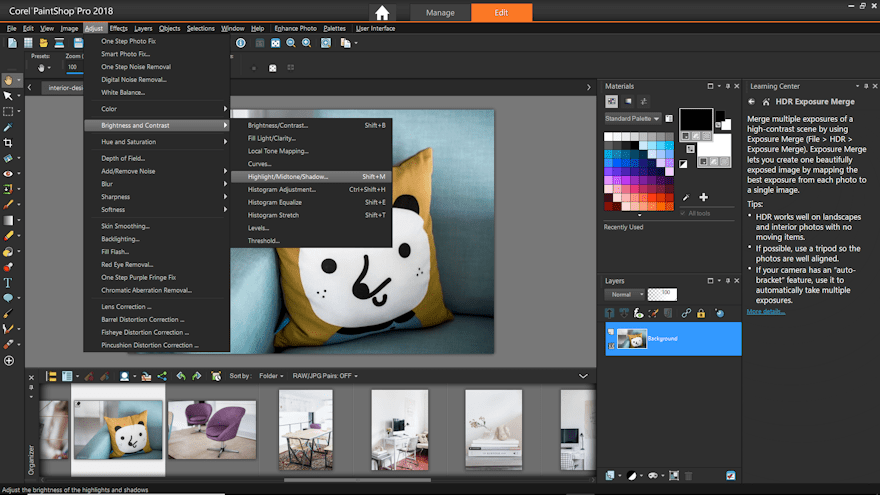
There are lots of photo adjustments including digital noise removal, white balance, color, brightness and contrast, hue and saturation, depth of field, and lots more. Here I’ve adjusted Highlight/Midtone/Shadow. Making the adjustments are intuitive and you see them instantly.
Effects
Effects include photo, 3D, art media, artistic, distortion, edge, geometric, illumination, image, reflection, texture, and more. Within each are several options and settings. Each can be adjusted and refined. You can add more through plugins. Here are a few:
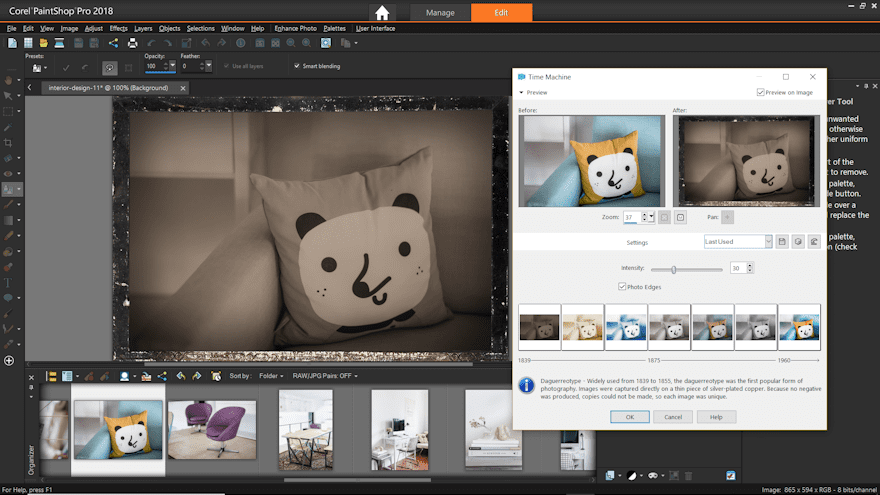
This is a photo effect called Time Machine. It mimics daguerreotype, which was used in the mid 1800’s.
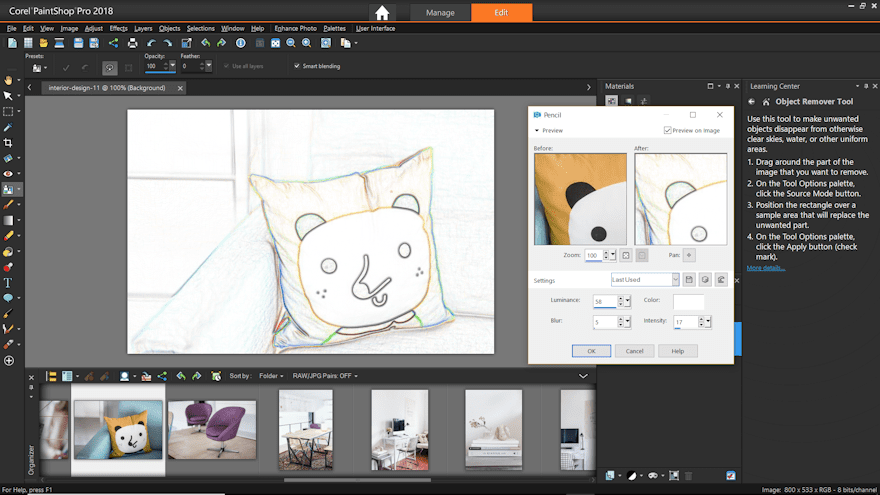
This is the Art Media effect Pencil.
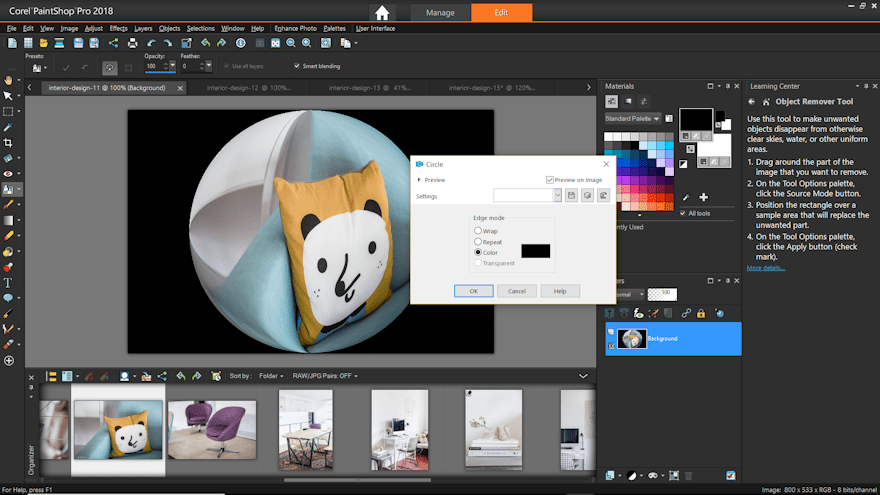
This is the Geometric effect Circle.
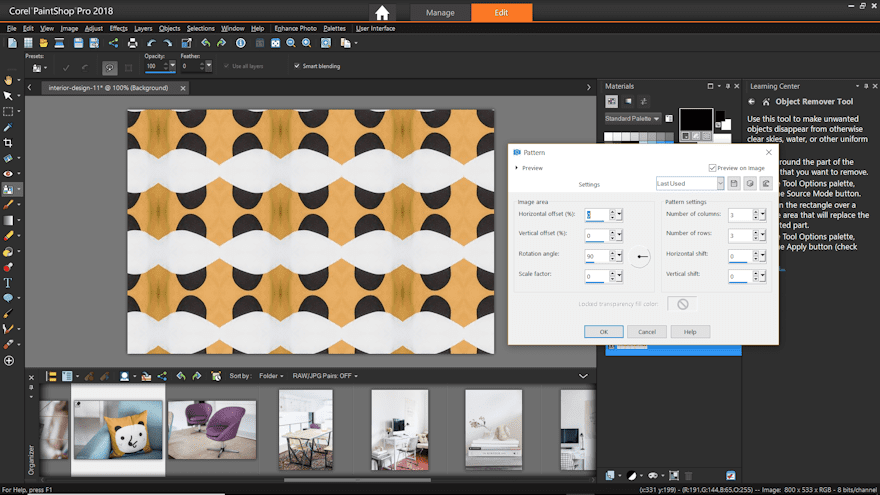
This is the Reflection effect Pattern.
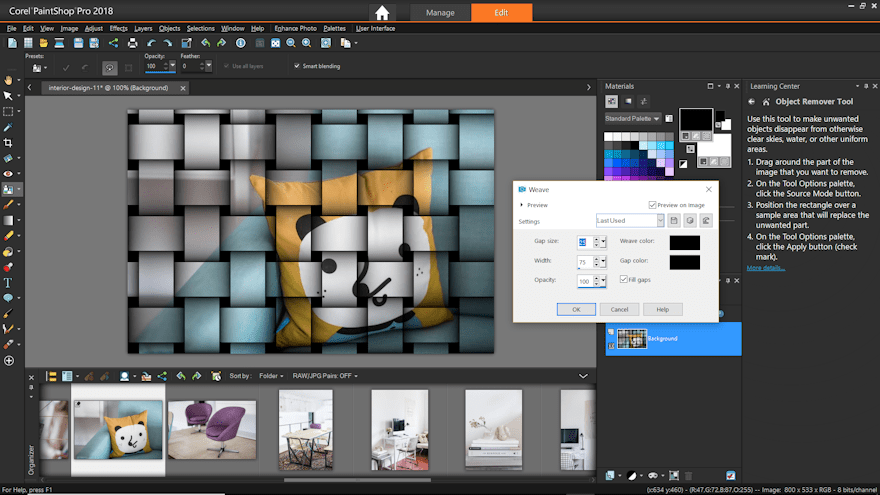
This is the Texture effect Weave.
Layers
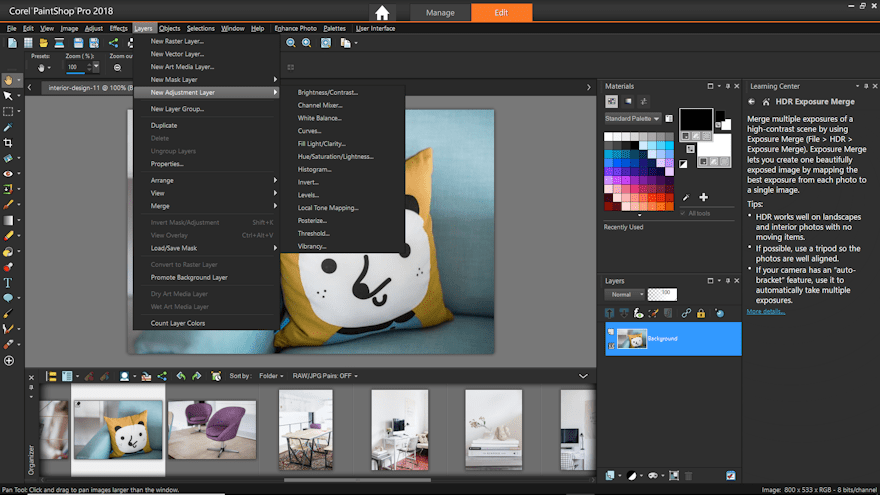
Rather than just creating a layer, you can create different types of layers. The types include raster, vector, art, mask, and adjustment. You can also create layer groups. Arrange, view, merge, duplicate, etc.
Selections
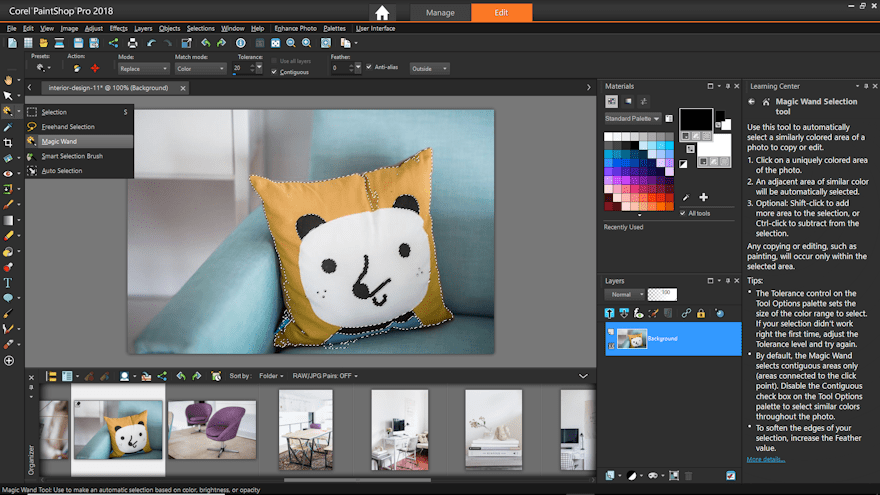
Selection options include rectangle, freehand, magic wand, smart selection brush, and auto selection. Copy, drag, drop, delete, etc.
Crop
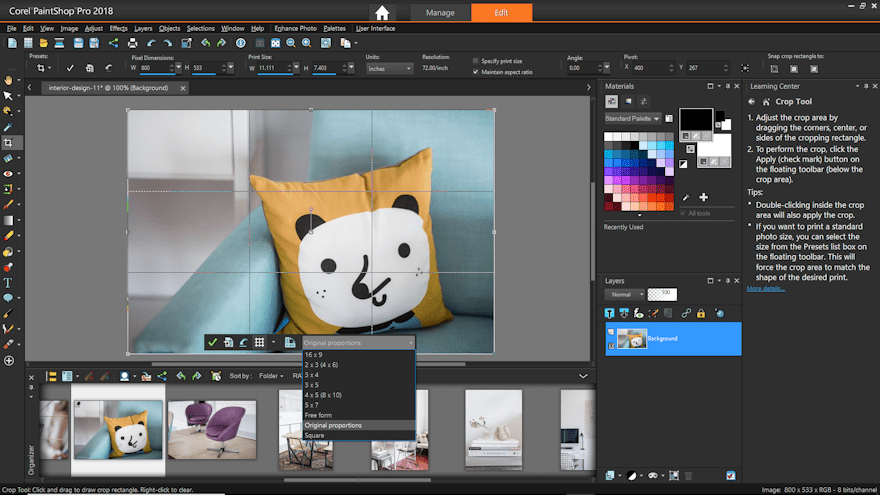
This is an interesting crop tool. It includes 9 size ratios, rule of thirds, golden spiral, golden ratio, diagonal, triangle, and grid. It places the settings automatically and you can adjust them manually.
Straighten
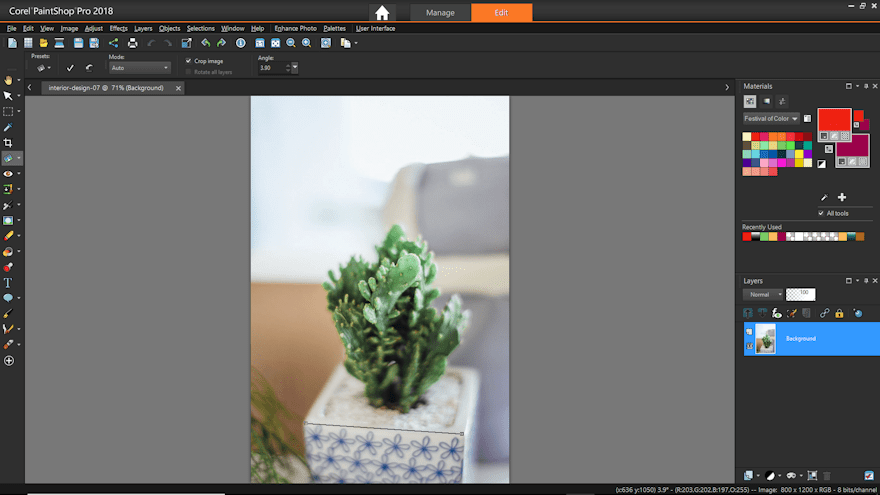
It has a Straighten and a Perspective tool. The Straighten tool lets you level the photo.
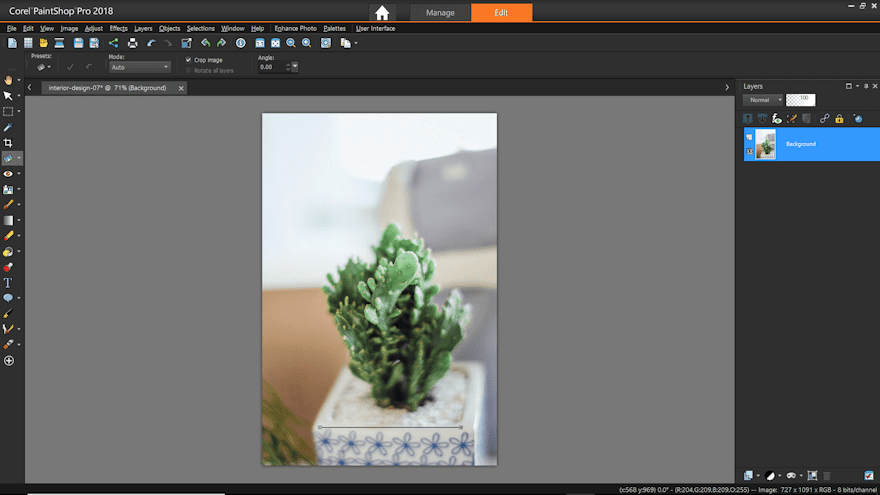
This one uses the straighten tool. Changes can affect other things in the photo, but it’s easy to straighten and change the perspective.
Clone
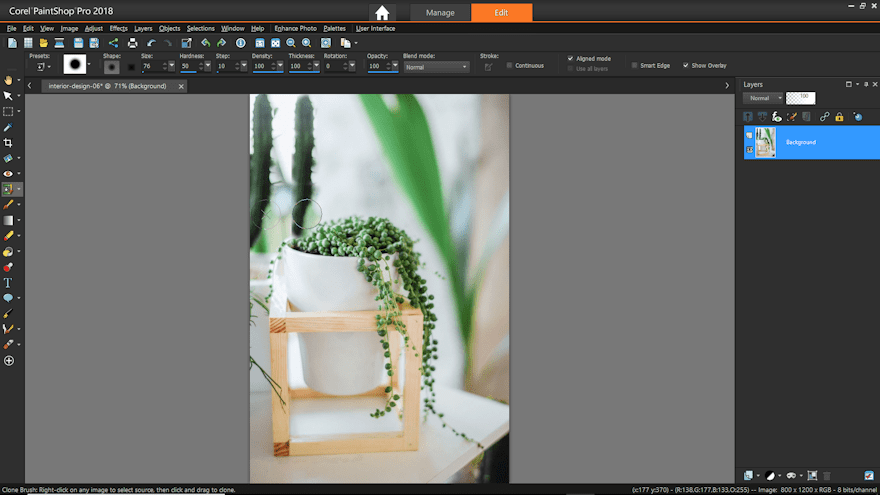
The clone tool works exactly as expected. I’m adding a cactus in the background using the clone tool.
Text

It has some interesting text features. Choose the font, adjust the color, or use a gradient, pattern, or texture. Change the alignment, direction, etc. You can adjust the text later.
Shapes
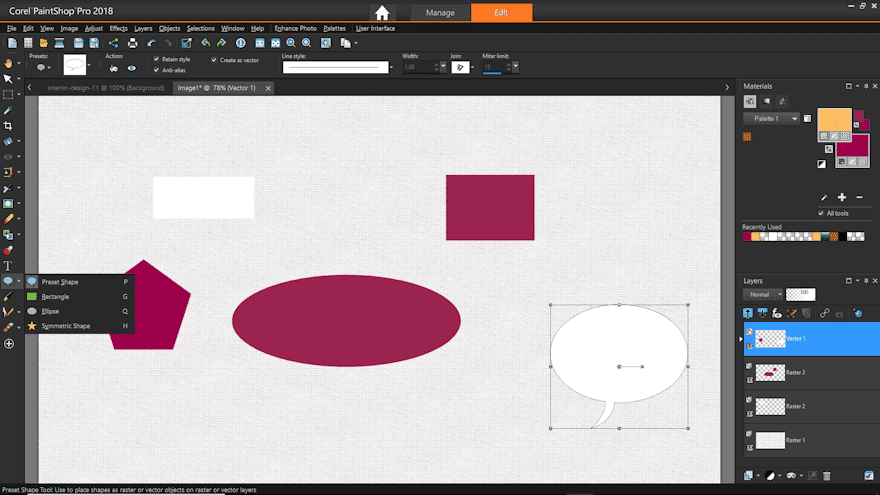
Create shapes such as rectangles, ovals, etc. This works fine but I’d like changing colors to be a little more intuitive.
Palettes
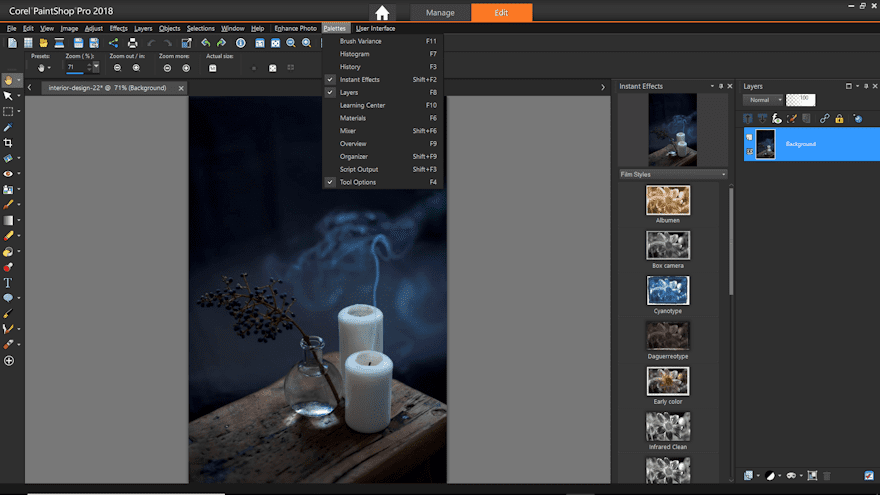
Palettes add color effects.
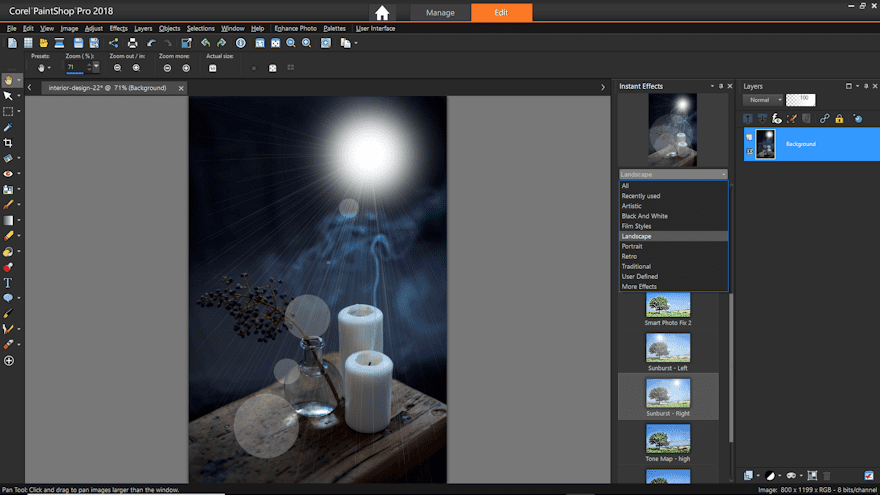
Instant effects include artistic, black and white, film, landscape, portrait, retro, traditional, user defined, or you can add more. Within each one are other options you can apply. This one uses landscape with light coming from the right.
Pen
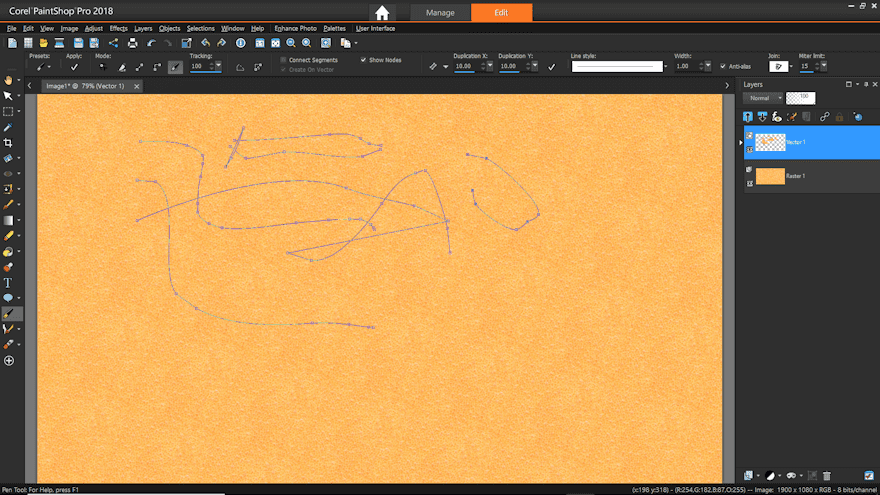
There are several pen modes to draw straight lines, connect lines, draw freehand, view nodes, etc.
Brushes
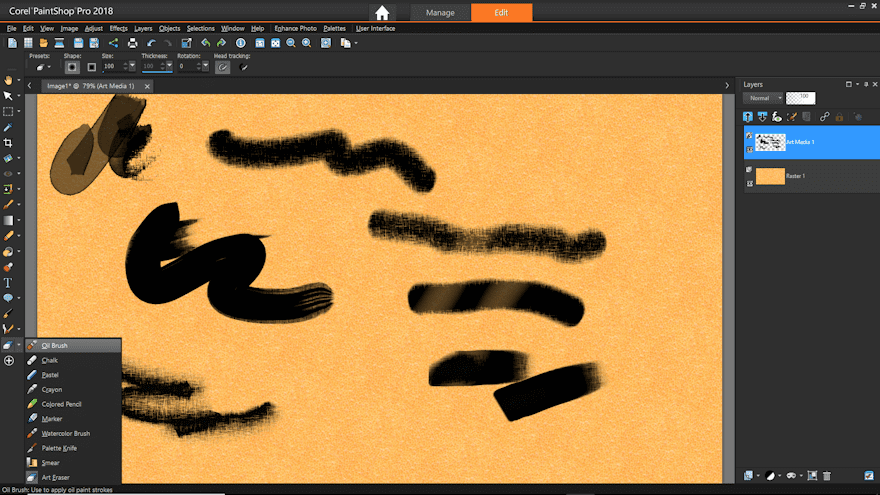
The art brushes are interesting. It includes oil, chalk, pastel, crayon, colored pencil, marker, watercolor, palette knife, smear, and an art eraser. Adjust brush shape and size, color, hardness, thickness, opacity, blend mode, etc. It includes lots of presets. Also choose from paintbrush and airbrush.
I had to search in order to change the color, but everything else about it was intuitive. You can add more brushes including Photoshop brushes. Formats include PaintShop Pro (.pspbrush), Photoshop (.abr), and Jasc (.jbr)
More Tools
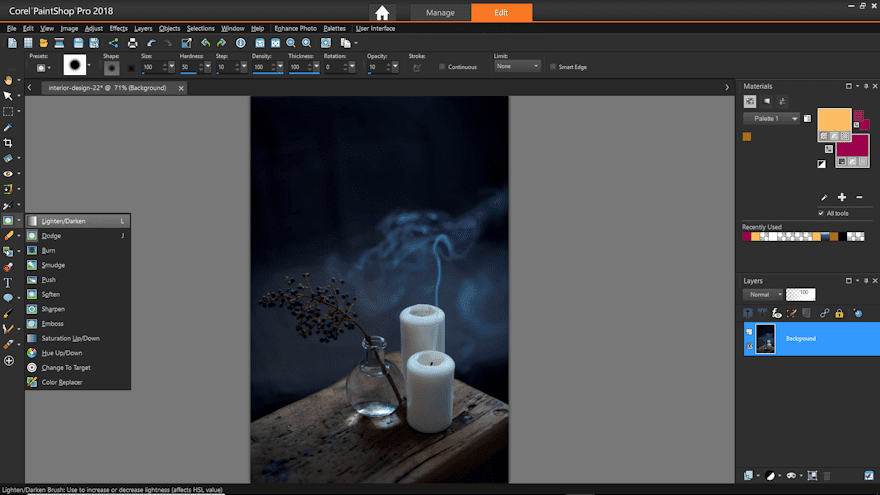
Other tools include lighten/darken, dodge, burn, smudge, push, soften, sharpen, emboss, saturation, hue, change to target, and color replacer.
Plugins
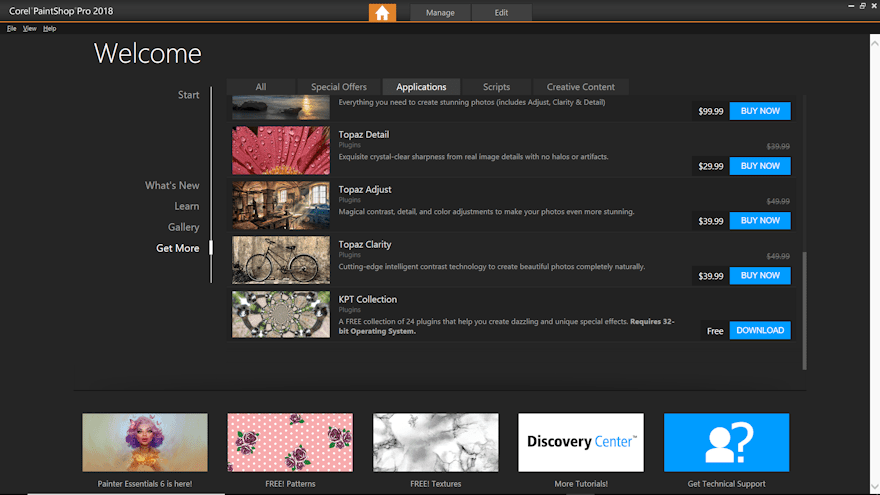
Add new features with plugins. There are several that you can download from the Welcome screen and many more across the web. PSP can also use Photoshop plugins.
Scripts
Scripts are the equivalent of Actions in PS. Get them through the Welcome screen or from around the web. Unfortunately it doesn’t use PS Actions.
File Formats
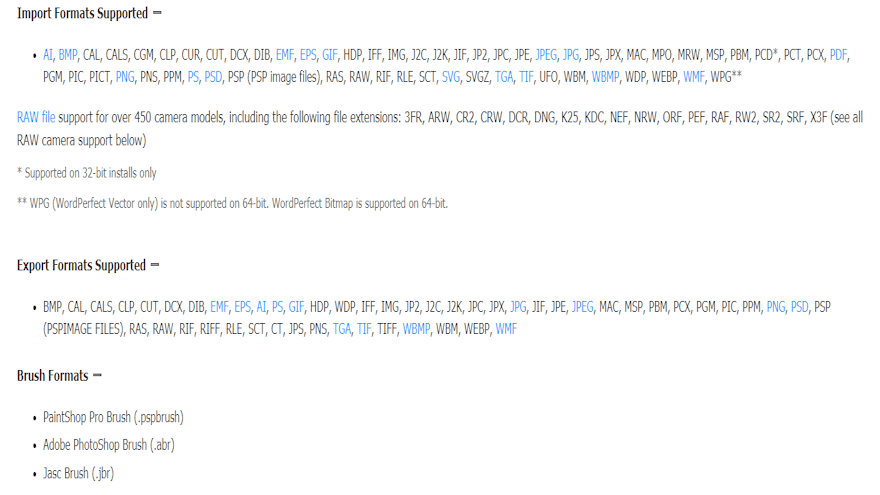
There are too many file formats to list them all, but it seems to handle most formats that professionals would use. Photoshop formats including PSD (for images) and abr (for brushes). The files I work with are here including PNG, JPEG, GIF, RAW, PDF, etc.
Documentation and Training
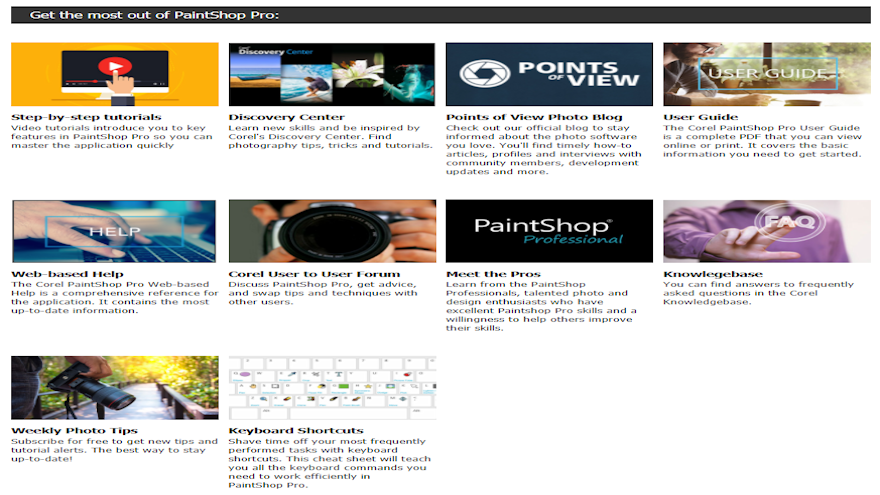
Training includes tutorials, discovery center, blog, user guide, help files, forum, pro training, knowledgebase, tips, and keyboard shortcut list. The website also includes an 831 page user’s guide that you can download before purchasing to see if it has the features you want. Tips are provided on screen if you’re using the Complete Workspace.
Price
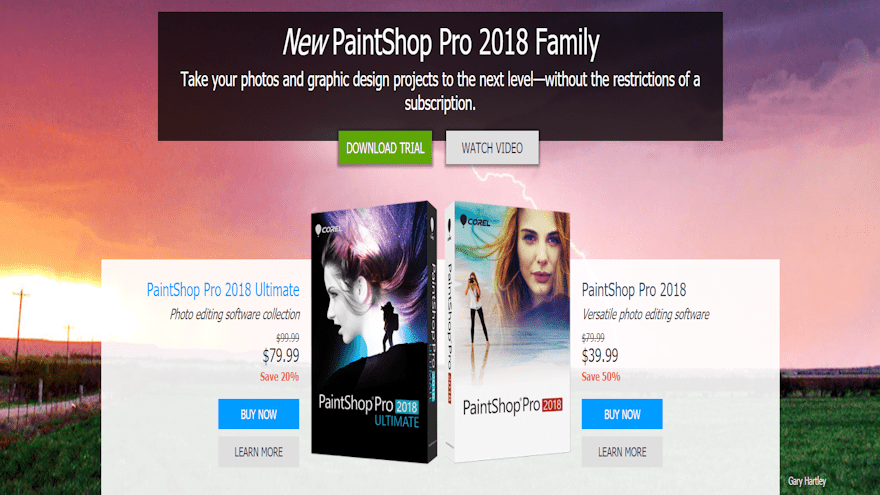
You can purchase PSP from their website. It has two options, and those options have full version and upgrade pricing. Each comes with a 30 day money back guarantee. Prices are for single license. They also have multi-user licenses for business. Here are the single license prices:
- PSP 2018 – $39.99 (full), $29.99 (upgrade)
- PSP 2018 Ultimate – $79.99 (full), $63.99 (upgrade)
If you have an older edition you might be able to get upgrade deals. If you qualify, you’ll be presented the deal when you run PSP. There are some upgrade restrictions. They’re described on the website.
Pricing is different if you purchase through one of the popups within PSP. I was able to upgrade to Ultimate for $24.99. I recommend the Ultimate edition for the graphic design and photo editing features if you get the deal that I got. It adds a few stand-alone apps that I found interesting.
Ending Thoughts
I upgraded to 2018 from X7 (the 2014 edition) and I find this edition much easier to use. I had no lag or crashing, but there are still a few features I haven’t used extensively. There are popups that sometimes appear on load and close with messages to upgrade or purchase special offers such as Wacom tablets. I never had popups while working with images.
Pricing is one of the things that’s held users back from using Photoshop. With PSP there are no subscriptions to worry about. It’s ideal for those on a budget that don’t need the higher functionality of Photoshop.
There are a lot of features and some of them are not as intuitive as I’d like (I found choosing colors for Flood Fill to be confusing, but that’s what the training is for). It’s designed for both photo editing and graphic design and is ideally suited to beginners and intermediate users. Unfortunately it’s only available for Windows.
Photoshop is more robust and has more features, but not everyone needs these features. I recommend trying the demo to see if it has the features you need.
Have you tried PaintShop Pro 2018? Let us know about your experience in the comments.
Featured Image via Sentavio / shutterstock.com
The post PaintShop Pro – A Low-Cost Alternative to Photoshop appeared first on Elegant Themes Blog.