Flip Cards are a fun way for users to interact with your website. Not only does it provide a cool flip animation, it also allows you to offer additional information in one concise location. In this tutorial, I’m going to show you how to turn Divi Modules into flip cards without using a plugin! With this method, you will be able to use one Divi module as the front of a card and another Divi module as the back of a card. You can even design each module (front and back) however you like using the divi builder. The functionality is accomplished through just a few snippets of CSS (no jquery).
I think you will be surprised at just how simple and fun building these cards can be.
Let’s dive in!
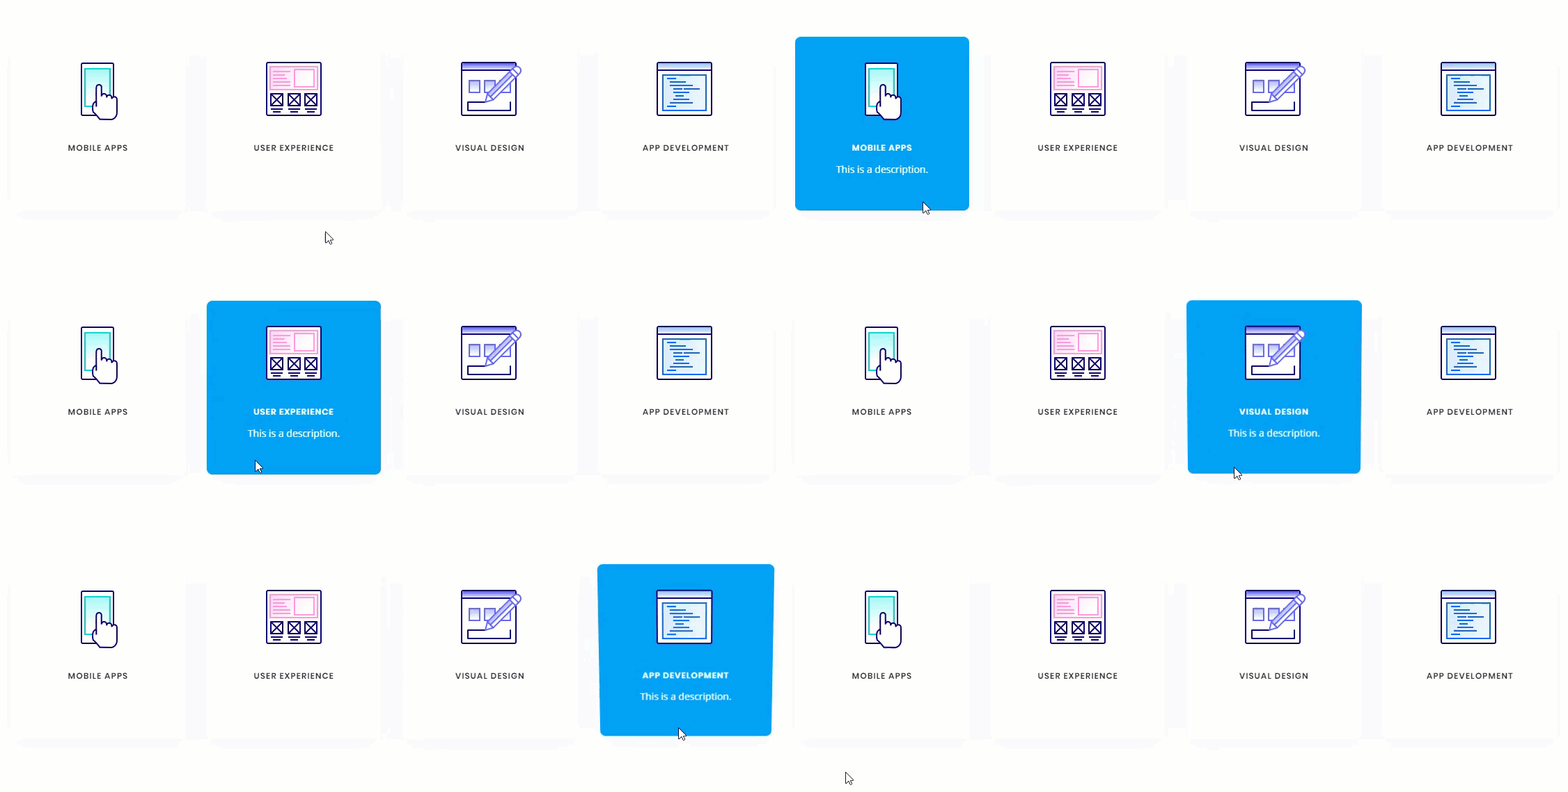
Sneak Peak
Here is a sneak peak of the design we will be building today.

What You Need for This Tutorial
All you will need for this Tutorial is Divi! No plugin needed. We will also be using the App Developer Layout Pack which is FREE and available within the Divi Builder.
The Basic Idea Explained
The inspiration for this concept actually came from this basic example of how to design flip cards. All it took was a little re-engineering to assign the div classes to Divi rows, columns and modules and then clean up the CSS a bit.
The Divi layout consists of a regular section with four one-column rows. In each row, I added two blurb modules stacked on top of each other (although any Divi module would work as well). The top blurb serves as the front of the flip card and the bottom blurb serves as the back of the flip card. By applying “display:flex” to the section, the rows are structured horizontally like columns. This allows to the cards to be aligned side by side into four columns.
Here is what the setup looks like before we add the custom CSS.
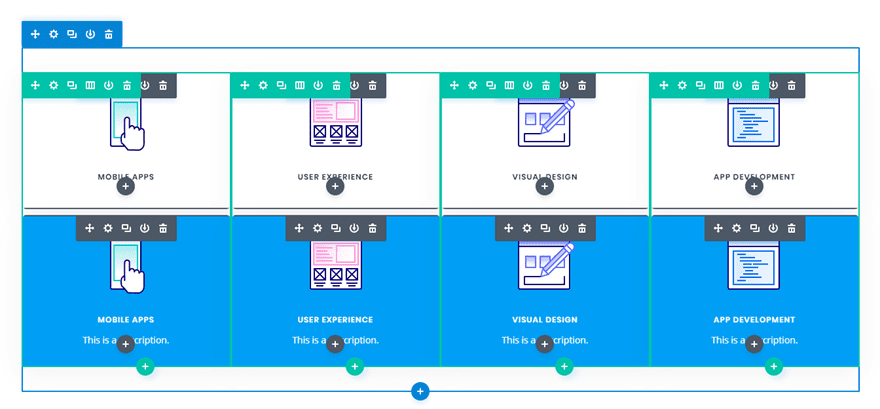
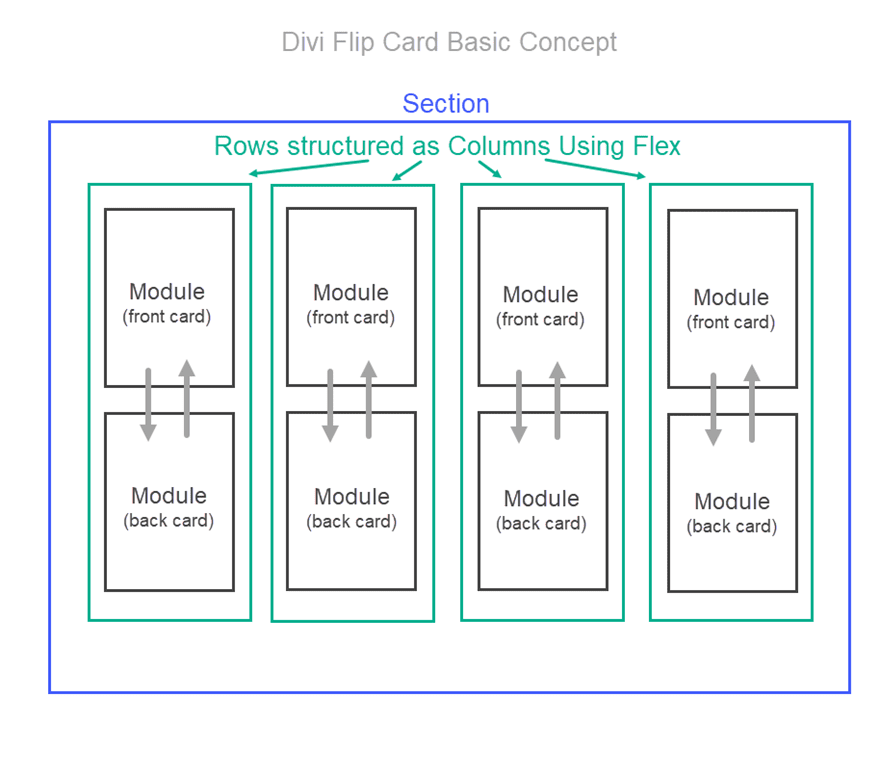
Then I added the custom CSS to page settings and added the corresponding CSS classes to each row, column, and module.
That’s it!
Creating Divi Flip Cards Using a Premade Layout
Adding the Premade Layout to Your Page
To get things rolling, go ahead and create a new page, give you page a title, and then click to use the Divi Builder. Select the option “Choose a Premade Layout”. From the Load from Library popup, select the App Developer Layout Pack and then click to use the App Developer Landing Page layout.
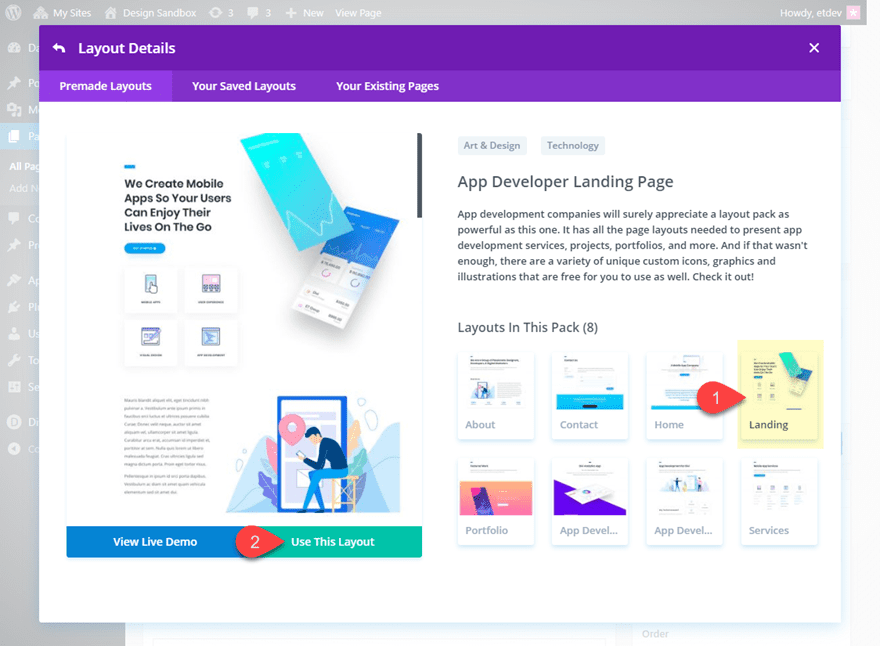
Once the layout loads to the page, publish your page and then click the button “Build on the Front End”. Now you are ready to start creating the Flip Cards.
Setting up the Section, Rows, and Modules
Under the first section of the layout, add a new regular section with a one-column row. Don’t add any modules yet. Open the row settings and update the following:
Custom Margin: 20px bottom
Custom Padding: 0px top, 0px bottom
Save settings.
Then duplicate the row three times so that you have a total of four rows in the section.
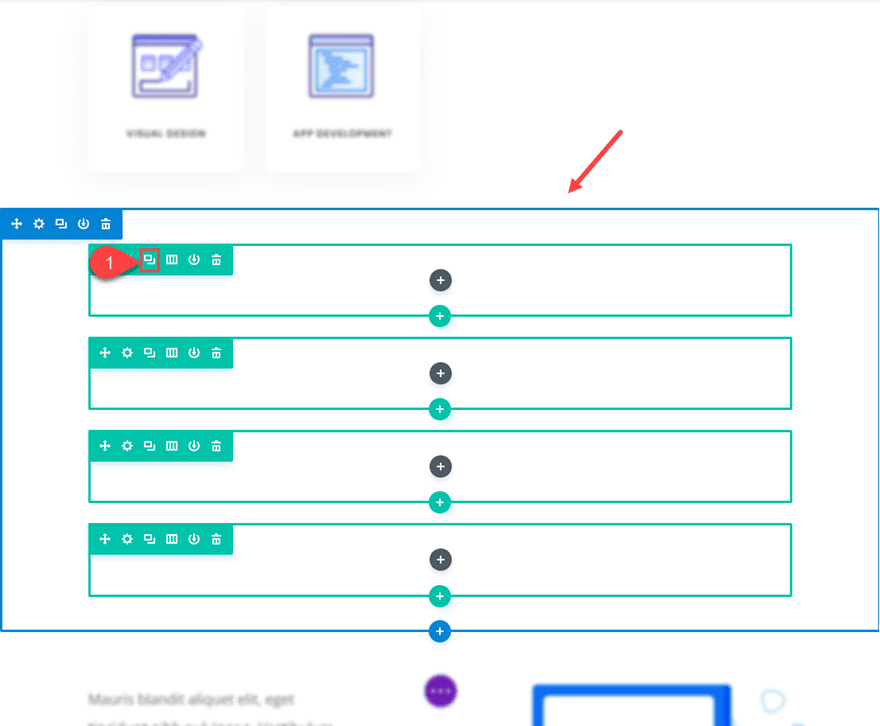
Now open the section settings and add the following custom CSS to the Main Element:
display:flex;
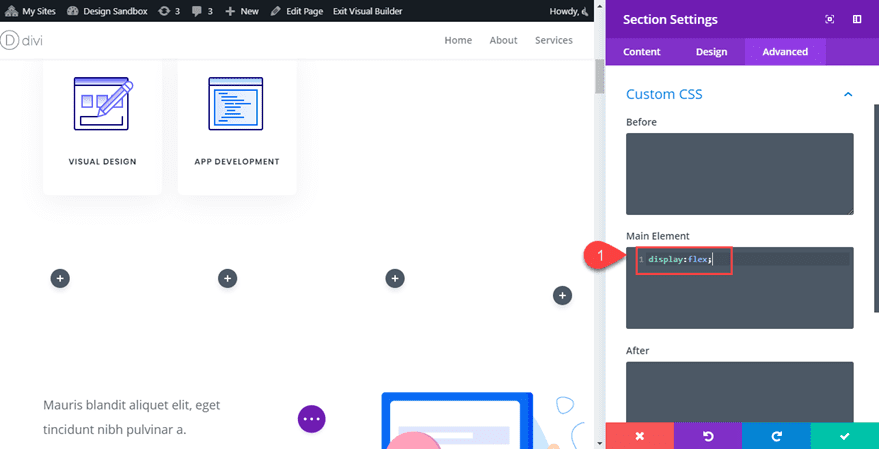
This changes the rows to display horizontally which basically converts our rows into four columns even though technically they are still Divi rows each with one column.
Adding the Modules to the Rows
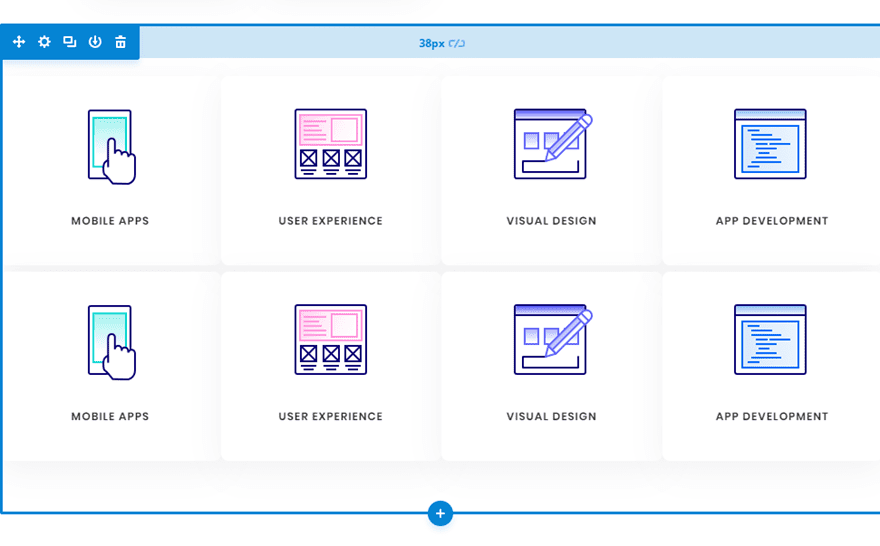
This is where our premade layout comes in handy for this tutorial. We will use the four blurb modules in the top section of the layout to jumpstart the design of our flip cards. Using the right click options or the shortkeys ctrl+c and ctrl+v (windows) and cmd+c cmd+v (mac), copy and paste the premade modules into each of the rows we just created. Make sure that each row has duplicate versions of the same module.
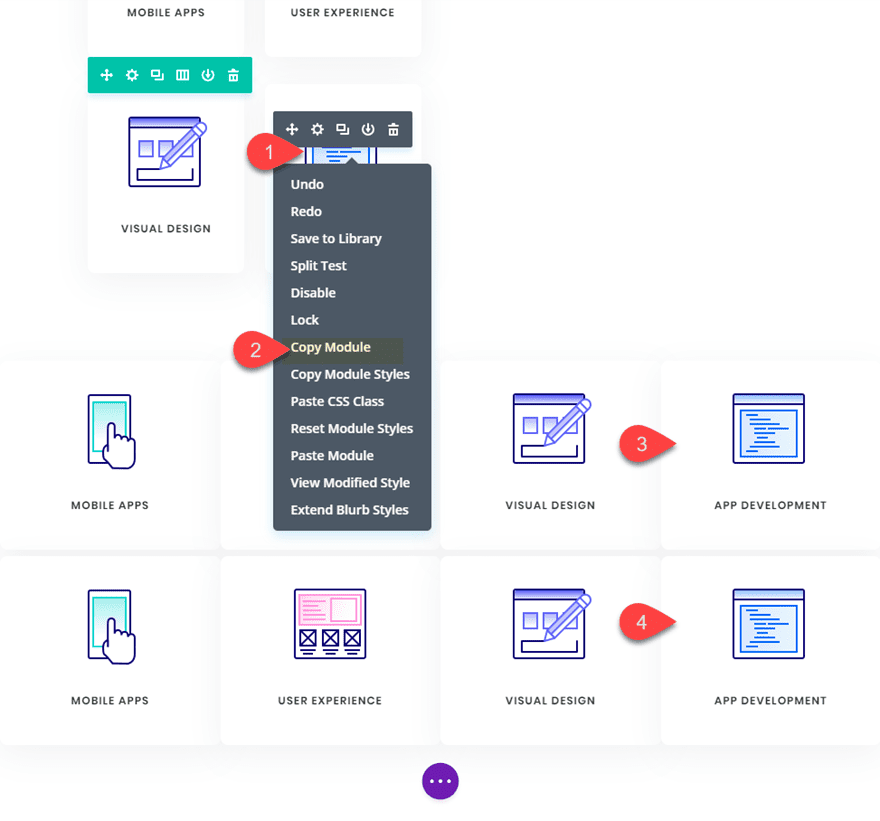
Now your section should look like this.
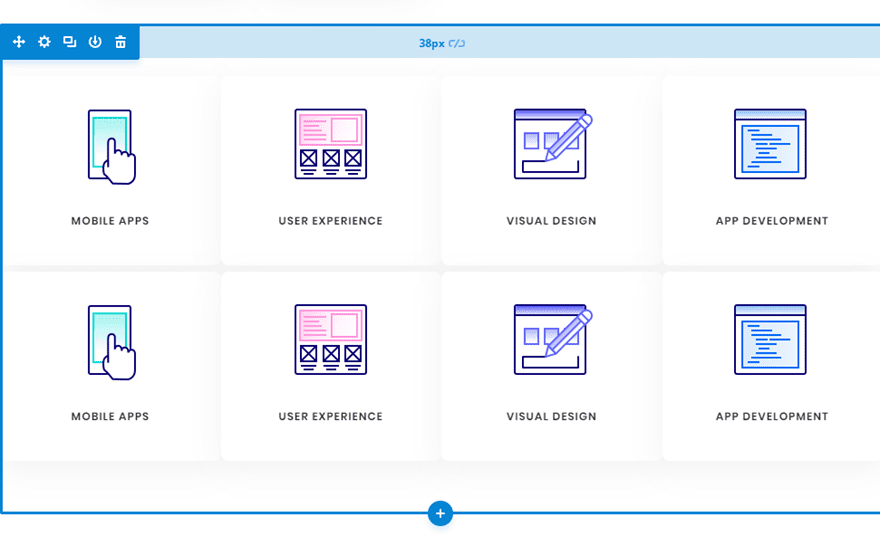
Designing the Front and Back Flip Card Modules
The two modules stacked in each row will be used as the front and back of the flip cards. The top module in each row will serve as the front and the bottom module will serve as the back. Since the design of the front card (top module) is already done thanks to our premade layout, all we need to do is adjust the design and content of the back card (bottom module).
Using Divi multiselect feature, select all bottom modules in each row and then open the element settings to customize all four modules at the same time.
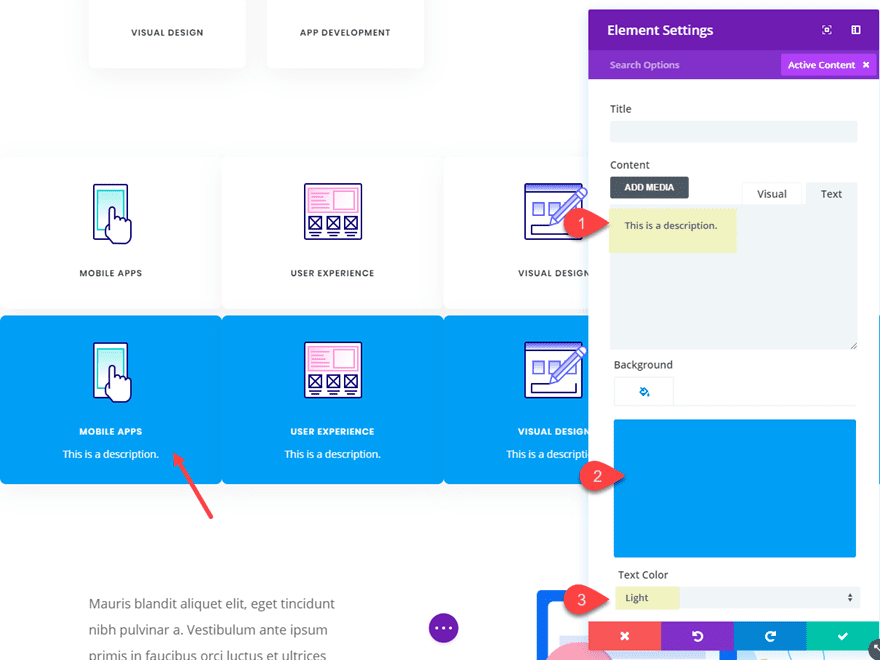
Now we can update the element settings options to style the back version of our flip cards. Update the element settings as follows:
Content: “This is a description.”
Background Color: #00a2fa
Text Color: Light
Adding Custom CSS and CSS Classes
Now it’s time for the custom CSS that will give us the flip card functionality. Open the page settings and add the following Custom CSS:
@media (min-width:980px){
.flip-box-row {
  background-color: transparent;
  width: 250px;
  height: 250px;
  perspective: 1000px;
}

.flip-box-column {
  position: relative;
  width:100%;
  height: 100%;
  transition: transform 0.8s;
  transform-style: preserve-3d;
}

.flip-box-row:hover .flip-box-column {
  transform: rotateY(180deg);
}

.flip-box-front, .flip-box-back {
  position: absolute;
   width:100%;
  height: 100%;
  backface-visibility: hidden;
}

.flip-box-back {
  transform: rotateY(180deg);
}
}
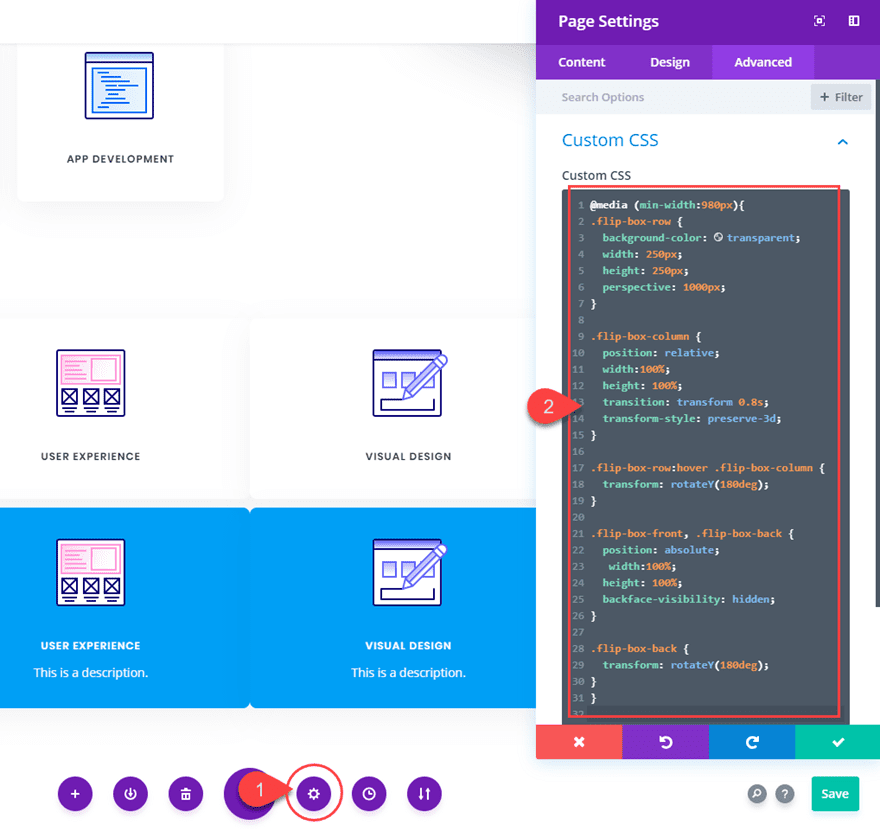
Notice that the above CSS classes are named in a way that should help you understand what each is doing. It is also a helpful indicator as to where we need to add those CSS classes to our Divi elements. For example, the class “flip-box-row” is meant to style each of the four rows; therefore, each row needs to have that CSS class.
Adding CSS Classes to the Divi Elements
Using Multiselect, select all four of the top modules (front cards) in each of the rows. Then add the following CSS class:
CSS Class: flip-box-front
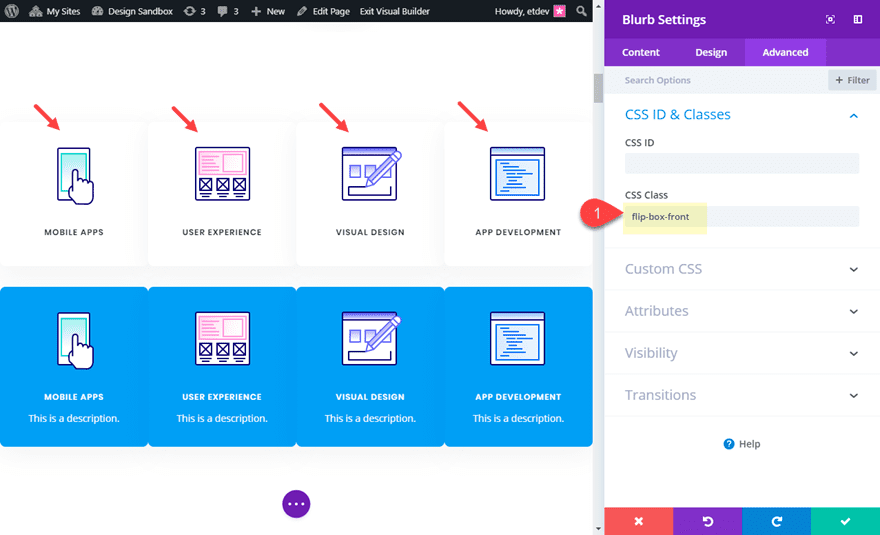
Then, use multiselect to select all four of the bottom modules (back cards) in each of the rows and add the following CSS Class to those modules:
CSS Class: flip-box-back
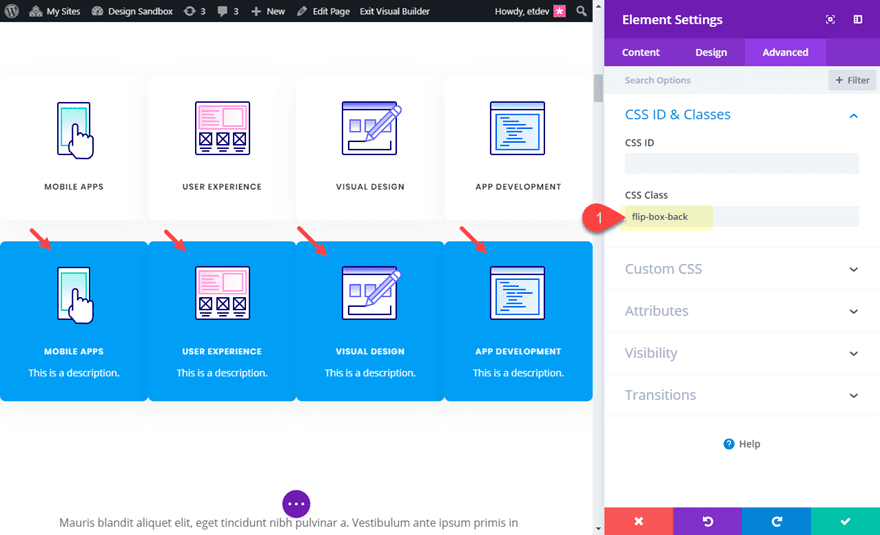
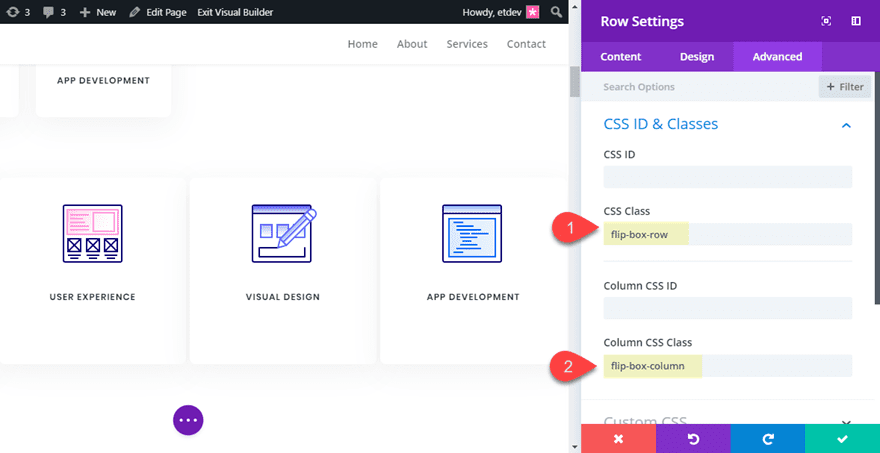
Lastly, use multiselect to select all four rows and give them the following CSS Classes:
CSS Class: flip-box-row
Column CSS Class: flip-box-column
Final Design on Desktop
With all our CSS classes added, our flip cards are fully functional. Check out the final design on desktop.

Customizing the Design for Mobile
In the custom CSS code that we already added to the page settings, there is a media query that limits the flip card functionality to desktop only. However, we still need to hide the front versions of our flip cards on tablet and smartphone as well as make sure our rows stack nicely when adjusting browser widths.
To hide our front card blurb modules, use multiselect to select all of the top modules (front cards) in each row (this will be easier in wireframe view mode since things will be moving around in the front end builder) and update the following:
Disable on: Phone and Smartphone
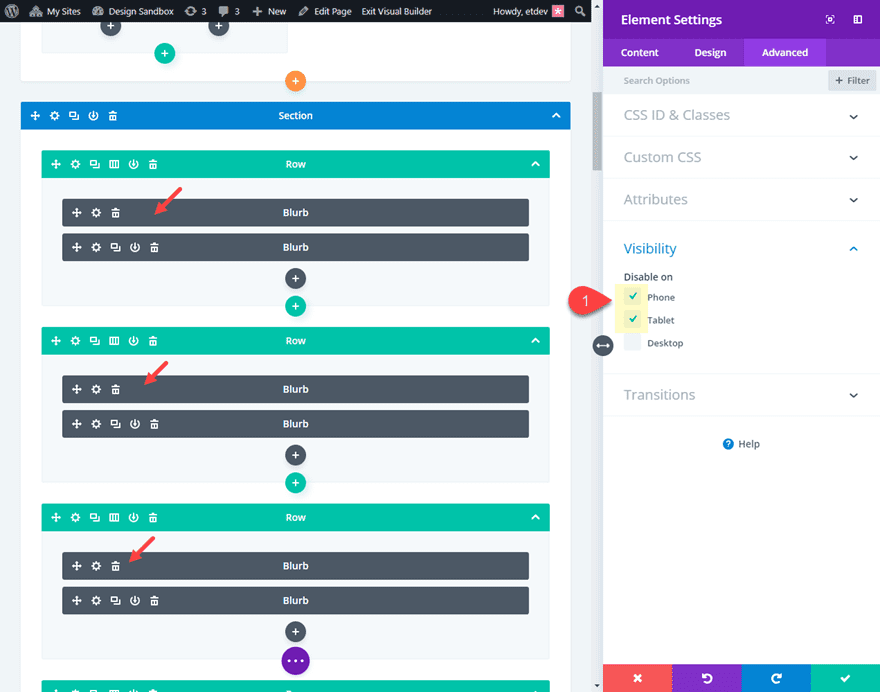
Then open the section settings and add one more line of CSS to the main element in addition to the one added previously:
flex-wrap:wrap;
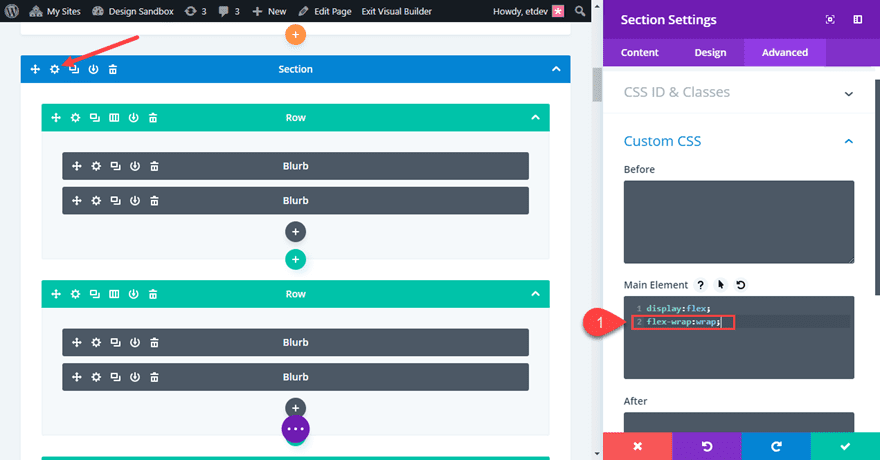
This will make sure the rows will stack on mobile.
Now let’s check out the final design on tablet and smartphone.
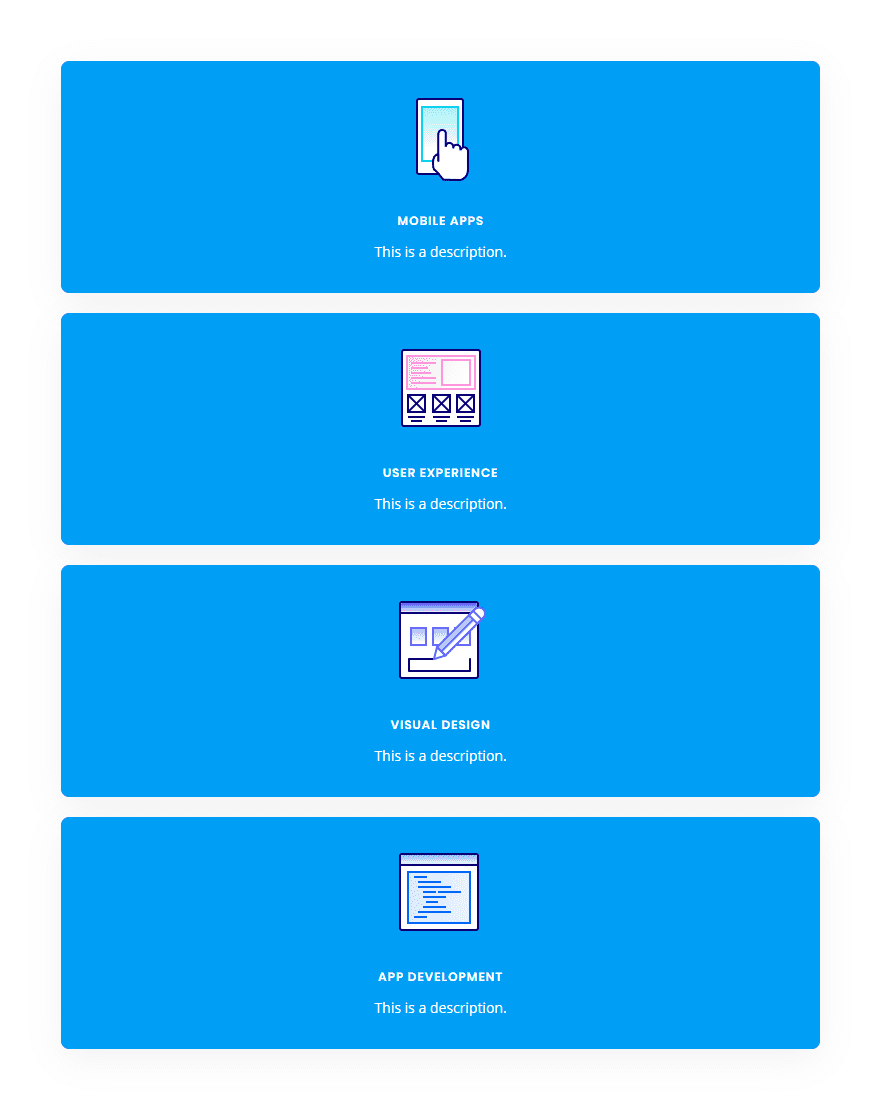
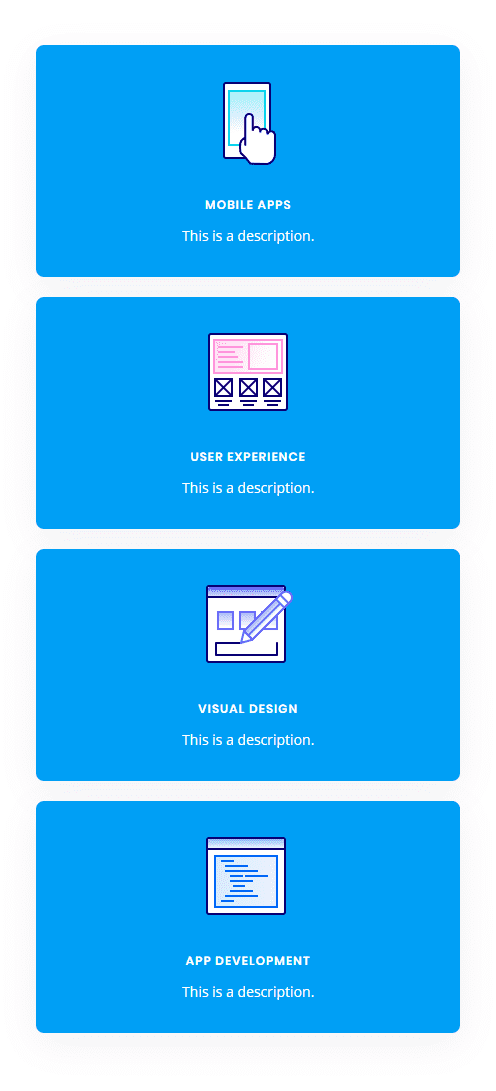
Bonus Option: Vertical Flip Cards!
If you want your flip cards to flip vertically instead of horizontally, you only need to change a two letters (literally) in the custom CSS. Open the page settings and locate the two places where “transform: rotateY(180deg)” is being used. Then replace the “Y” with “X”. If you haven’t guessed already, this changes the rotation to rotate on the X axis instead of the Y axis.
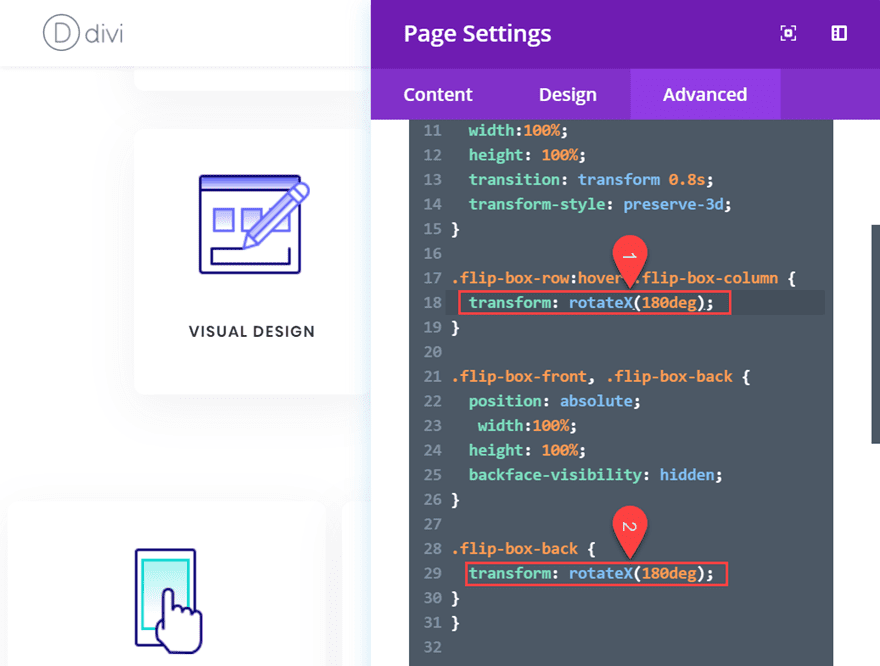
Pretty cool stuff! Check out the result.

Final Thoughts
You don’t have to resort to a plugin to create great looking Flip Cards in Divi. With this tutorial, you have a framework to create countless designs and combinations of flip card content. Don’t forget that you can choose any two modules to serve as the front and back of your cards. So feel free get creative!
I hope this was helpful and I look forward to hearing from you in the comments below.
Cheers!
The post How to Create Flip Cards with Any Module in Divi Without a Plugin appeared first on Elegant Themes Blog.
