Google sits at the top of the internet food chain. The company influences (or dictates) a lot of what happens online. And their new image format, WebP, continues that trend. With page load speed being increasingly important (primarily because of Google Page Rank), devs and designers look at image compression as the easiest way to reduce load times. Google’s WebP images come in at ~30% smaller than typical JPG or PNG images and maintain equivalent quality. And best of all, you don’t have to worry about converting your images to WebP manually.
In this article we’ll show you how to use this new image format with WordPress, even though it’s not yet supported by default.
Let’s get to it.
Using Optimole to Serve WebP on WordPress
WebP, as an image format, is not supported by default in WordPress. You can upload a .webp image, but much like an SVG file, you’ll find yourself getting error messages. And again, like using SVG files with WordPress, there’s an easy workaround via plugin to get your WP site zooming right along.
Of the WebP services that we’ve tried, our favorite is Optimole. We’ve had the best luck with getting it to work with minimal tweaking, so we want to walk you through how to set it up and get your WordPress installation WebP compatible as painlessly as possible.
First, obviously, you’re going to want to download and install the plugin itself. It’s on the WP.org repo, and it’s totally free. As is the API-based service that powers it (up to a point). While it is possible to convert traditional images to WebP on the fly using PHP, not every webhost gives your server that permission. If you do have that permission, you can also look into the WebP Express plugin. You get a lot of control with it, but it’s one that requires more tweaking to get working smoothly.
Once you have Optimole installed and activated on your WordPress website, you will find a new menu option at Media – Optimole.
Your Optimole API Key

Before you can access any settings or configurations, you need to have an Optimole account. If you’ve already set up one up, you can click the I Already Have an API Key button. If not, Register & Email API Key. The basic account for an API key is free, and you get roughly 5,000 visits on that tier. If you need more than that, there are pricing tiers available.
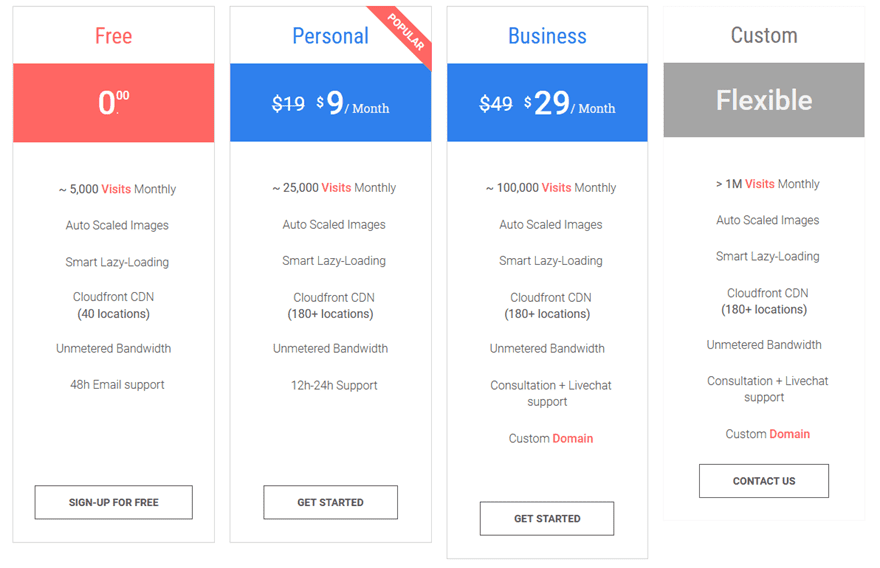
Optimole defines a visit as “anyone who visits your site once [. . .] Each user is only counted once. It doesn’t matter what they do on your site, how many images they download, or how many pages they visit; it’s just one user. If they leave your site and return on the same day, they are still just one user.”
Once you run out of the measured visits, just the WebP images stop being served. Your images themselves do not. You will find the API key in your Optimole dashboard at the very top.
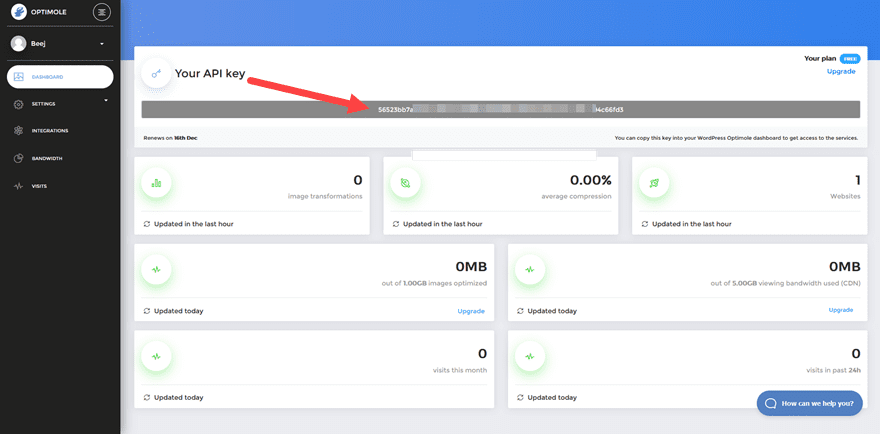
Just paste it in back on your WordPress dashboard, and you’ll be ready to start serving WebP images with WordPress.

Your Optimole WordPress Dashboards
In your WordPress dashboard, you get some basic information on your WebP optimization. This lets you troubleshoot and gauge how successful the speed-up actually is. That way you can go in and tweak various settings.
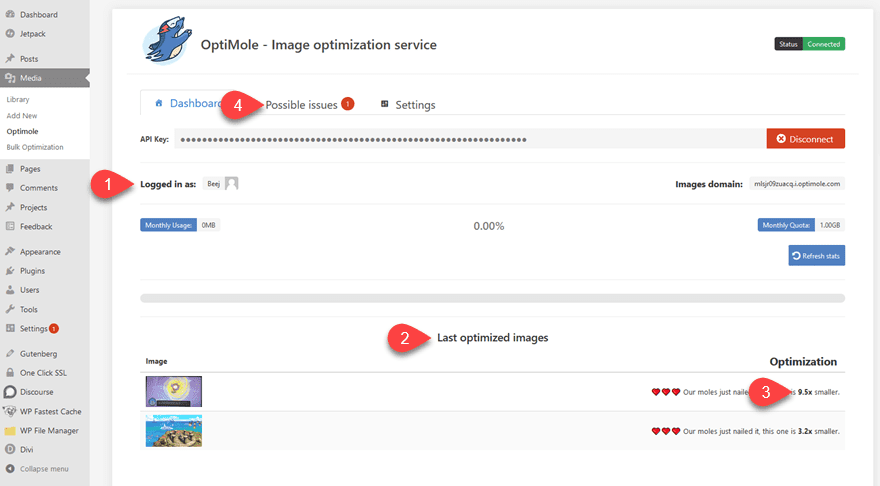
First, you see the account attached to the API, and at the bottom of the screen, the plugin displays the most recently optimized images. You can see how much smaller the WebP images that were served are from the original ones you’ve uploaded to WordPress.
Then there’s the Possible Issues tab at the very top. No one likes to see the tab highlighted, but we also all need to see what conflicts might arise, too.

The primary issue we’ve faced is with other image compression and delivery plugins. As you can see in the image above, the Jetpack plugin works in a similar way to Optimole via the Photon APIT, so they can bump heads. For us, this manifested as no image being delivered to the visitor at all. We have had no issues with other compression services like TinyPNG or Smush.
Using the Dashboards
If you want more detailed information on how your site is doing with WebP, the external Optimole dashboard has that info for you.
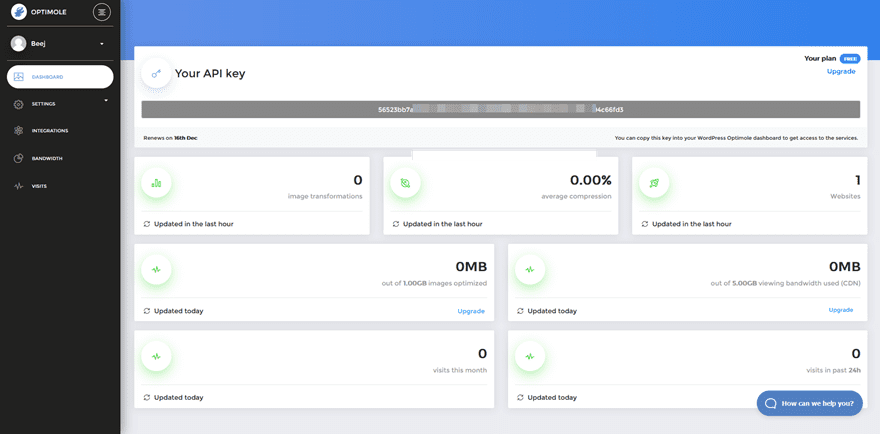
Instead of simply 9.5x smaller, you can see the actual file sizes that have been served. As well as which files themselves over a 30-day period.
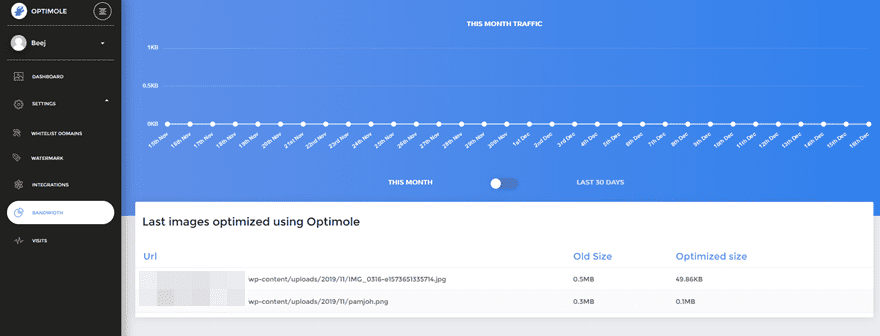
You can also set Watermarks in the Optimole (or WP) dashboard so that when someone is served a WebP from your WordPress site, they will have your logo blazoned on automatically. It’s a simple process, and you get control over opacity, location, and so on.
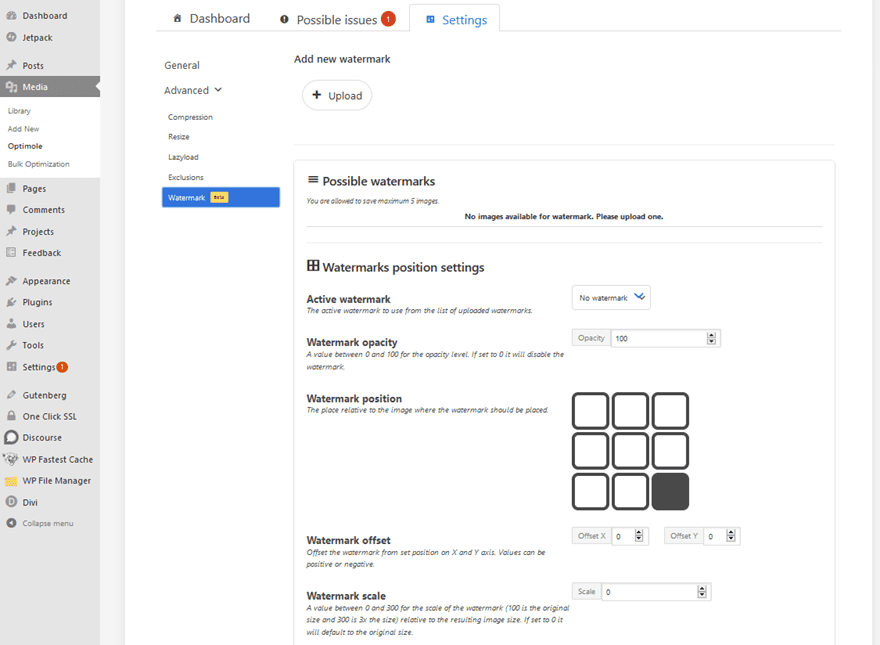
You can essentially do the same things from both dashboards. Either under the Settings tab in WordPress, or by visiting the external dash at Optimole. It depends entirely on what you’re most comfortable with, as well as what level of data you need at any given time.
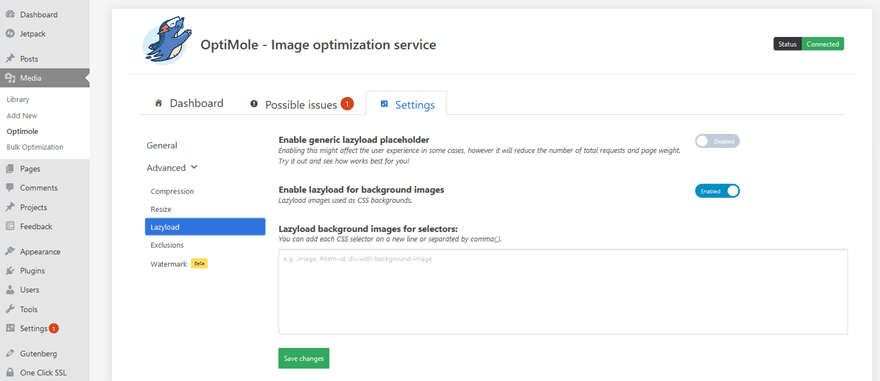
Additionally, you will be able to control the level of compression, lazy loading, and when/if certain images get served as WebP based on filenames. You will find all of this under the Settings tab of Media – Optimole.
Wrapping Up
The best part about using WebP with WordPress websites is that you don’t have to manually work with the files. No extra uploads, no extra compression time, nothing. Because of how the APIs work, all of the computation and processes are run on the fly in real time. Google really has made the internet run faster by using WebP rather than JPG or PNG. The biggest benefit, though, is that the images maintain the same quality even with their sizes being significantly reduced. It may be self-serving on Google’s part to get you to use their format to speed up your site so they can rank you higher, the end user experience is better, too. And that’s what matters in the end.
How do you feel about serving WebP images to your website visitors?
Article featured image by vladwel / shutterstock.com
The post How to Serve WebP Images instead of JPG or PNG with WordPress appeared first on Elegant Themes Blog.

