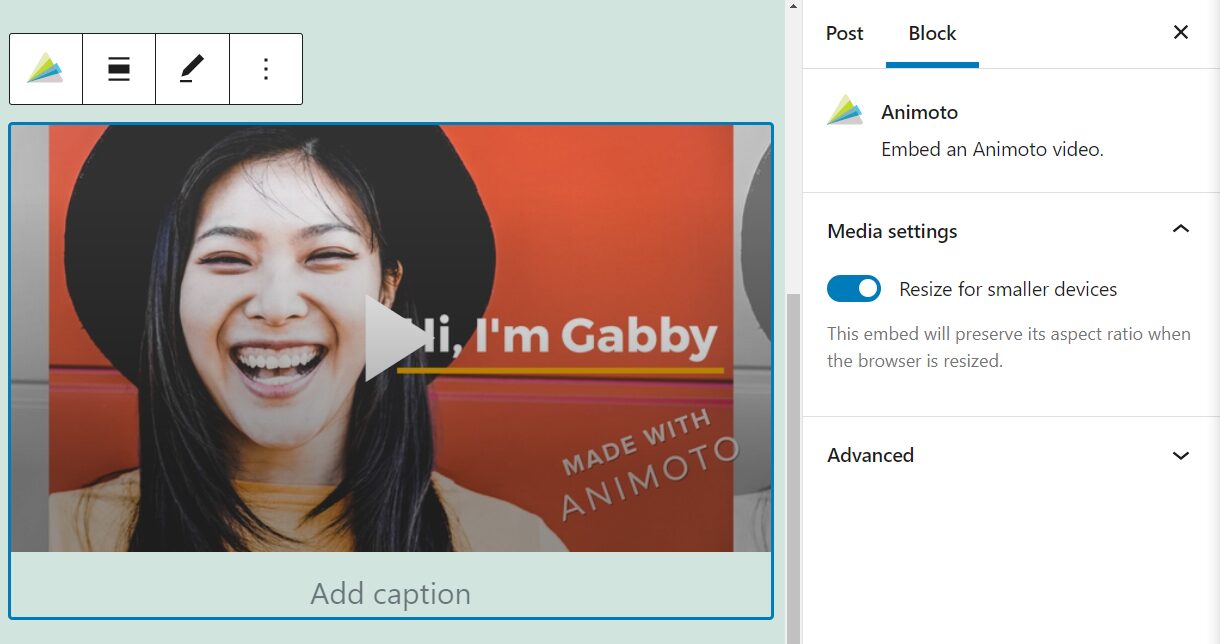
Animoto is a platform that enables you to create professional-looking videos using a mixture of your own footage and images. It also includes a collection of built-in tools and templates. If you use the site to make clips, adding them to your WordPress posts and pages is relatively simple, thanks to the Animoto embed block. With this element, you can embed videos in WordPress so visitors can watch them directly from your site.
In this article, we’ll show you how to add the Animoto embed block in WordPress and configure it. We’ll also share some tips and best practices for using this element.
Let’s get to work!
How to Add the Animoto Embed Block to Your Post or Page
Embedding an Animoto video in WordPress takes only a few seconds. The real work lies in creating the clip. Once you have one ready, Animoto enables you to share it via a link like this one:

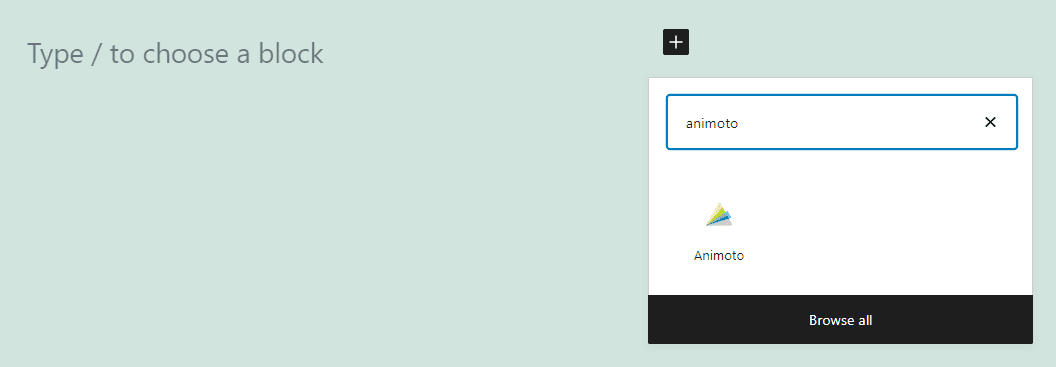
Copy that link, and open the Block Editor for the page or post where you want to embed the video. Click on the plus (+) icon to add a new block to the page. Then use the search feature to look for the”Animoto” option and select it:
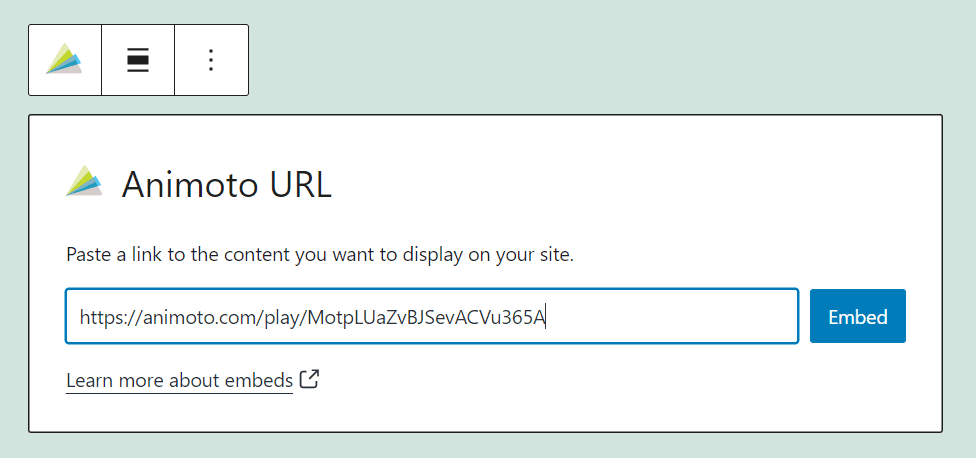
Once you add the block, you’ll see a field where you need to add the Animoto video URL. Paste in the link and click on Embed:
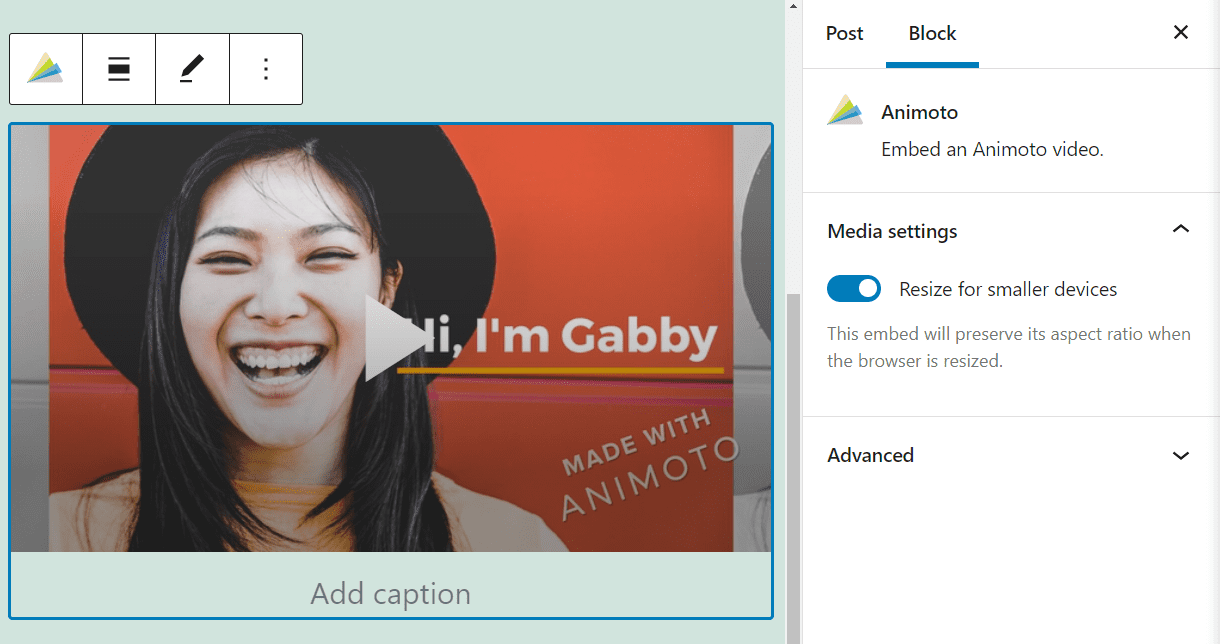
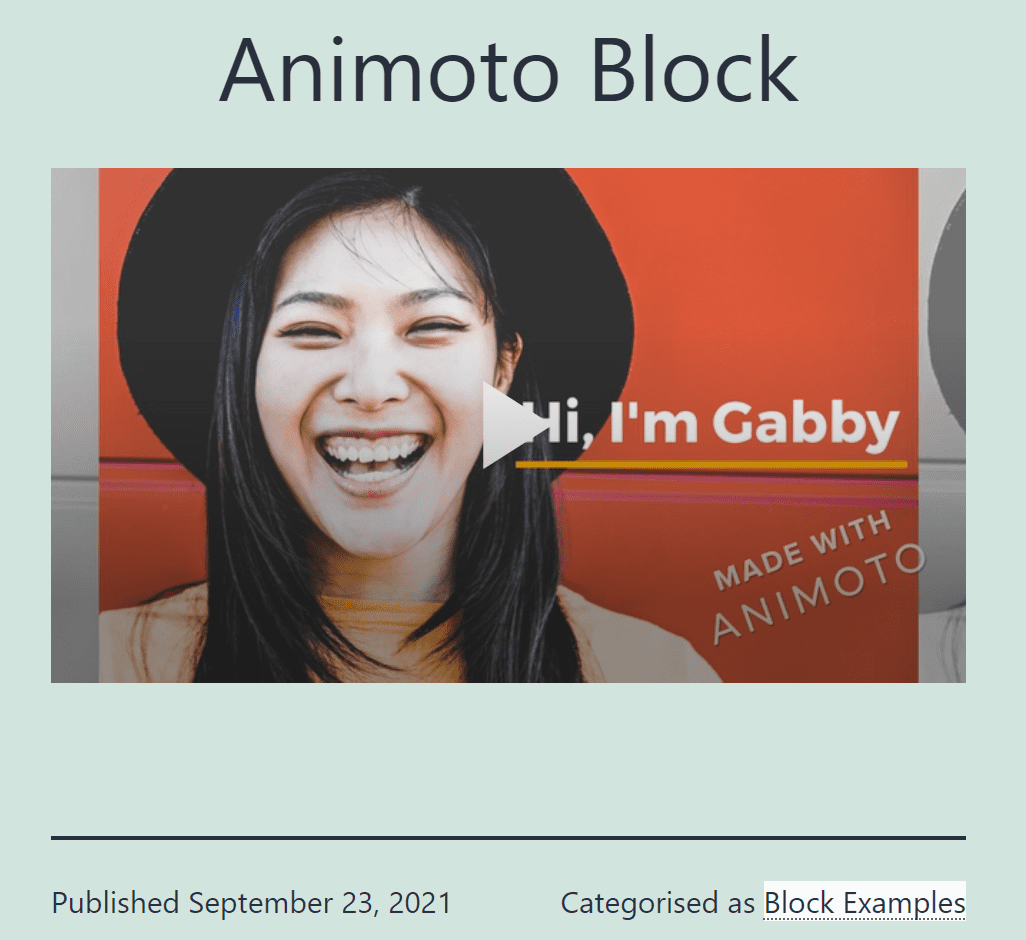
After selecting Embed, that block will “disappear,” and your Animoto video will replace it. Here’s a quick example showing one of our embedded clips:
Alternatively, you can go ahead and paste any Animoto URL in a blank Paragraph block. WordPress will recognize the link (if it’s valid) and convert it into an embedded video. With that approach, you can skip adding the Animoto embed block manually.
Animoto Embed Block Settings and Options
The Animoto block doesn’t offer many formatting options or configuration settings. That’s because it’s hosting an external video file. All WordPress does is embed that file so that visitors can watch the clip. However, the video itself is still hosted on the Animoto servers.
However, if you click on the Animoto block, you can access a formatting menu that includes the following options:
- Changing the type of block you’re using
- Changing the block’s alignment
- Modifying the Animoto URL
Here’s a quick look at what that formatting menu looks like:

You can also select the Animoto block, and click on the gear icon in the top-right corner of the Block Editor. Doing so will open the block’s Settings tab. Here, you can access different configurations, such as an option to resize Animoto videos on smaller devices:
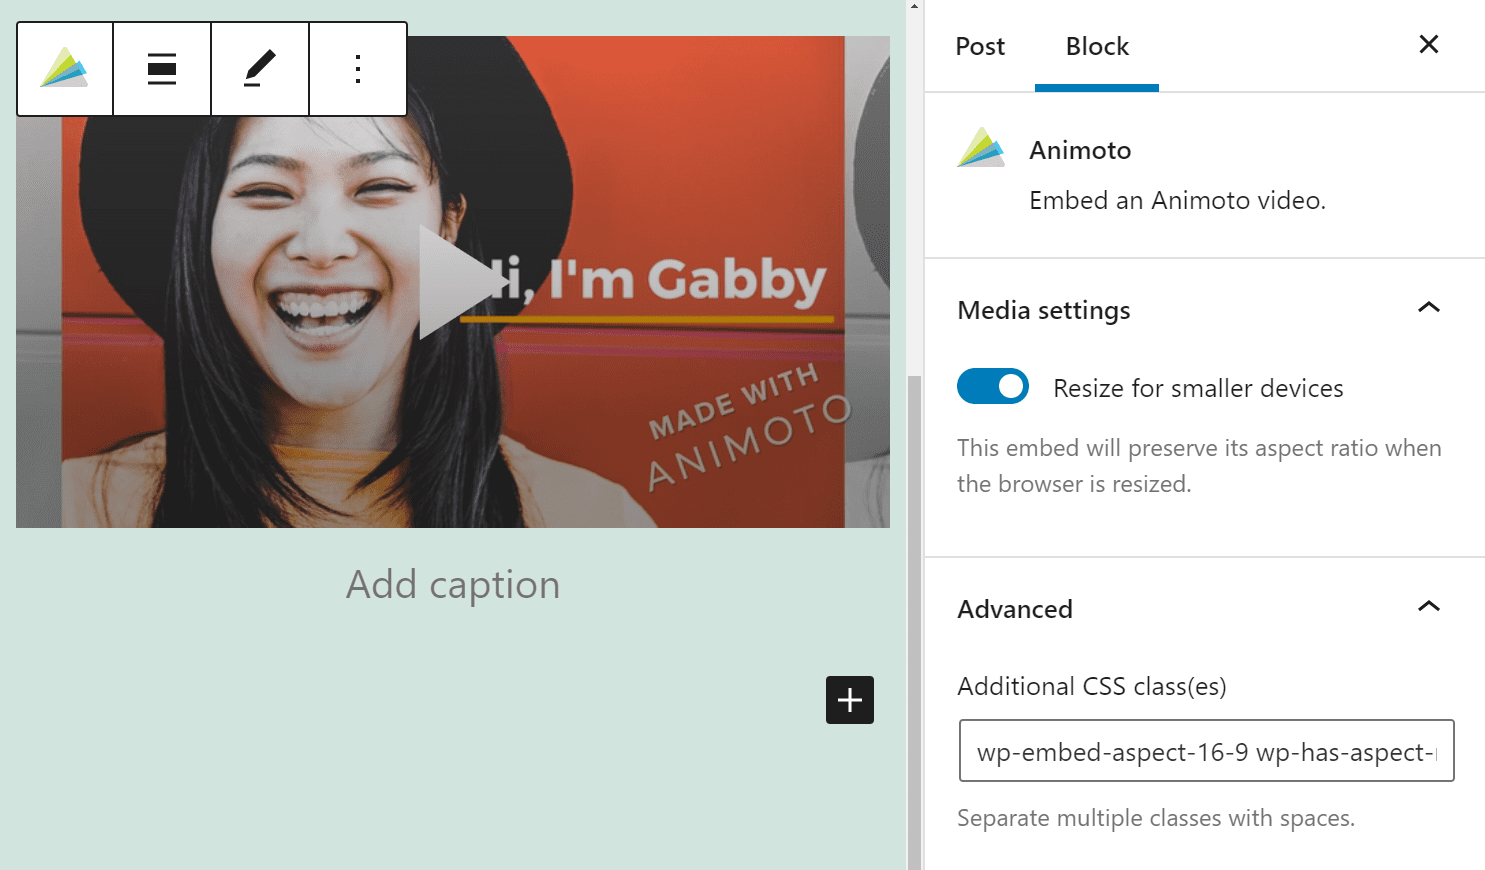
That option is enabled by default, and we recommend that you don’t turn it off.
Unlike most other blocks, the Animoto embed element comes with a pre-added custom CSS class, as you can see in the example above. That CSS class sets the proper aspect ratio for the video, but you’re free to remove it or add new styles to the element as needed.
Tips and Best Practices for Using the Animoto Embed Block Effectively
If you want to display videos on your website, embedding them is one of the best available methods. Clips tend to have substantial file sizes, meaning they take up a lot of server storage space if you upload them directly.
More importantly, videos can make short work of your bandwidth and slow down loading times across your website. However, by embedding a clip instead, you can show the content without using up your server storage space.
There are plenty of platforms where you can host videos. However, Animoto is one of the only options that provides you with video creation tools and hosting, all in one. Once you make a clip, you can take its link and use the Animoto embed block to place it in WordPress.
When embedding an Animoto video, we recommend that you enable the option that automatically resizes the video on smaller screens. This setting helps the clip display properly on mobile devices.
This setting makes the Animoto video player responsive on smaller devices, improving the experience for mobile users. Aside from that configuration, feel free to place Animoto videos anywhere you want on your website!
Frequently Asked Questions About the Animoto Embed Block
If you still have any questions about the Animoto embed block and how to use it, this section will answer them.
Do Animoto Videos Take Up Server Storage Space?
Every file takes up storage space. However, Animoto videos are hosted on that platform’s servers. When you embed a clip in WordPress, you insert a player that reproduces an external media file. Unless you download the video and upload it to WordPress manually, it won’t take up any of your server storage.
Will Using Animoto Videos Slow Down My Website?
Embedded Animoto videos shouldn’t impact your website’s loading times. When visitors access your site, they’ll load the media player. However, the clip won’t start loading or playing until they hit the Play button. If the video loads slowly, that’s likely a problem with Animoto’s servers or your visitor’s internet connection.
How Do I Get Started Using Animoto?
Animoto offers a free plan that enables you to test the service. It also has a broad library of tutorials that you can check out when working on your first video.
Conclusion
Creating videos can be time-consuming and complicated. However, Animoto makes it relatively easy to put together marketing content for your website, thanks to a collection of built-in tools and templates. You can combine those tools with your footage and images to make impressive clips – it’s almost like using a page builder.
Once you create a video, you can share it in WordPress using the Animoto embed block. The element will prompt you to add the video URL, and it inserts the clip for you. These video files look great across all resolutions, and they load quickly since they’re hosted on the Animoto servers.
Do you have any questions about how to use the Animoto embed block? Let’s talk about them in the comments section below!
Featured image via vladwel / shutterstock.com
The post How to Use the WordPress Animoto Embed Block appeared first on Elegant Themes Blog.

