You’ve probably heard about Kickstarter. It’s perhaps the best-known fundraising platform on the web. If you’re planning on launching a campaign, you need to publicize it. That means sharing it on social media, telling friends about it, and publishing the information on your website. Thanks to the Kickstarter embed block, you can showcase your campaign’s introductory video in WordPress.
In this article, we’ll show you how to use and configure the Kickstarter block. We’ll also discuss tips and tricks to help you get the most out of it.
Let’s get to it!
How to Add the Kickstarter Embed Block to Your Post or Page
The first thing you’ll need is a public Kickstarter campaign. If you’re still fine-tuning the details of your campaign, go ahead and wrap it up before thinking about embedding it in WordPress. Also, it’s important to note that the Kickstarter embed block will only show your campaign’s introductory video and not any of its details.
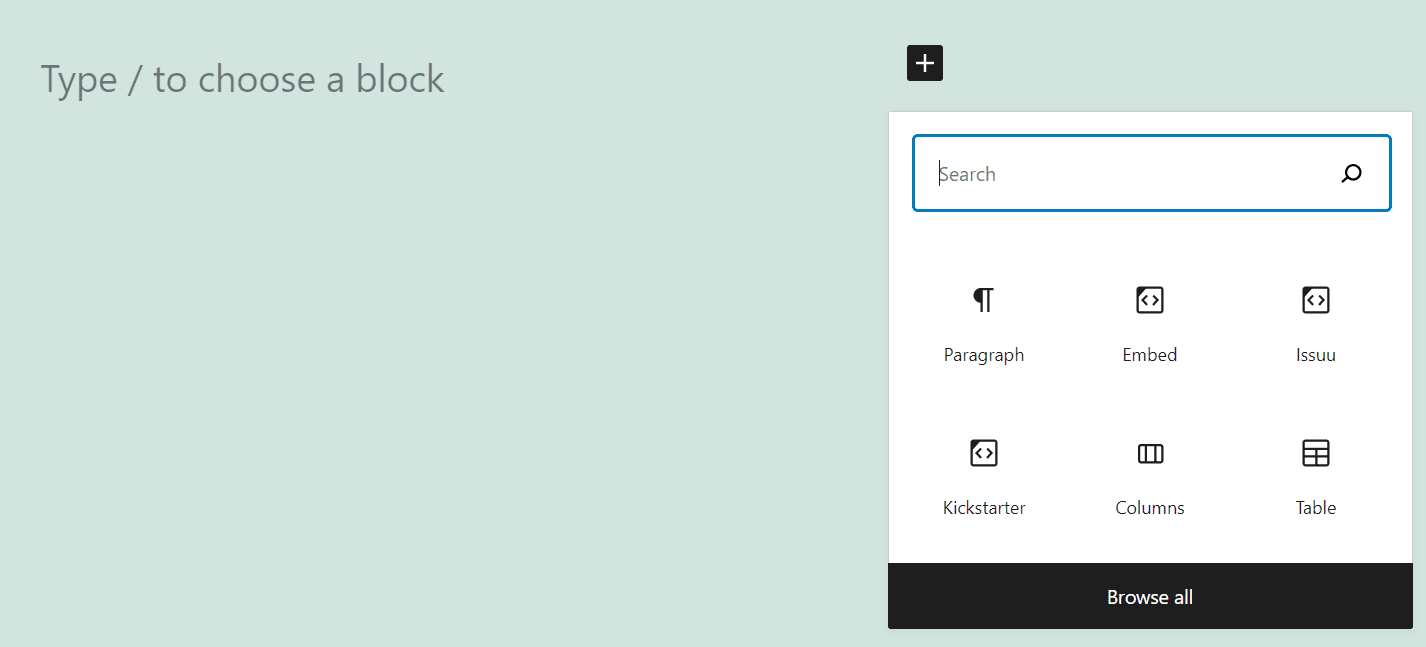
To use the block, you’ll need your campaign’s URL. Copy it, then go to WordPress and open the Block Editor for the page or post where you want to share the information. Add a new block wherever you want and select the Kickstarter option:

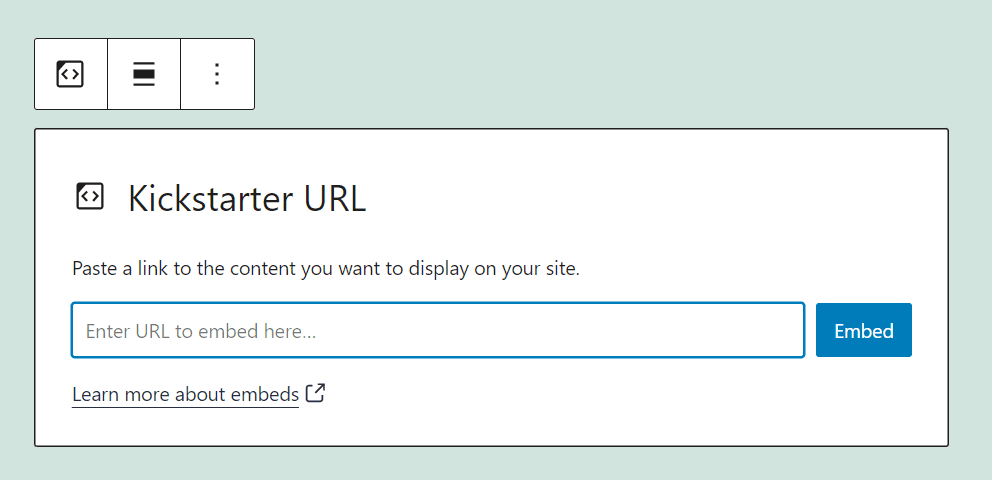
Once you place the block on your page, it’ll prompt you to add the URL of a Kickstarter campaign. Paste your campaign’s link in that field and click on Embed:

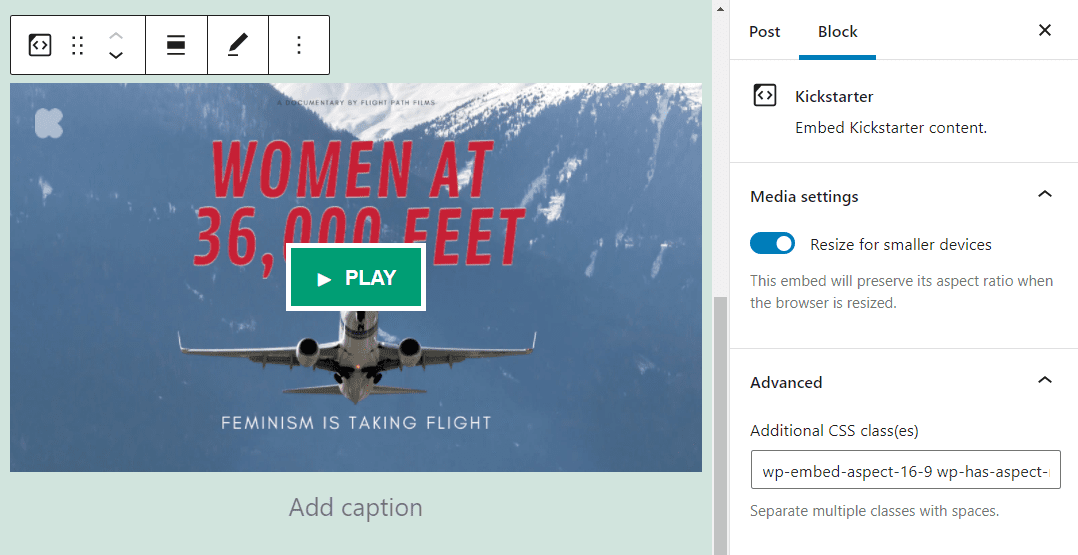
Once you enter your URL, the block will transform to display the campaign’s introductory video:

Users will be able to play the video like any other media file on your site. However, the element will use the embedded Kickstarter video player instead of WordPress’ built-in solution.
Alternatively, you can simply paste the URL of any Kickstarter campaign in a Paragraph block. If the link is valid, WordPress will automatically render the video and you can skip adding the Kickstarter block manually.
Kickstarter Embed Block Settings and Options
The Kickstarter embed block gives you access to a few settings that you can configure. First off, if you hover your mouse over the block within the editor, you’ll see a formatting menu appear over it. It includes the following settings:
- Changing the block to a different element
- Adjusting the block’s alignment
- Editing the Kickstarter URL you entered
Here’s a quick view of the menu, highlighting each of those settings:

There are also a few additional settings for this block, which you can access by clicking on the gear icon in the top-right corner of the screen. Select the block and click on that icon. This will open the following settings menu:

This menu includes a setting that reads Resize for smaller devices. That option is turned on by default, and we recommend that you keep it that way so that Kickstarter videos will look good on smaller screens as well.
There’s also an Advanced settings tab that includes an option to add CSS classes to the Kickstarter block. The block uses a custom class by default which resizes the Kickstarter video player for your website. However, you’re free to add as many new CSS classes as you want.
Tips and Best Practices for Using the Kickstarter Embed Block Effectively
Most WordPress embed blocks are very straightforward. Since you’re embedding third-party elements into your website, there’s often very little customization you can do.
The Kickstarter embed block is no exception. The only thing to keep in mind when using this block is that it just embeds your Kickstarter video. You’ll still need to manually add details about your campaign if you want users to contribute. Otherwise, they’ll just see a video:

Additionally, you’ll want to ensure that the resizing option for smaller devices remains on. That way, the video player will adapt to smartphone screens while maintaining its quality.
Frequently Asked Questions About the Kickstarter Embed Block
The Kickstarter block is very easy to set up and configure. However, you might still have a few questions about how the element works. Let’s look at some of the most common ones.
Does the Kickstarter Block Upload Videos to WordPress?
The Kickstarter block takes the introduction video from your campaign and embeds it in WordPress. However, the video itself remains on the Kickstarter servers, meaning the embedded element won’t impact your website’s performance.
Does the Kickstarter Block Show Campaign Details in WordPress?
The Kickstarter block only embeds your campaign’s video in WordPress. You’ll need to add campaign details manually if you want to give visitors the full picture of why they should donate.
Can I Embed Other Users’ Kickstarter Campaigns in WordPress?
You can embed other users’ Kickstarter campaigns in WordPress. However, you’ll need to add the campaign details manually and provide a link to the page. Using another campaign’s marketing video to promote your own content might land you in trouble.
Why Isn’t My Campaign Showing Up When I Use the Kickstarter Block?
If your campaign’s video doesn’t render when using the Kickstarter block, the first thing you’ll need to do is to check the URL that you used. The link should lead directly to your campaign page. If the URL works, your website might be running into a problem while trying to connect with the Kickstarter servers.
Conclusion
If you want to collect funds online for your dream project, Kickstarter is the way to do it. However, you can’t simply publish a campaign on Kickstarter and call it a day. If you want to meet the campaign’s goals, you need to promote it. That means sharing the campaign on your site and social media and asking people to spread the word.
WordPress makes it easy to share Kickstarter campaigns anywhere on your site, thanks to the Kickstarter block. All you have to do is paste your campaign URL, and the element will automatically embed its introduction video.
Do you have any questions about how to use the Kickstarter embed block? Let’s talk about them in the comments section below!
Featured Image via FGC / shutterstock.com
The post How to Use the WordPress Kickstarter Embed Block appeared first on Elegant Themes Blog.

