One of the biggest challenges that every blog faces is trying to drive interest towards its older content. As time passes, it’s normal for visitors to avoid aging articles and opt to read newer ones. To put it simply, your pieces may have an ‘expiration date’, and that’s not always a good thing. The same goes for your post’s comments. While there are few tricks you can employ, deciding to remove dates from your WordPress comments could be key to keeping your content fresh.
In this article, we’ll first discuss why you’d want to remove dates from your WordPress comments, then teach you three ways to do so. Let’s get to work!
Why You’d Want to Remove the Date From Your WordPress Comments
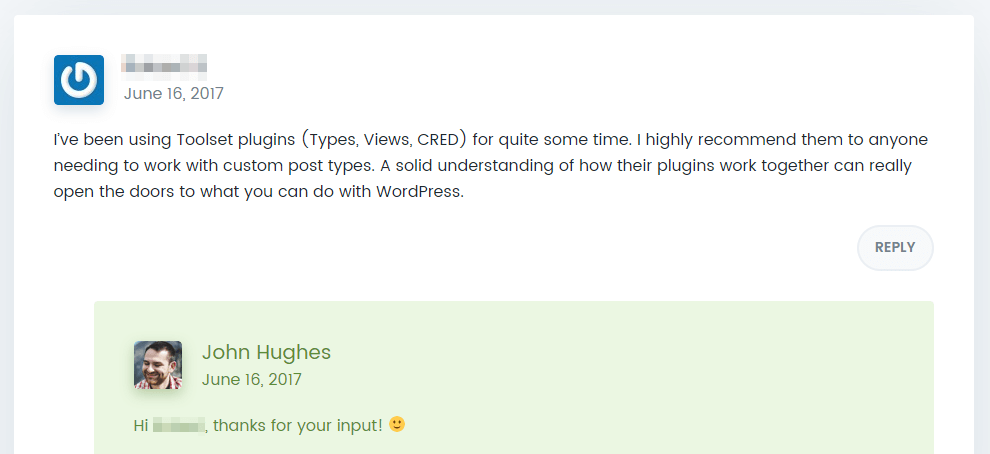
Displaying the dates of your comments can be useful, but it can also discourage people from checking them out down the road.
Showing the dates for each post in your comments section sounds like a no-brainer – after all, it’s a small feature that enhances usability.
The bad news is that including dates can also impact your content’s reception. As we mentioned earlier, it’s common for users to pass over content if they think it’s too old, and the same thing happens to comment sections. There might be lots of useful information in the comments of your posts, but if they were added more than a couple of years ago, it’s likely that visitors will skip over them to look for more recent insights.
Removing the dates from your comments is a small tweak, but it can help to keep your content evergreen. The good news is that WordPress makes this easy to achieve.
How to Remove the Date From Your WordPress Comments (In 3 Different Ways)
If you’re not a Divi user, don’t worry – either of the first two methods in this section should work on your site. However, if you are a Divi user, you can skip to method number three, where we talk about how to remove the date from your comments using the Comments module.
1. Use the Better Recent Comments Plugin
The Better Recent Comments plugin enables you to get more control over your comment sections by choosing which elements they should include. Plus, it enables you to add new comment sections using either a widget or simple shortcodes. While it hasn’t seen recent development, we found no issues during testing – and it also works well with Divi.

To get started, simply install and activate the plugin since it doesn’t have any additional configuration options. If you want to use the Better Recent Comments widget feature, you can find it by heading into Appearance > Widgets on your dashboard:
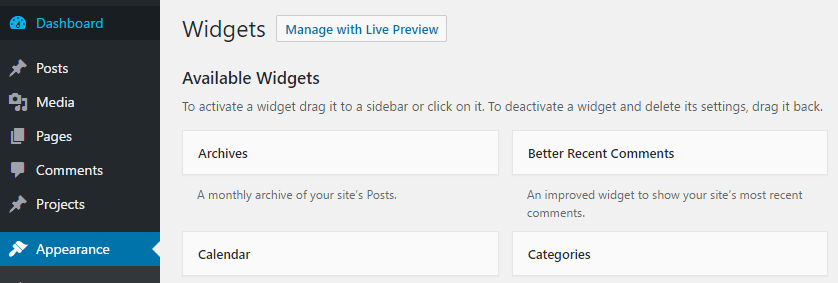
From here, drag the Better Recent Comments widget to any section you like and you’ll see the option to choose which elements it should include:
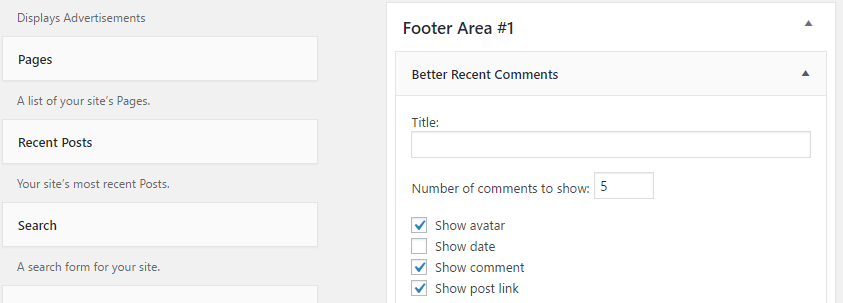
You can choose how many comments you want the section to display. If you want to keep the widget as close to WordPress’ default comment sections as possible, set a large number.
As you can see, there’s also an option to show the date of each comment on your widget. Go ahead and disable it now and save your changes. If you navigate to the front end of your site, you’ll see how it all looks:
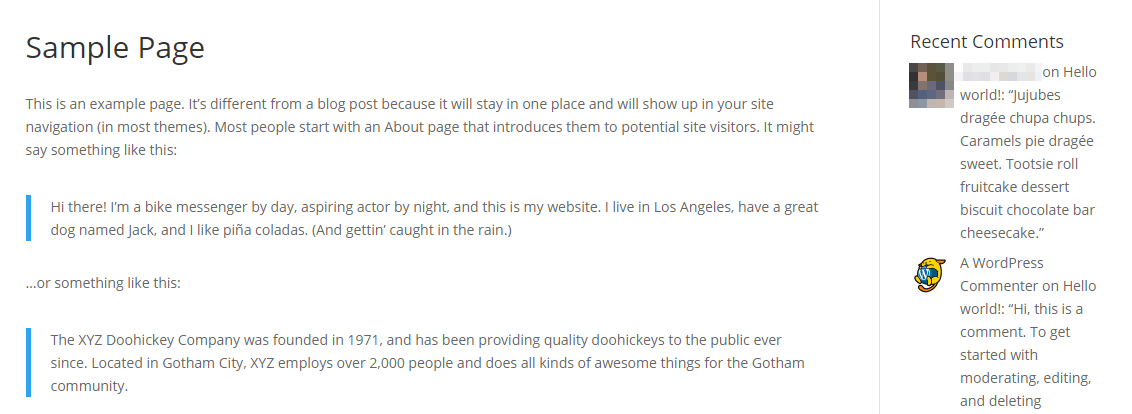
If you want to display your updated comments section somewhere else on your page, you’ll need to use the plugin’s shortcode system. To do so, just open the WordPress editor and paste in the following wherever you want:
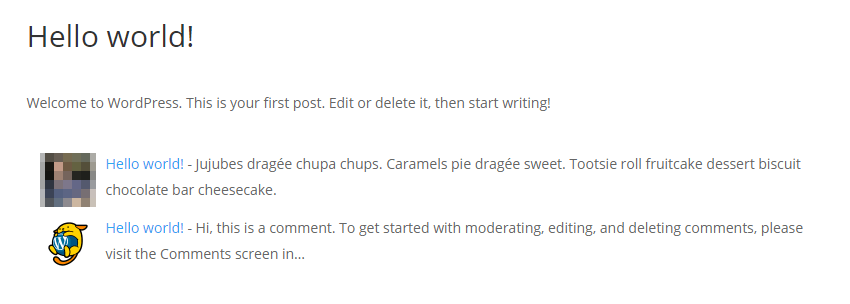
[better_recent_comments number="50" format="{avatar} {post} - {comment}"]
This tells the plugin to only include the enclosed elements. In this case, that’s your commenters’ avatars, usernames, and what they wrote. Here’s how it looks when seen from the other side:
That’s pretty much it! Now let’s talk about how to implement this feature without using plugins.
2. Edit Your Theme’s style.css file to Remove Dates from Your WordPress Comments
If you don’t want to use a plugin to display your comment sections, you can also remove the dates from all of them using a tiny CSS snippet:

Since we’re not using Divi for this example, you’ll need to add the following snippet to your theme – ideally your child theme – style.css file. You can do that by heading to the Appearance > Editor tab on your dashboard and looking for the file on the list to your right:
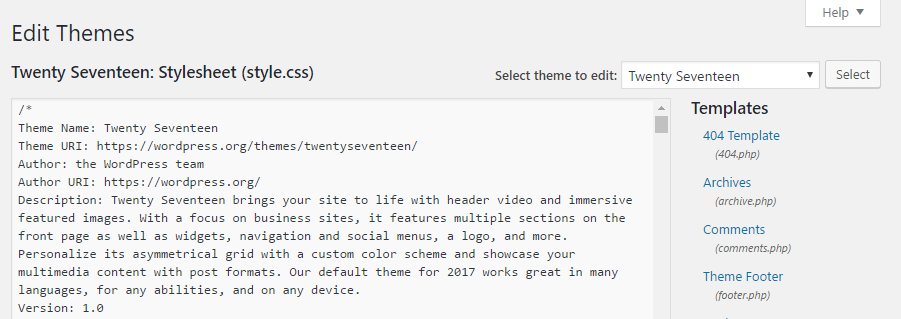
Now paste this snippet to the bottom of your style.css file and save your changes:
.comment-metadata { display: none }
Keep in mind – the comment-metadata class may change depending on which theme you’re using. If the code above isn’t working and you’re not sure which class to use, you can find out by using Google Chrome’s Inspect tool. Just right-click the date on your WordPress comments, click on the Inspect button, and check out the name of the class for your theme:

Update the code snippet above accordingly, and you’ll be good to go!
3. Add CSS to Your Divi Comments Module
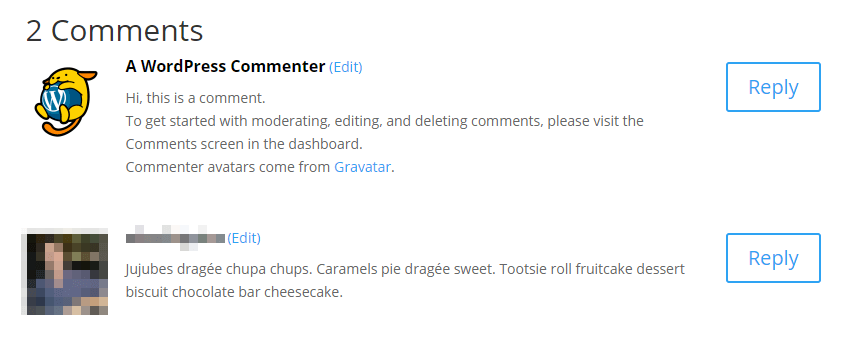
Using Divi to remove dates from your WordPress comments is a snap.
One of the advantages of using Divi is that you don’t need to delve into your theme files to make simple aesthetic changes. There’s a myriad of options at your disposal using the theme’s own Divi Builder, and options that aren’t included within the settings can still be tweaked using the Custom CSS field.
For example, removing the date from your Divi comment sections is as easy as heading into the Divi > Theme Options tab on your dashboard and adding the following snippet into the Custom CSS field:
.comment_date { display: none; }
Now save your changes, and take a look at your handiwork as seen from the front end of your site. All it took was a single line of code and less than a couple of minutes!
Conclusion
As time goes by, it’s normal for some of your content to lose relevance. However, in some cases even your most relevant content can lose out on views after a while, and removing the dates from your WordPress comments can make readers pay more attention to it.
Depending on your setup, there are three ways to achieve this:
- Use the Better Recent Comments plugin.
- Remove the date from your default WordPress theme.
- Remove the time from your Divi Comments module.
What do you think is the best way to keep your WordPress content relevant for as long as possible? Share your thoughts with us in the comments section below!
Article thumbnail image by Pretty Vectors / shutterstock.com.
The post How to Remove the Date from WordPress Comments and Keep Your Discussion Fresh appeared first on Elegant Themes Blog.
