If you have a WordPress website, there’s a good chance you have WooCommerce installed. If not, then there’s a high likelihood that you have considered or are considering it. We understand the prospect of learning an entire ecommerce platform can be daunting, but thankfully WooCommerce is an easy-to-learn platform. Much of its basic functionality can be understood by learning about the default pages that are installed during setup and how they work.
1. Shop

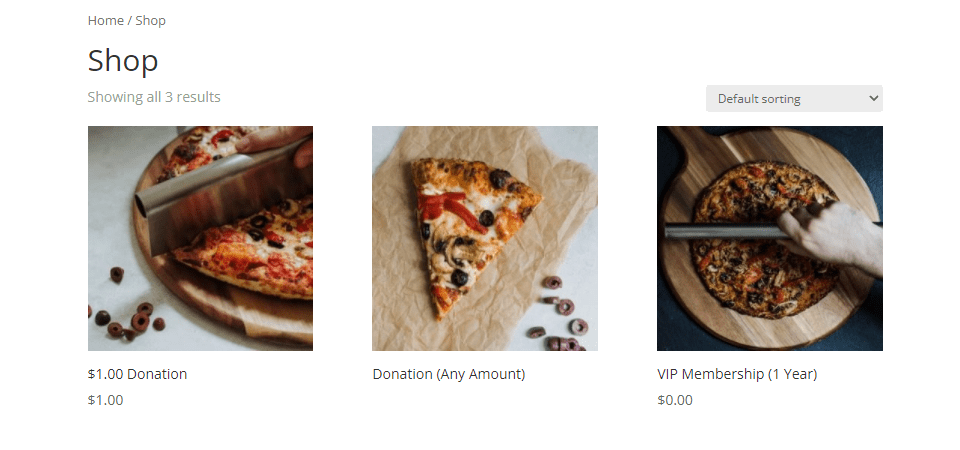
Perhaps the most important default page for WooCommerce, the Shop is where your customers will see the various products you have for sale. That is its only function, really—displaying products.
Upon installation, WooCommerce sets the URL for the Shop https://example.com/shop. While much of WooCoomerce content displays through the use of shortcodes, the Shop page does not.
It’s important to note that when you’re editing this page and the other default WooCommerce pages, they do not include styling options. To customize these pages you need to edit their CSS directly or use a theme or plugin that provides styling options. Our own flagship product, the Divi Theme, is an incredibly powerful design tool for anyone using WooCommerce. If you don’t want a single Shop page for everything (which can be impossible to manage if you have a large shop), you can always create Product Category Pages that display only certain kinds of products, and the Divi Theme Builder
Additionally, you can use Divi to completely revamp the look of WooCommerce in a number of ways, creating a site-wide WooCommerce template that displays products in a much more appealing way. On top of that, Divi’s WooCommerce modules includes a number of customization options, including a Shop module that you can use in concert with the Theme Builder to create some fantastic effects.
2. Cart

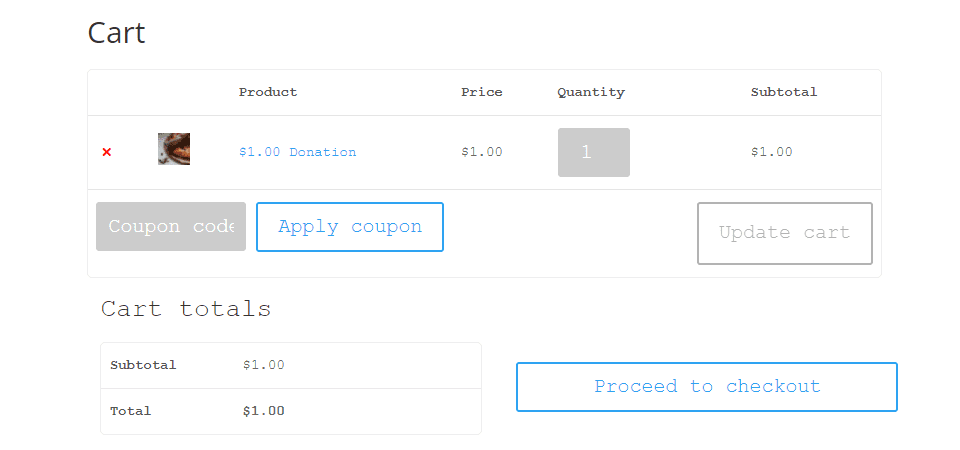
By default, WooCommerce creates the https://example.com/cart URL for your site. Within this, the Cart page’s content is simply the shortcode
Again, the default WooCommerce Cart page isn’t editable outside of custom CSS code. Some third-party software allows you to do so. Additionally, the cart rendering via shortcode gives you a number of options regarding where to display the cart. You can easily display it via the Block Editor’s Shortcode Block. You could include it as part of your shop’s footer or any page template using the Divi Theme Builder. While traditionally, the cart is a page on its own, you can use the flexibility of the shortcode to remove friction between your user and a finalized purchase.
3. Checkout

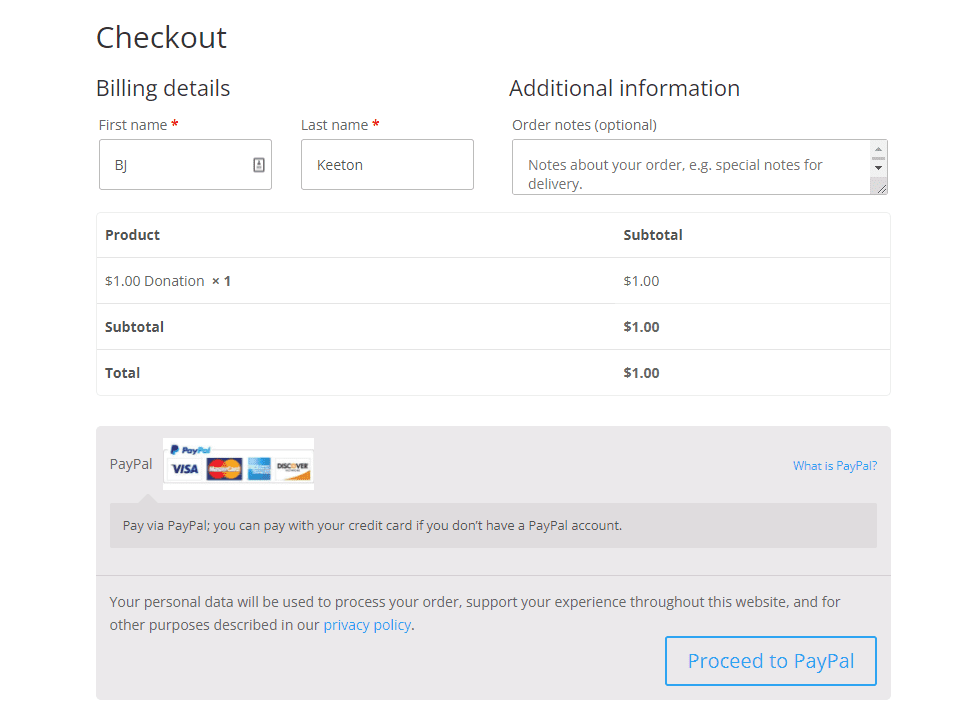
Much like the other default WooCommerce pages, the Checkout page (https://example.com/checkout) also renders its content via shortcode:
Additionally, WooCommerce has released its own payment gateway called WooCommerce Payments that you can install as a separate plugin. Because international guidelines on finances can be strict, certain processors like PayPal may not be available in all countries. Instead of losing out on international sales, you can use WooCommerce Payments as a gateway.
Any payment processors and gateways that you choose will appear in the checkout page, making it easy for your customers to decide how they want to complete their purchase. The Checkout page uses default site styling, but you can use custom CSS or third-party software to customize it.
Also, you can add any content you want to the Checkout page, such as upsells and related products (both of which are included in the Divi WooCommerce module pack) to further entice your customers. You just need to edit the page that contains the shortcode and append extras wherever you want.
4. My Account

Rendered by the Login
Not only will it allow them to adjust their WordPress-specific details such as display name, email address, and password, the My Account page gives them full access to the fine details of their interactions with your site and shop. The Addresses endpoint lets them adjust their shipping and billing addresses to make future purchases easier.
The Orders option lets the user see any completed (and cancelled) orders they’ve made. If you run a store that deals in digital goods, the Downloads link will take the user to their license keys and links to any files to which their purchases have granted them access.
Like the other WooCommerce default pages, the My Account page offers very little in the way of customization. The basic WooCommerce plugin is about functionality over style, and as with the other pages, you can use third-party software like Divi to add a number of features to the My Account page. Doing something like adding a Related Products or Upsell to the Orders or Downloads endpoint can greatly increase your engagement and conversions.
Wrapping Up with WooCommerce Default Pages
WooCommerce is one of the most powerful WordPress tools out there. But powerful doesn’t have to be complicated. The default pages that come with WooCommerce are simple and straightforward. By understanding how each of them appears on your site (and how each of them can then be customized and adapted to your needs), you can become a tycoon within your niche. By relying on shortcodes, WooCommerce has allowed for third-party developers to extend its functionality by leaps and bounds. When you take a look at your site’s default pages and see how your users interact with them, you can increase sales, engagement, and create a user-experience that will make them keep coming back over and over again.
What tips and tricks have you learned to get the most out of WooCommerce default pages?
Article featured image by Julia Tim / shutterstock.com
The post A Simple Guide to WooCommerce’s Default Pages appeared first on Elegant Themes Blog.

