MemberPress is a membership plugin for WordPress that makes it easy to restrict access to your content. This allows you to create content for paying members only. The MemberPress Divi add-on integrates with Divi’s rows to protect MemberPress content. In this article, we’ll take a look at the MemberPress Divi add-on and see what it can do and how easy it is to use.
MemberPress Divi Add-on
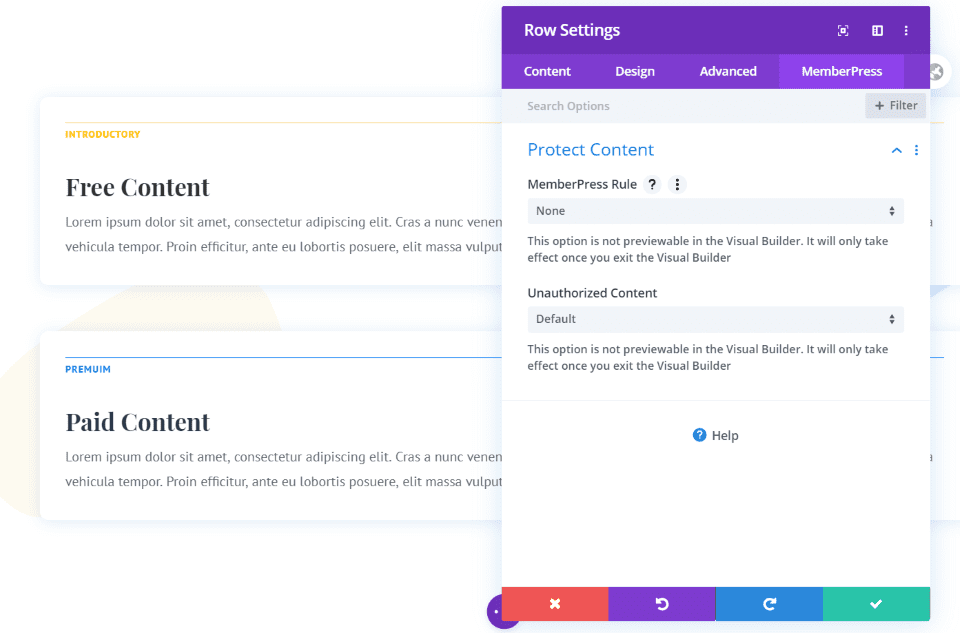
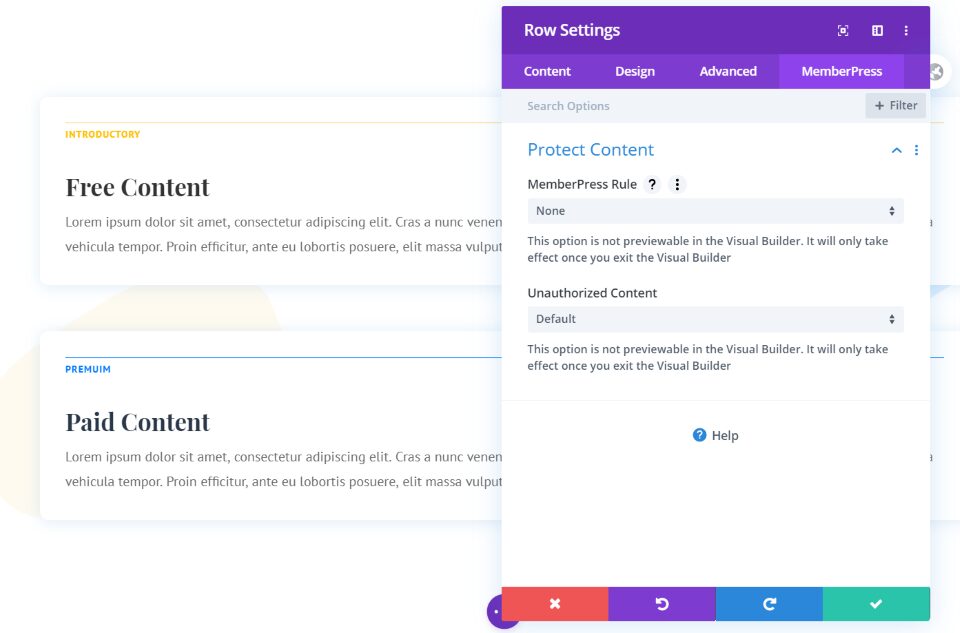
Once you activate the plugin and enter your license key, a new tab will appear in the Row settings called MemberPress. Inside is a field called Protect Content. Here, you’ll see selections for the MemberPress Rule and Unauthorized Content. This allows you to apply rules to specific rows, which is great for hiding content. Rows in Specialty sections will not have this tab.
Let’s look at how to use these settings with a membership that you’ve created with MemberPress. We’ll need to create a membership and create a partial rule. This will cover enough about MemberPress to get started for this article. For more information about using MemberPress with Divi, see the Elegant Themes article How to Build a Membership Site with Divi – Part 1. This is the first of a series of articles that step you through creating a complex membership website with Divi and MemberPress.
Create a Membership
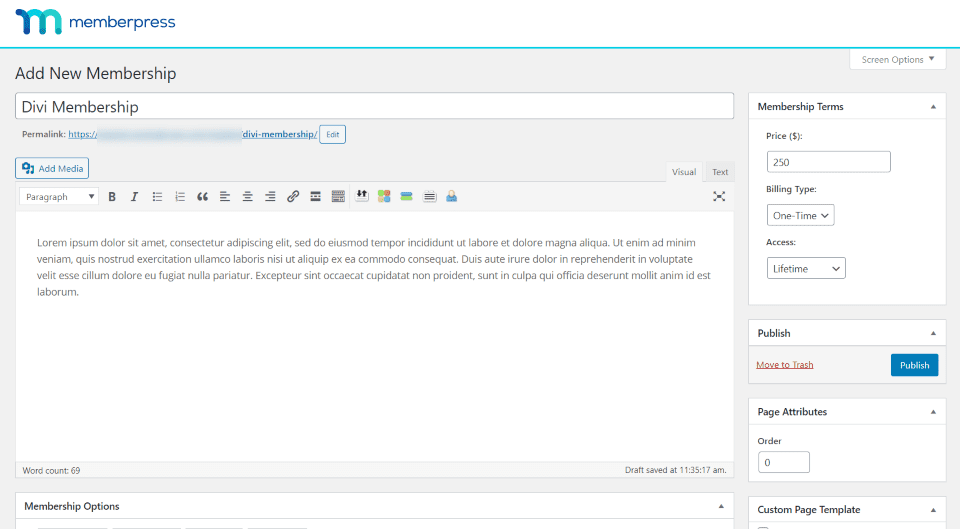
Create a MemberPress membership as normal. In the WordPress dashboard, go to MemberPress > Memberships and select Add New. Add the content, set the price, adjust your settings for the membership, and publish the membership.
Create a Partial Content Rule
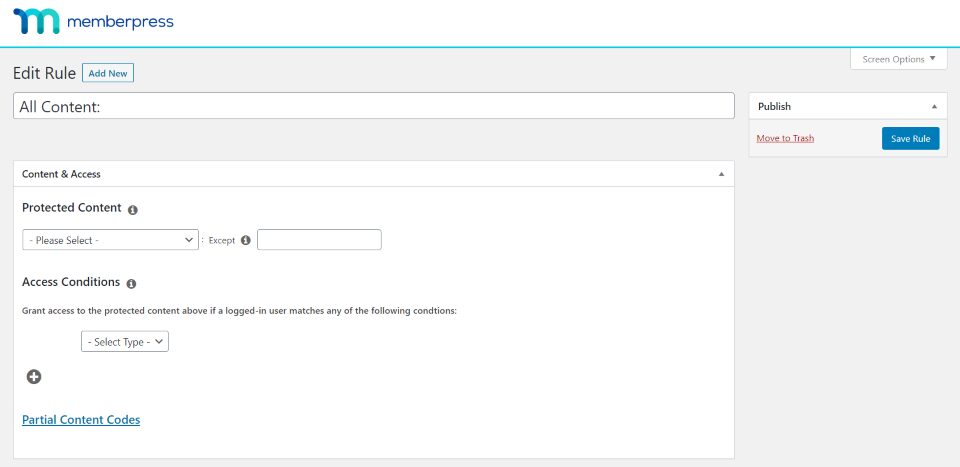
Next, you’ll need to create a rule that Divi can have access to. Go to Memberships > Rules and click Add New. This opens the rule editor where you can create a partial content rule and connect it to your Divi membership.
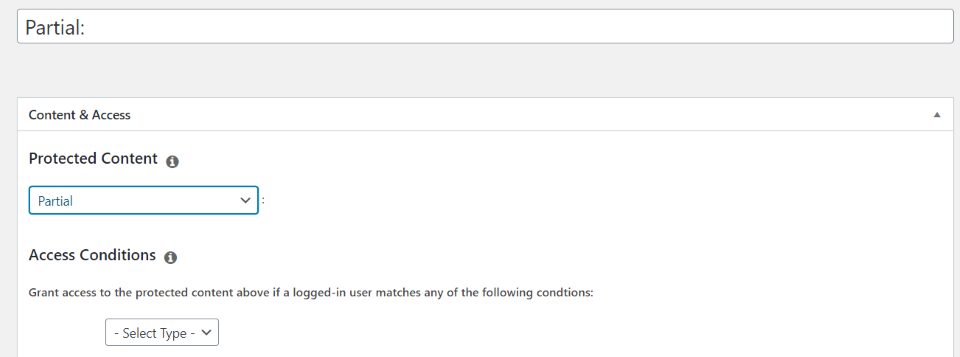
Under Content & Access, select Partial in the Protected Content dropdown box. Partial allows you to target any content that you apply this rule to. This option allows you to show certain Divi rows and restrict certain Divi rows in the same layout.
This protects the content from users that are not logged in or don’t meet the qualifications that you specify in the access condition rules that you’ll set up next. Making a selection automatically changes the rule type in the title field.
You can also choose all content, all content with a certain tag, category, layout pack, type, scope, module width, project category, or project tag. Other options include all posts, a single post, post categories, tags, pages, a single page, child pages, groups, projects, and more.

Under Access Conditions, select Membership from the Select Type dropdown box. This opens another dropdown box where you can choose the membership to connect to. Adjust your drip and unauthorized content settings if you want and save the rule.
Restricting Access to MemberPress Content on Divi Pages
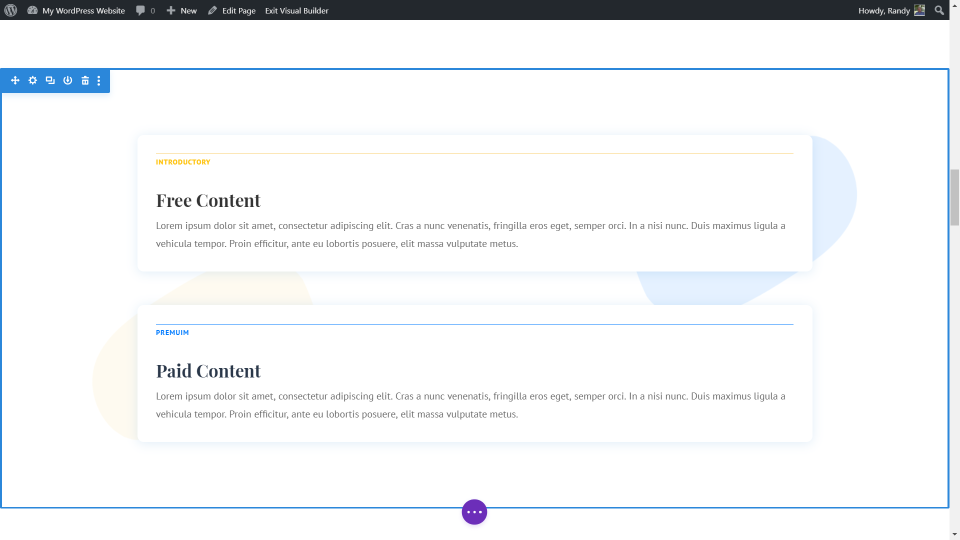
Create your Divi pages and add the content that you want to restrict. This can include the complete content, a link to download a file, videos, audio, links to other content, and lots more. In my example, I’m adding two pieces of content. One is for content that is free and the other is for paid content. Each is labeled to identify what they are.
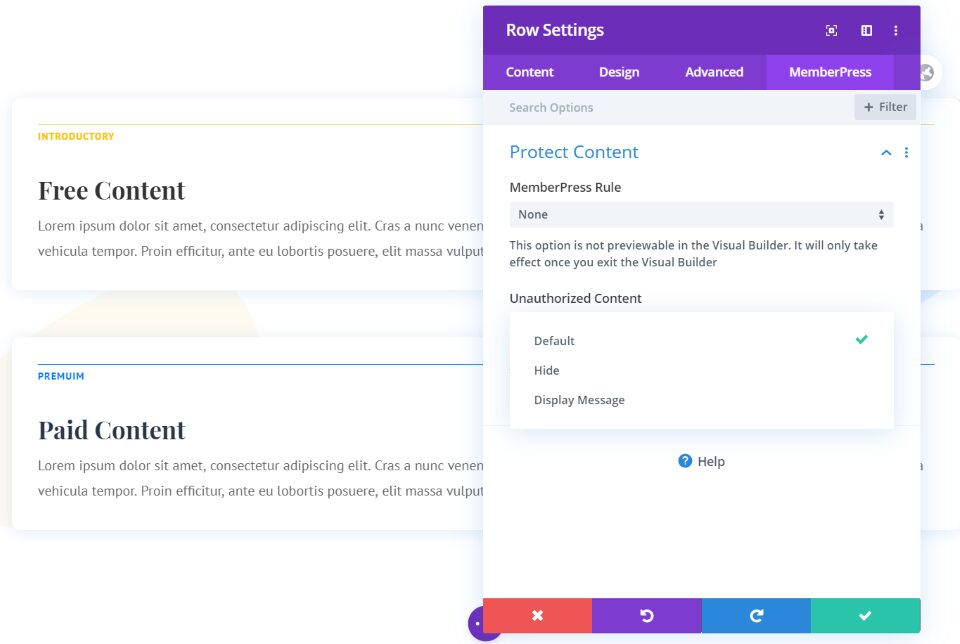
In the row with the content that you want to restrict access to, open the settings, go to the MemberPress tab, and choose the MemberPress Rule that you created earlier. For Unauthorized Content, choose between Default, Hide, or Display Message. Let’s look at each option.
Default
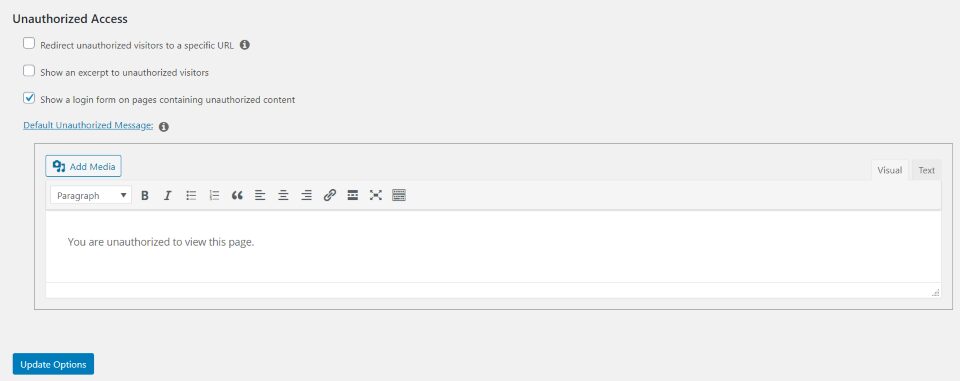
The default setting will display your default unauthorized message. This is set up in the Pages tab of the MemberPress settings screen in the WordPress dashboard. Here, you can redirect visitors to a specific URL, show an excerpt of the content, or show a login form. An editor is provided to create custom content that will display above the form if you want.
The default setting will show a login form that will take the full width of the row. This form is not stylable with the Divi row settings. It would be interesting to see the form styling added to the MemberPress tab.
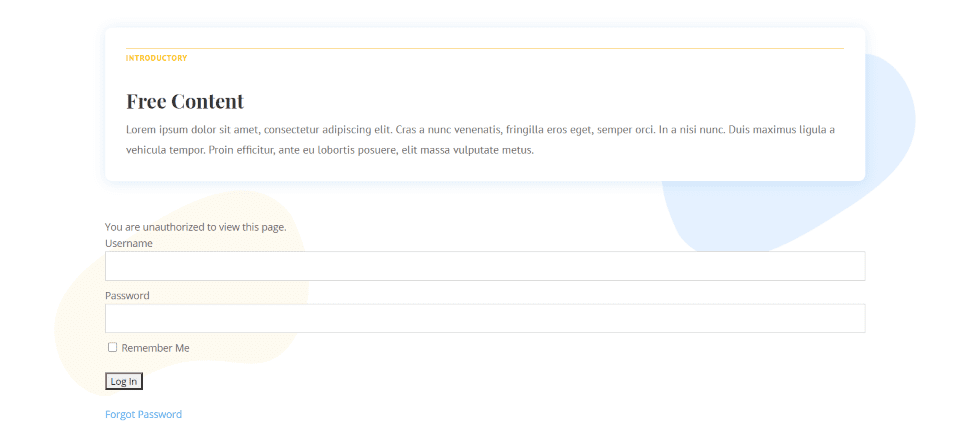
Here’s the row for the premium content displaying the message and login form. The free content row shows its content as normal because I haven’t changed the MemberPress settings for that row.
Hide
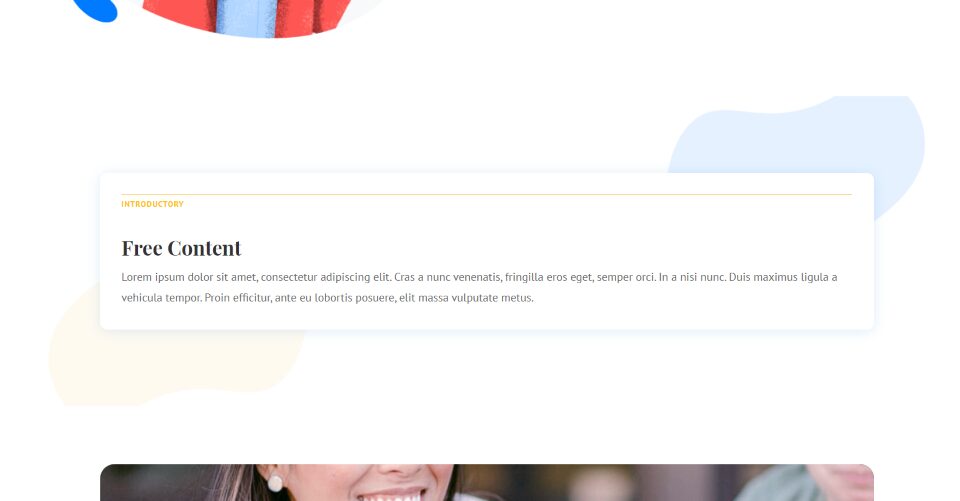
When you hide the content there’s no indication that anything was there. Now, users that are not members will only see the row with information about my free content. Members that meet the requirements will see the premium content as well as the free content.
Display Message
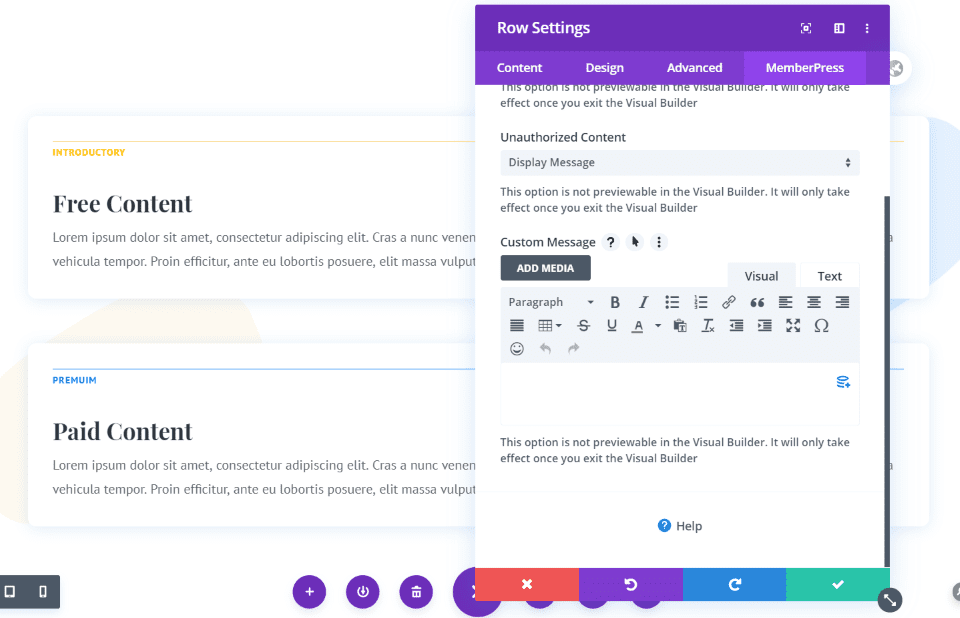
Display Message opens an editor where you can add a custom message or choose dynamic content. Add text, images, etc. This is a great way to create a CTA. This content will display to anyone that doesn’t meet the requirements to see the premium content. The Visual Builder doesn’t show the content in editing mode.
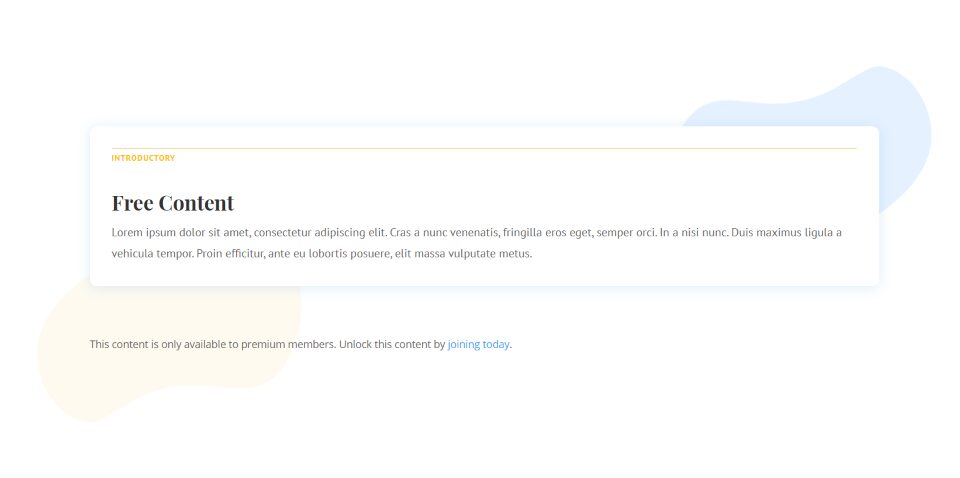
I’ve added a sentence with a link to join. It doesn’t retain the box shadow or styling because the module isn’t displayed. It will retain any styling you add to the row.
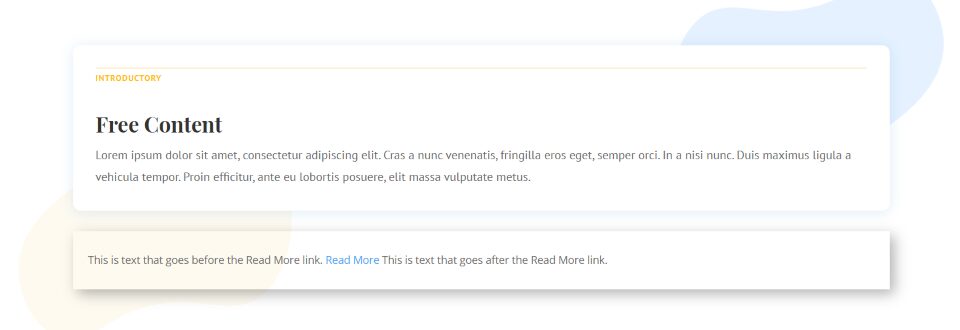
For this example, I’ve added a box shadow and left padding to the row settings. It does look nicer, but these settings will also display when the premium content is displayed, so you’ll need to make design adjustments as needed. This isn’t a problem at all, but it is something to keep in mind.
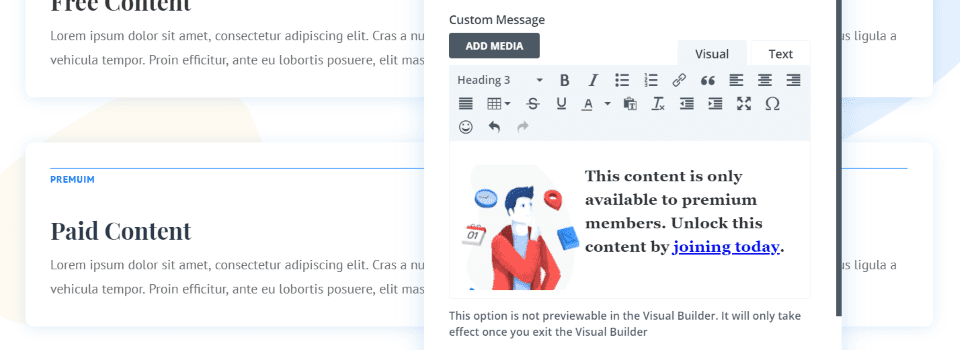
You can also add images, style the text, etc. I’ve added an image from the layout and changed the text to h3.
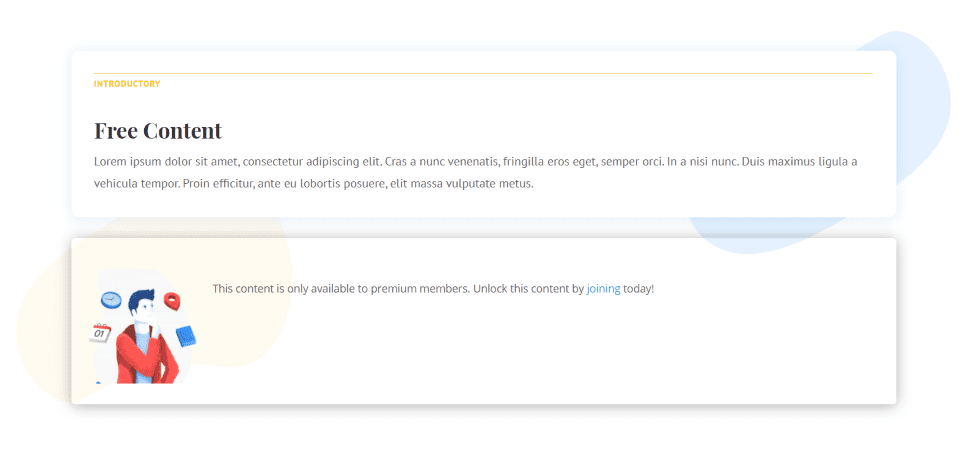
Here’s the row with my new settings. You can also use the Text tab to add code and styling if you want more control over the content. I’ve added the box shadow to the premium row.
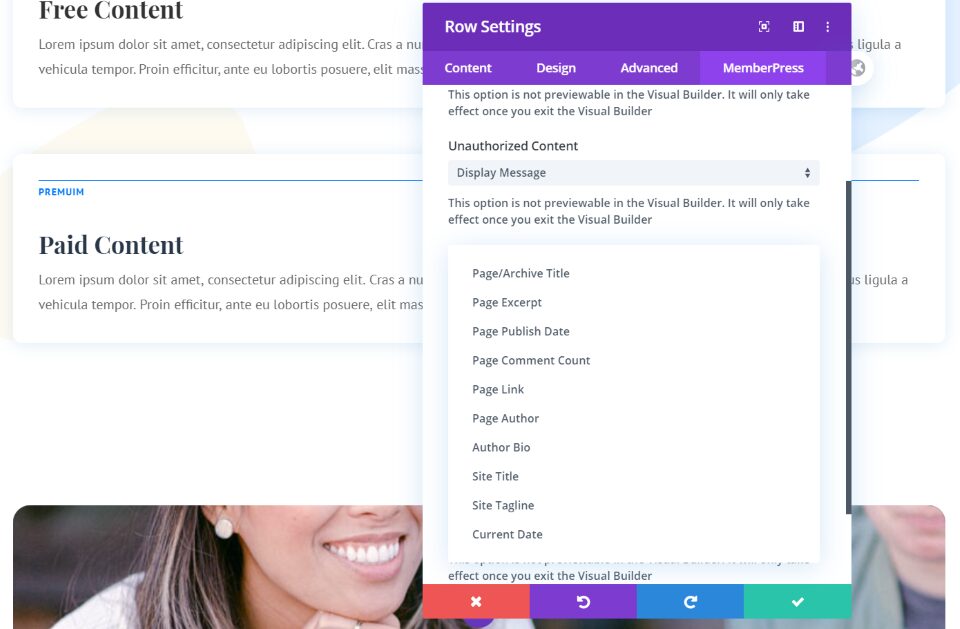
If you choose dynamic content you’ll see a dropdown box with several options of what to display. Some would be more helpful than others. I think a page excerpt is a great choice to tease the content.
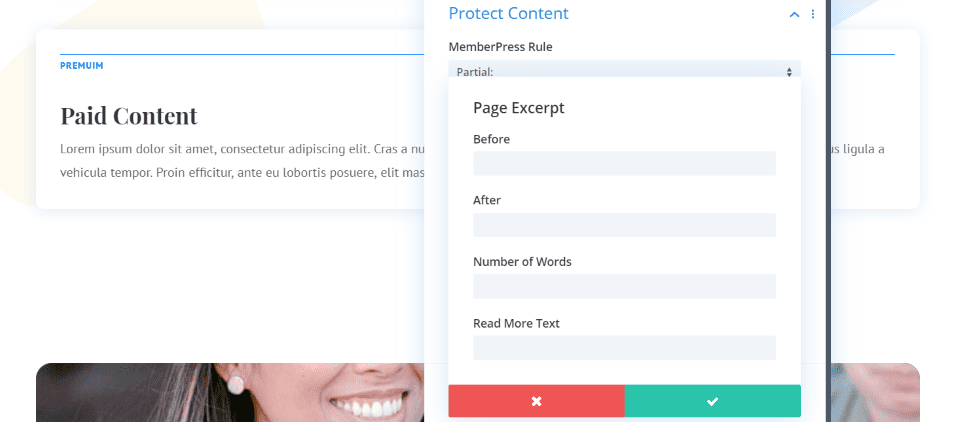
Add before and after text, choose the number of words to display, and add the Read More text.

Here’s the result with the text that I added. This can be used as a call to action for your memberships.
Members View
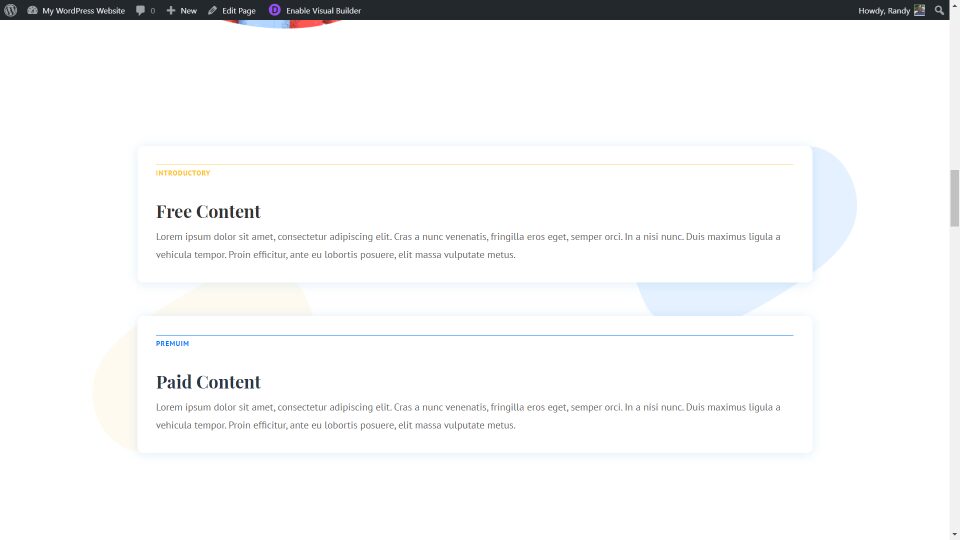
Once members sign up or log in, they’ll see the premium content as normal. This is a great way to add links to premium content that nonmembers won’t see or have access to.
Split Testing MemberPress Divi Add-on

You can even split test your rows to see which types of content or MemberPress settings work the best.
For more information about performing a/b split tests with Divi, see the article How to Set up Conversion Split Tests on The New Design Agency Layout Pack with Divi.
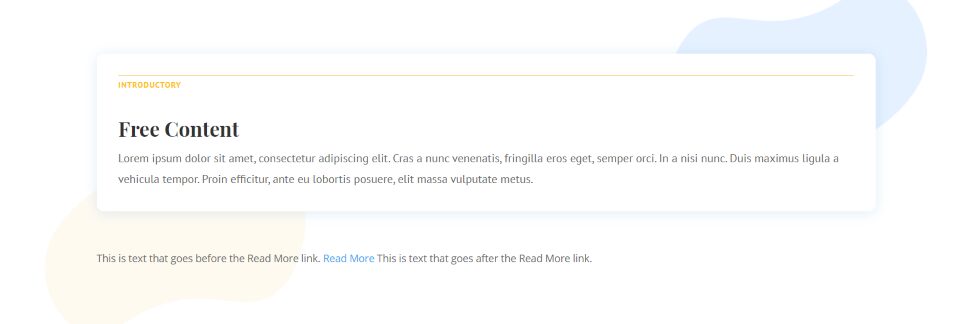
I now have two different rows that I can test to see which is more effective with my audience. This shows the dynamic content with page excerpt. Half of my audience will see this page.
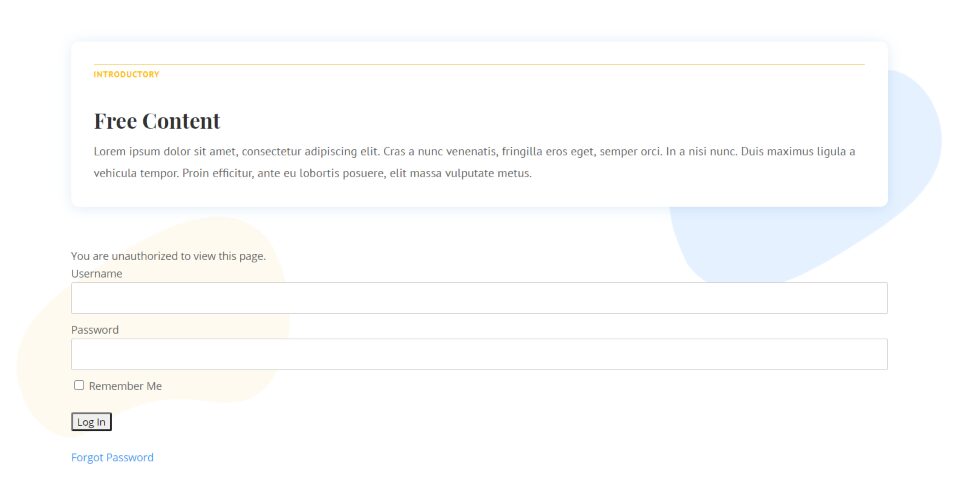
The other half of my audience will see this row. This is the default setting that will provide the login form.
Price
The MemberPress Divi add-on is available with all of the MemberPress plans. Plans include:
- Basic – $249 per year, 1 site, 1 year of support and updates, works with PayPal and Stripe, over 10 add-ons
- Plus – $399 per year, 2 sites, adds Authorize.net, sell corporate accounts
- Pro – $549 per year, 5 sites, Affiliate Royale, exclusive pro add-ons
Ending Thoughts
That’s our look at the Divi add-on for the MemberPress plugin. The plugin is easy to use. There is no additional setup. All you have to do is choose the type of partial content you want to restrict and then select it and the type of restriction you want to display in the Divi rows.
It’s only added to standard rows. I’d like to see it work with specialty sections since a lot of the Elegant Themes layouts use them. Of course, the standard rows are by far the most used, so it will work well with most designs. The MemberPress Divi add-on is a great way to restrict content for your Divi MemberPress website.
If you’re a MemberPress subscriber or want to restrict content on your Divi website, I recommend using the MemberPress Divi add-on.
We want to hear from you. Will you use the MemberPress Divi add-on with MemberPress and your Divi membership website?
Featured Image via zanimanski / shutterstock.com
The post Divi Plugin Highlight: MemberPress Divi Add-on appeared first on Elegant Themes Blog.

