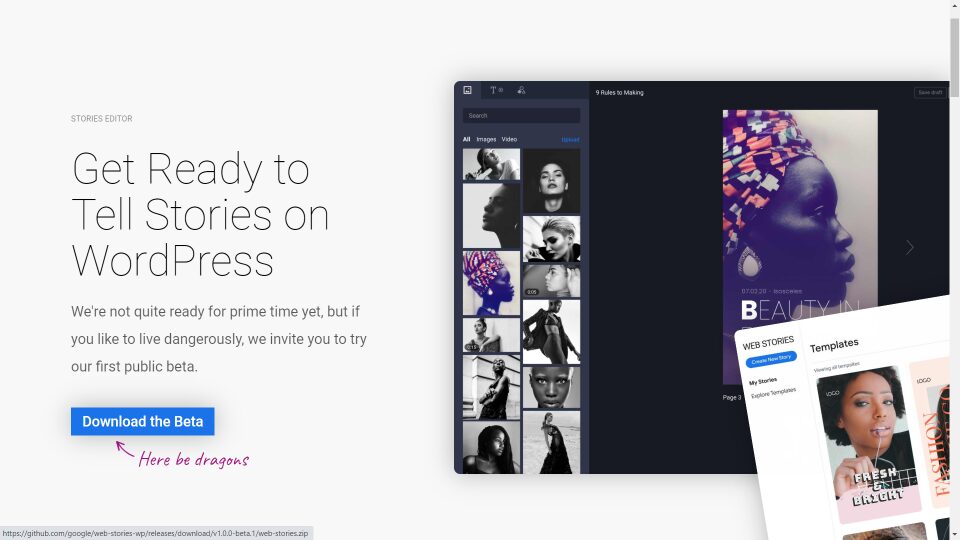
Web Stories are full-screen tappable pages powered by AMP. They let you create interactive visual narratives that are great for visual information. Stories are immersive, sharable, and trackable. They can now be added to your WordPress website thanks to a plugin from Google. In this plugin overview and review, we’ll take a look at the Google Web Stories WordPress plugin and see what it can do.
What are Web Stories?
Formally known as AMP Stories, Web Stories are pages the size of a mobile screen with magazine-style layouts. Content includes large text with links to longer content, 15-second videos in portrait mode with captions, and images with captions. Web Stories is an open-source system and it’s free.
They’re meant for use with mobile devices. They typically contain from 4 to 30 pages with 10 words per page. This is ideal for producing content in smaller bites. They’re a great way to provide interactive content that’s easy to use with one hand while having lunch, sitting on a subway, etc.
Why Use Web Stories with WordPress?
The Web Stories content and design are a good fit for blog content on WordPress websites. The plugin integrates them into your WordPress website and helps bring in traffic through the Web Story format.
They even help improve your SEO and rank high in Google search, Google images, Google Discover, and the Google app, making Web Stories a great way to improve WordPress traffic.
Installing the Google Web Stories Plugin
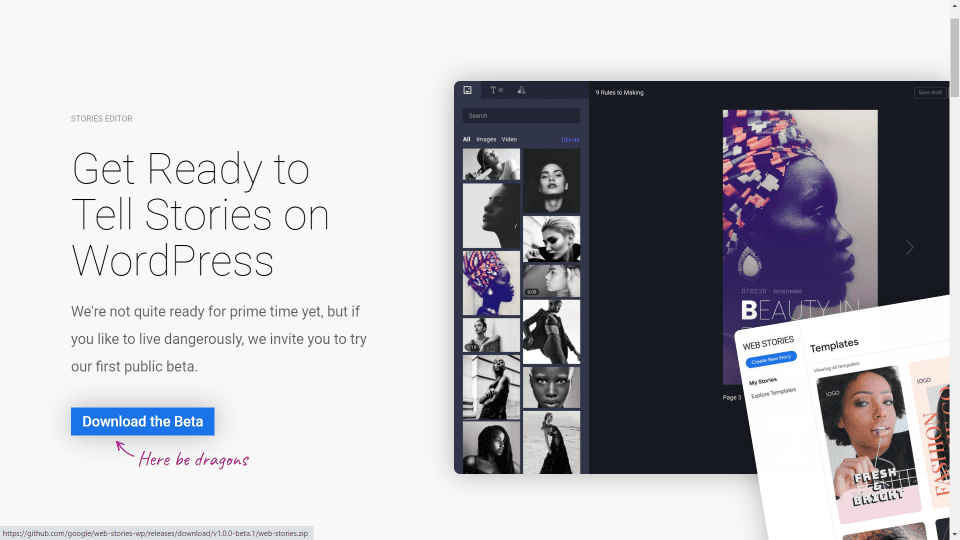
Download the free beta plugin. This is a public beta plugin, so most of the main features are there. The full version will release later this summer. It will have better stabilization, performance and bug fixes, and include animation and page attachment support.
Since it is beta, you’ll have to download the file and install it manually following these steps:
- Go to Stories Github page and download the beta plugin
- In the WordPress dashboard, go to Plugins > Add New
- Click Upload Plugin
- Select the zipped file from your computer
- Click Install Now
- When you see “Plugin installed successfully”, click Activate Plugin
Web Stories Menu
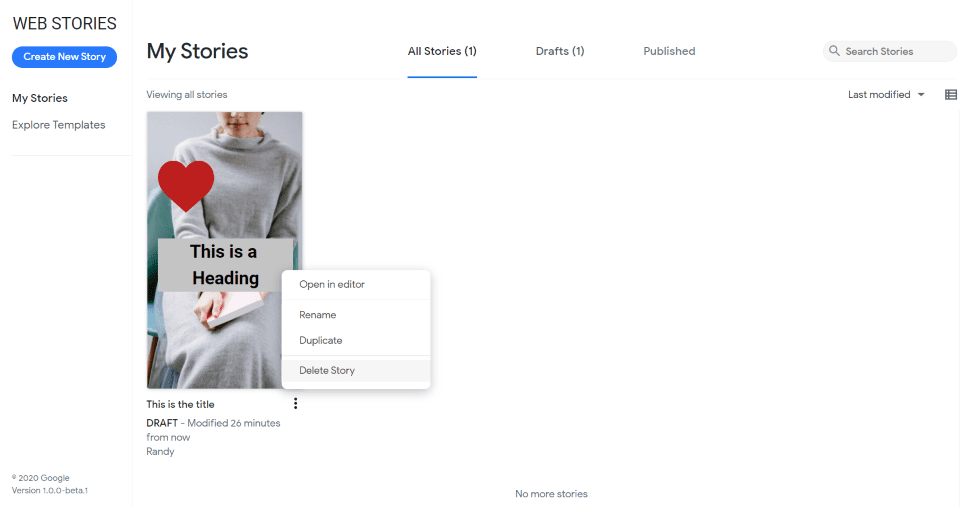
A new menu item is added to the dashboard called Stories. Here, you can see all of your stories, add a new story, and explore templates. Your stories will appear here where you can open in the editor, rename, duplicate, or delete them.
This is a Stories post type that can be displayed as Stories posts and a link to these posts can be added to regular pages and posts.
Create a Story
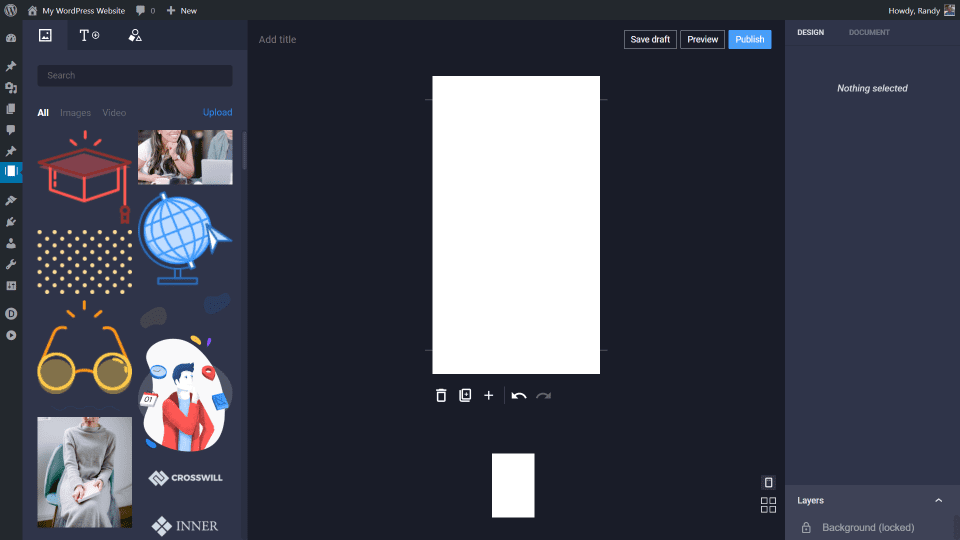
Clicking Create New Story opens the editor where you can access the visual tools. There’s not an option to change their size or collapse them. If this reminds you of Canva, you’re not alone. It works about the same way and it’s just as intuitive.
On the left is the content you can add to the page creator. It includes images, text, and shapes. Images also includes video. In the middle is the page creator. It includes tools to edit and publish the story. On the right are design and document tools. Each element you add to the page is a separate layer.
Content
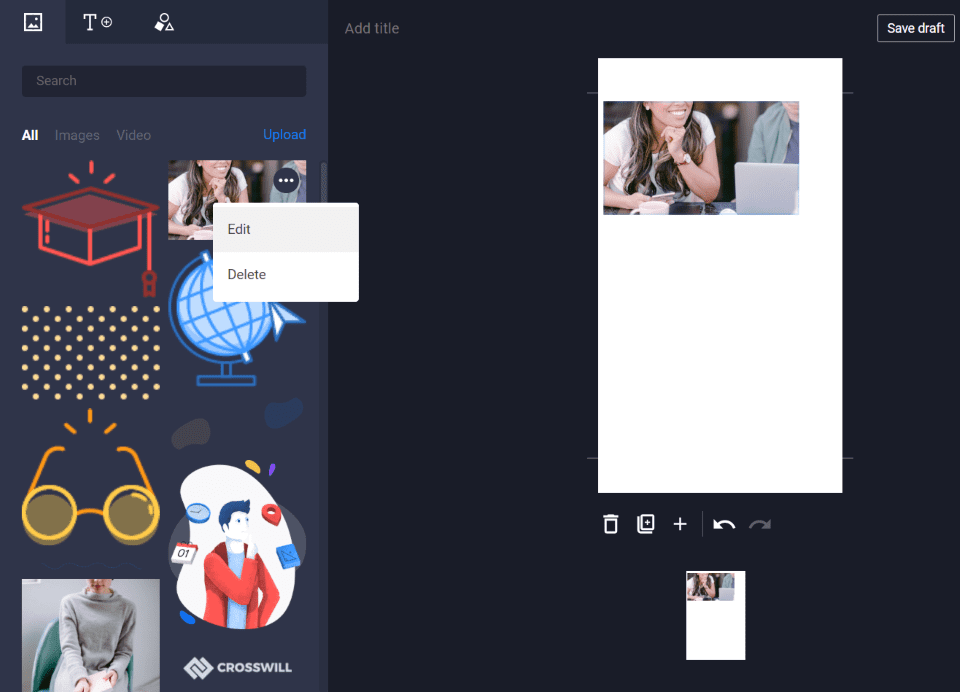
The images and other content are those from your media folder. Hovering over one reveals three dots. Clicking the dots opens options to edit or delete the image. You can also sort, search, and upload images or videos. Clicking the content adds it to the story page.
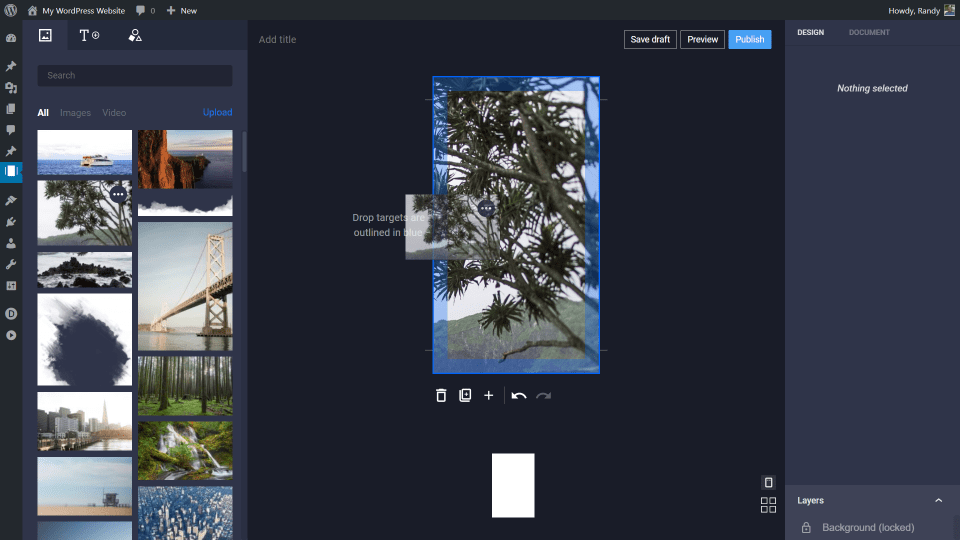
You can double-click to add the content or drag and drop the content on the story page. In this example, I’m dragging the image to the page.
Text
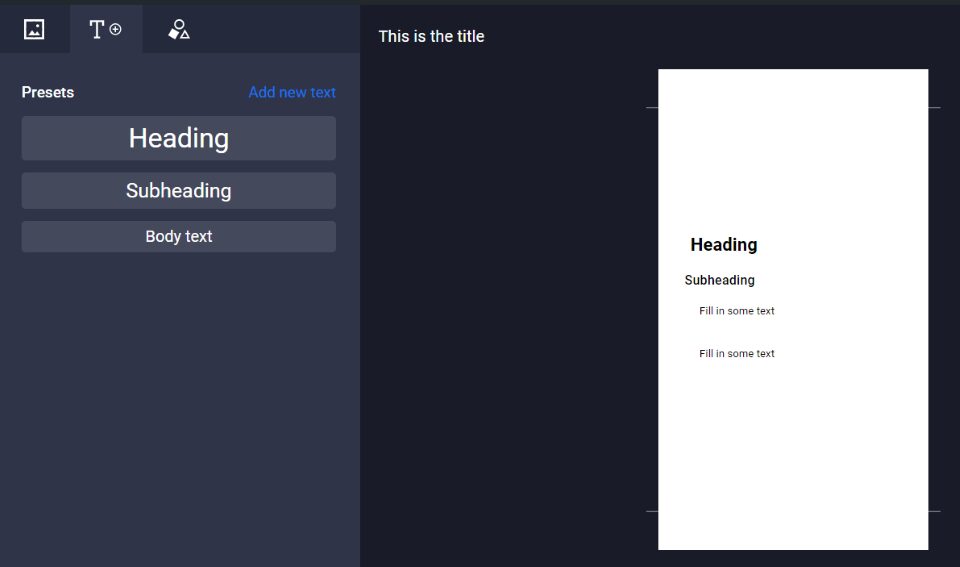
The text tab includes preset buttons to add headings, subheadings, and body text. Click on one or click Add new text to add a preset text to the page.
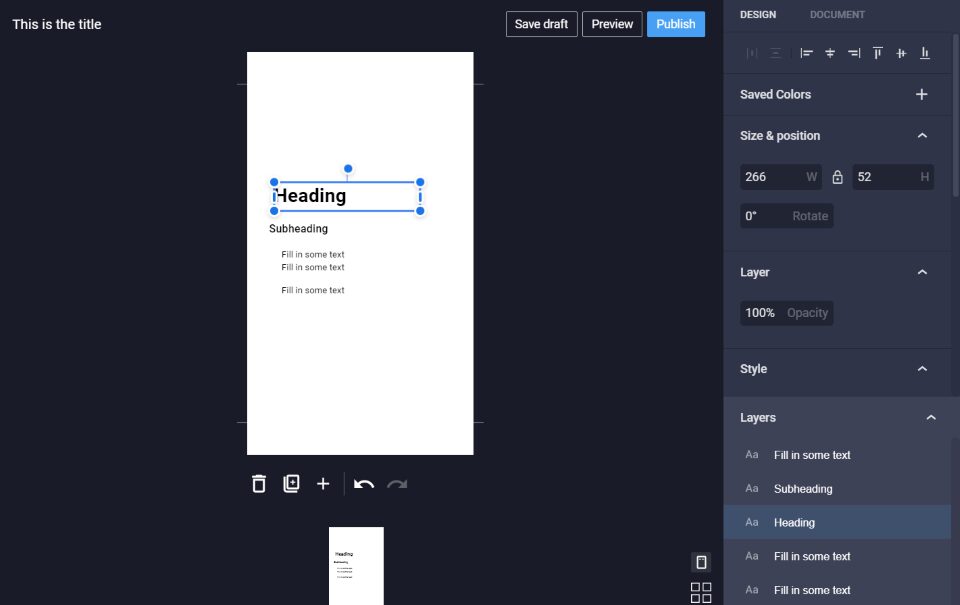
Click the text to open the resize tool. Drag to resize or grab the middle and move the text to a new location. This also opens its tools in the right, where you can change the alignment, colors, size, position, layer, style, etc.
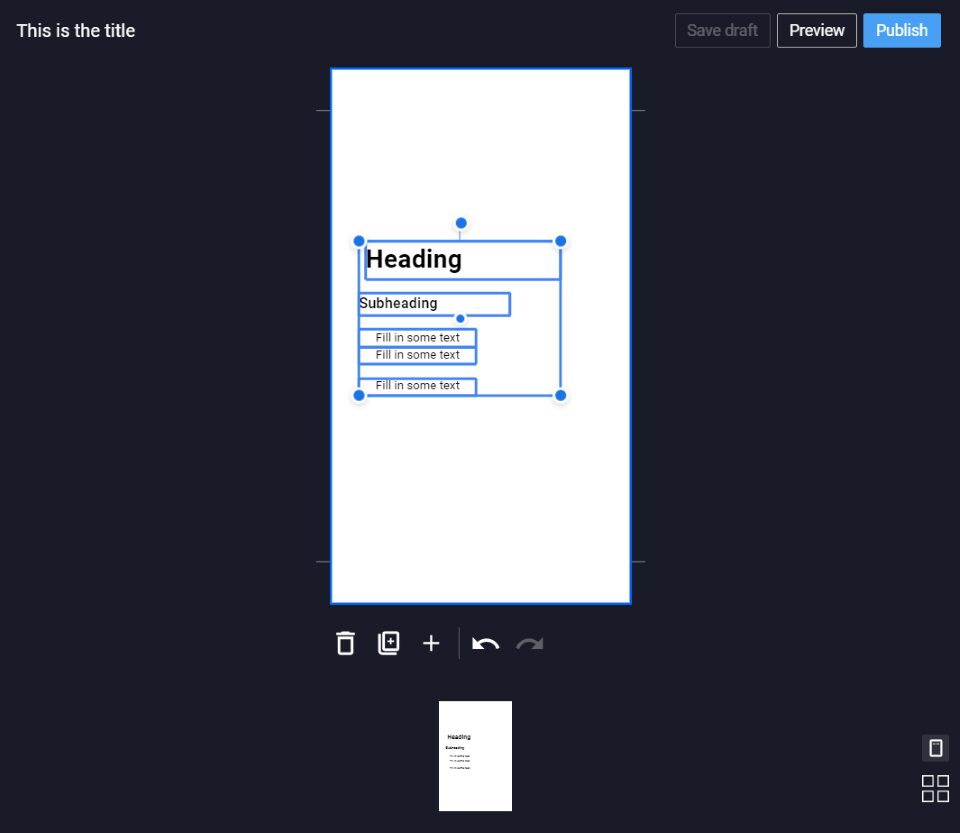
You can also select multiple items at once to resize or relocate the content.
Shapes
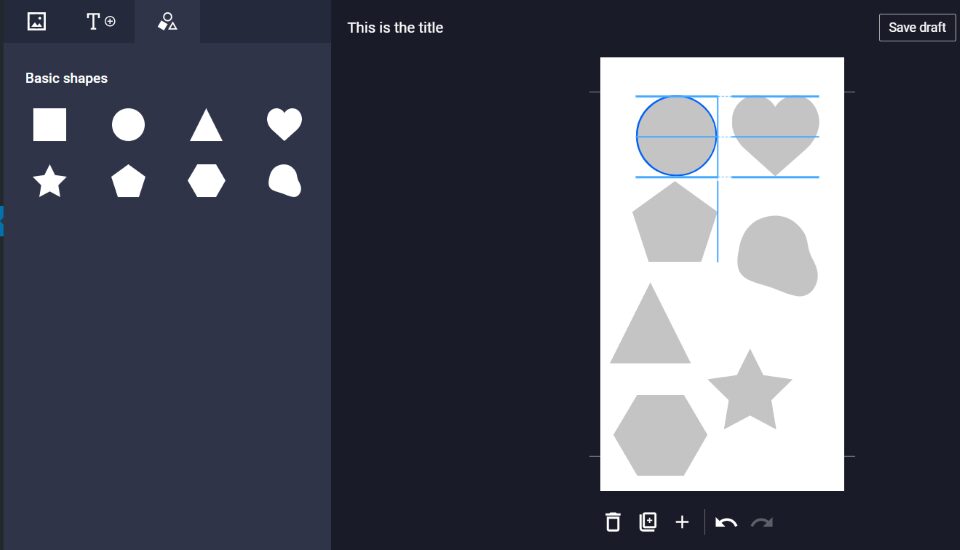
The shapes tab include a square, circle, triangle, heart, star, pentagon, hexagon, and blob. Drag and drop them on the page, change their colors, opacity, sizes, etc.
Page
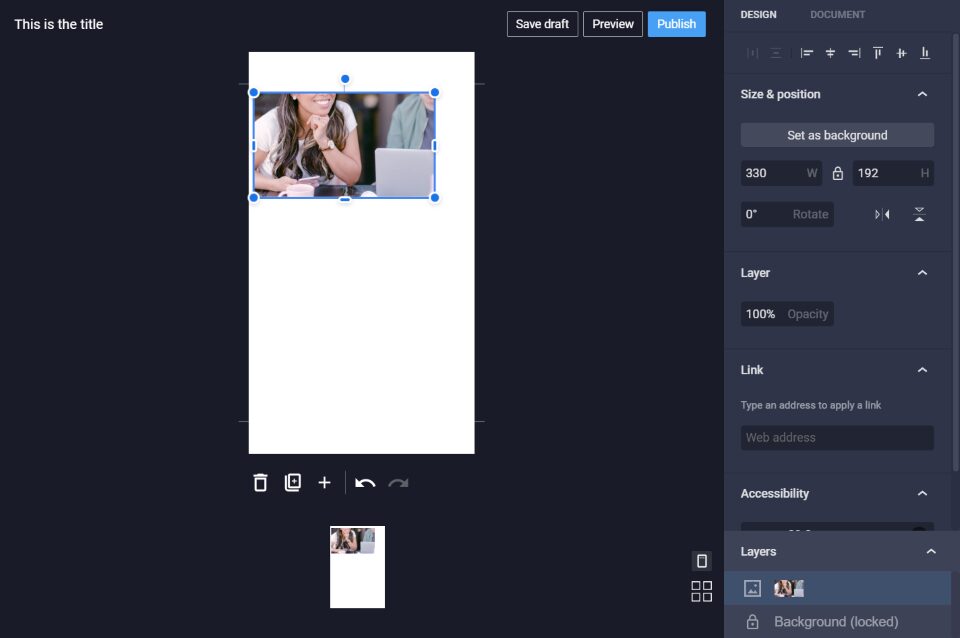
The canvas area includes the title, publishing options, trash, copy, add new page, undo, redo, a preview, and a grid view to see multiple pages at once. Clicking on the content gives you some drag and drop tools to resize and move the content. It also opens the options for the design tools in the right.
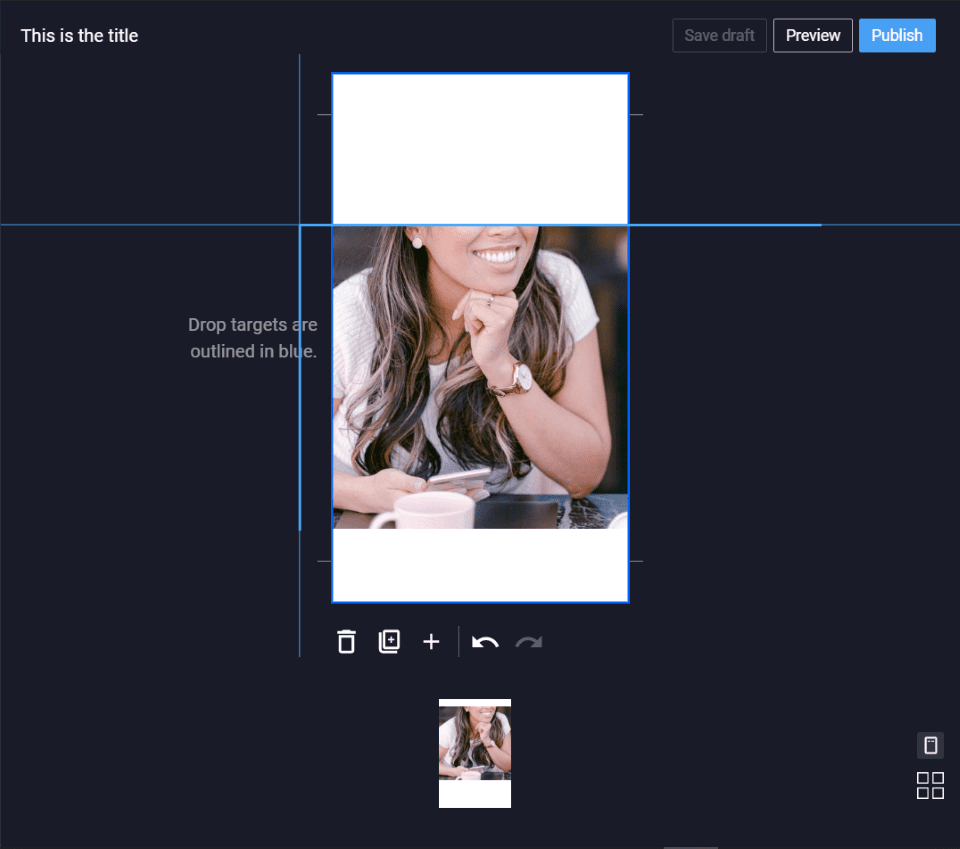
Drag the content to see alignment options.
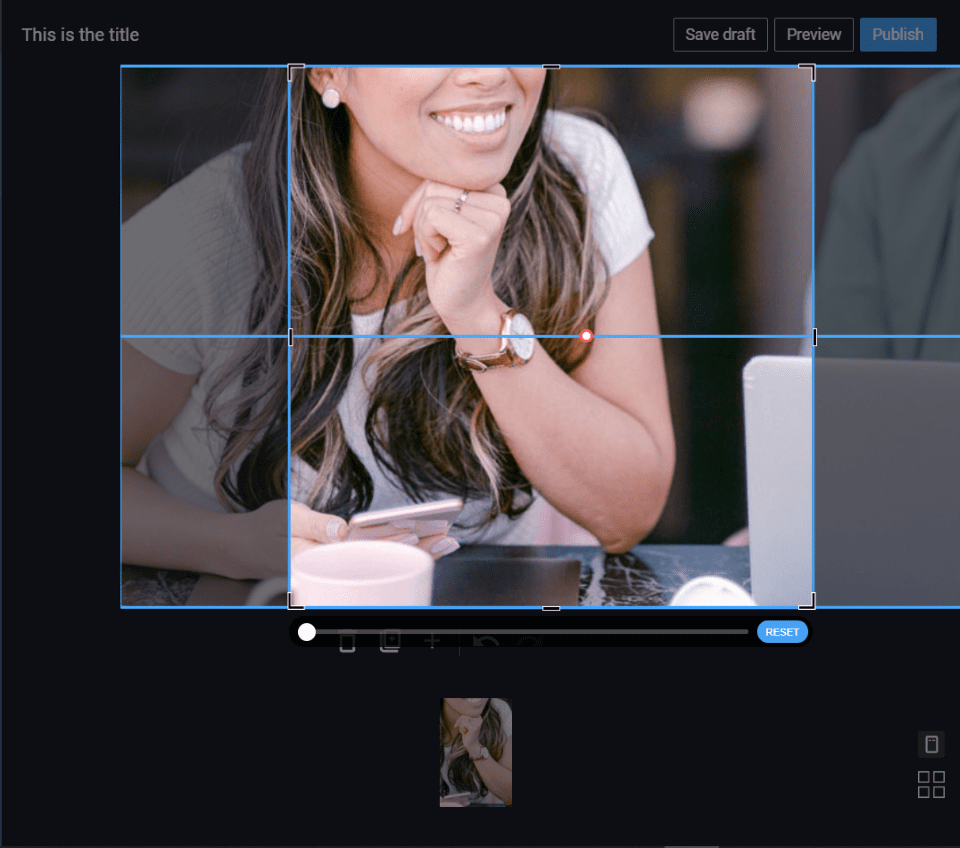
Double-click the content to see the entire image and open tools to adjust the zoom and alignment. You can resize the content and move it around to get the exact image you want.
Design

The design adjustments display controls for the element you’ve clicked on. I’ve selected the background of the page and then clicked on the color. This opens a color-picker so you can set the color for the background.
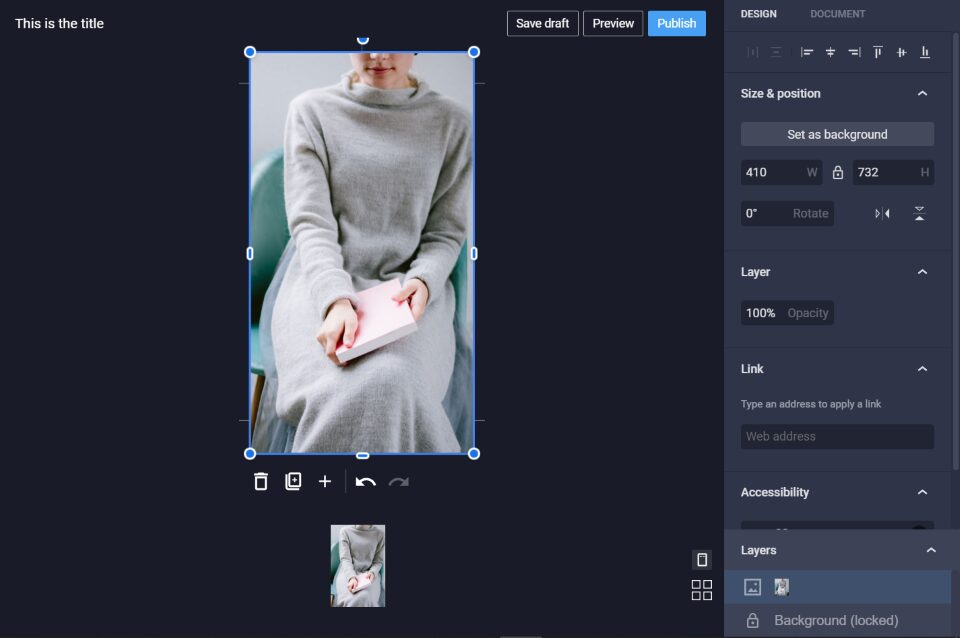
For images, this includes the alignment, size and position, opacity, links, accessibility, and layers.
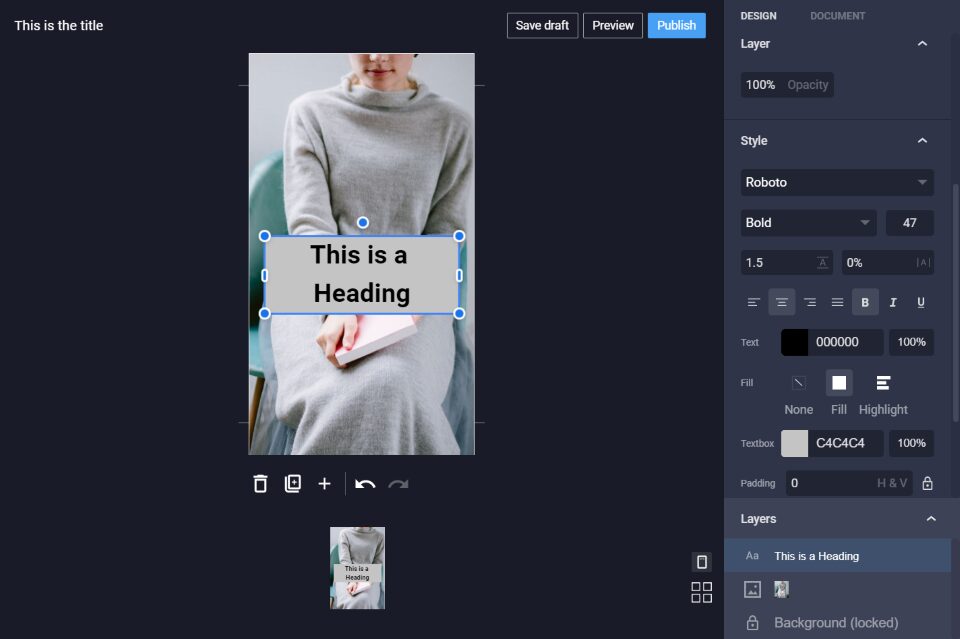
With text, this includes the font family, styling, alignment, color, background color, padding, and link.
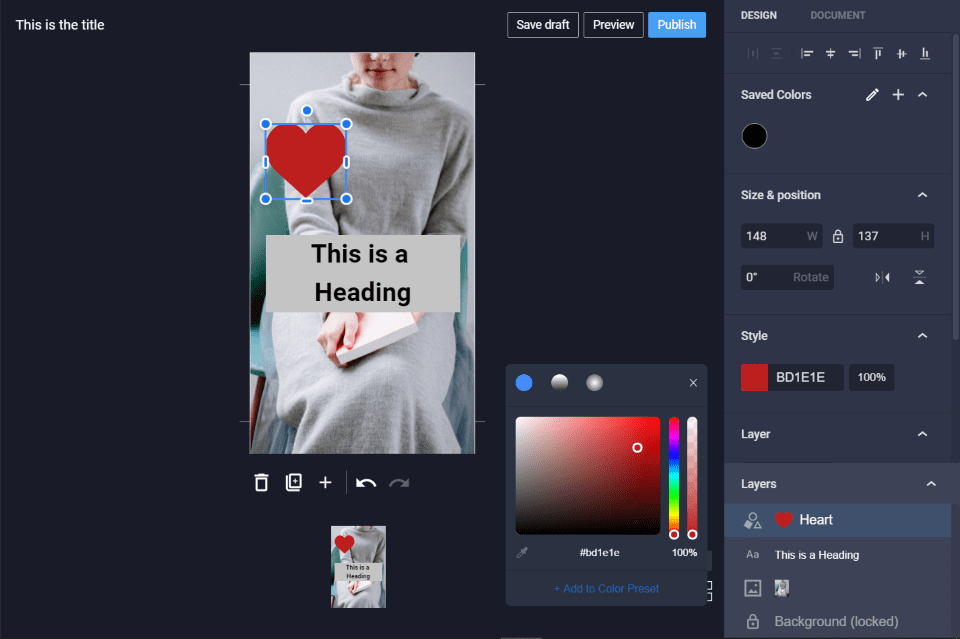
For shapes, this includes the alignment, size and position, and color.
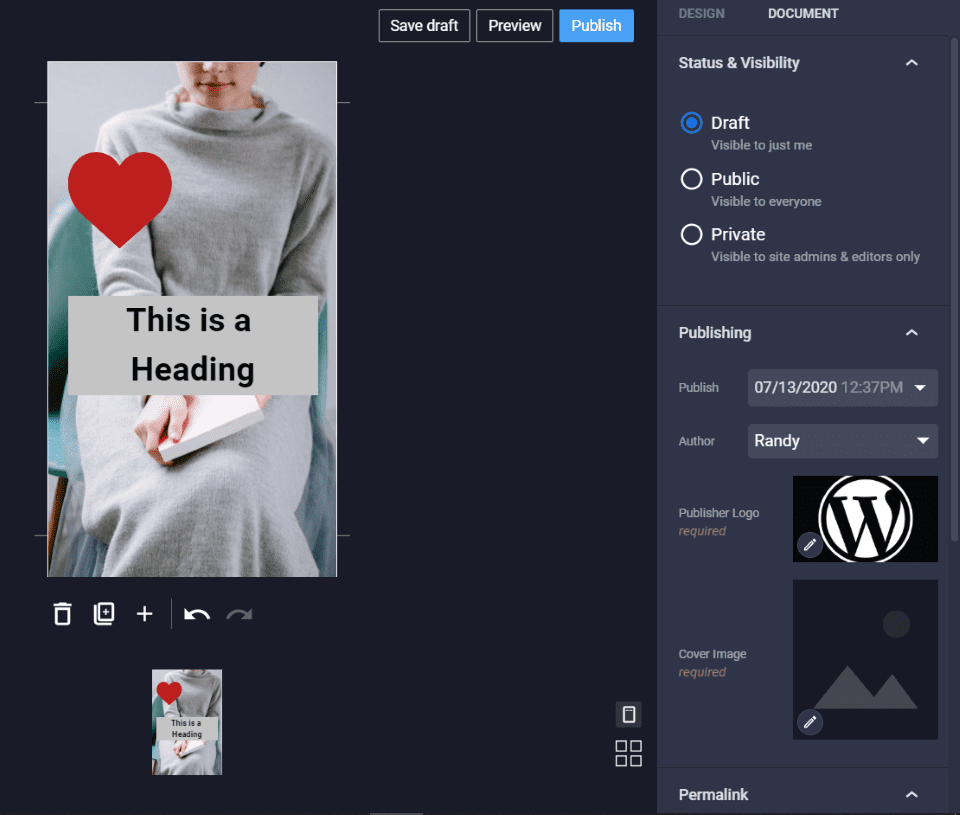
The Document tab includes the standard WordPress publishing options and adds a few more. Save as draft or publish as public or private. Adjust the date, publisher’s logo, and cover image. Adjust the permalink and the page advancement. Choose between auto and manual, and set the auto advancement timing.
Templates

The Explore Templates tab displays the templates you can use in your stories. There are currently 8 templates to help you get started. The templates include multiple pages, so there are lots of designs to help.
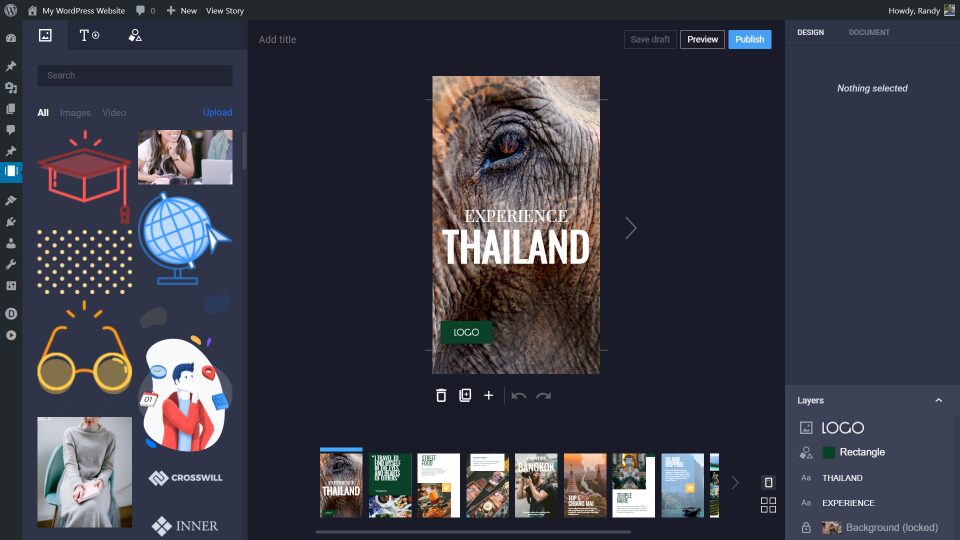
Clicking on one opens the template, where you can see all of the pages that are within the template.
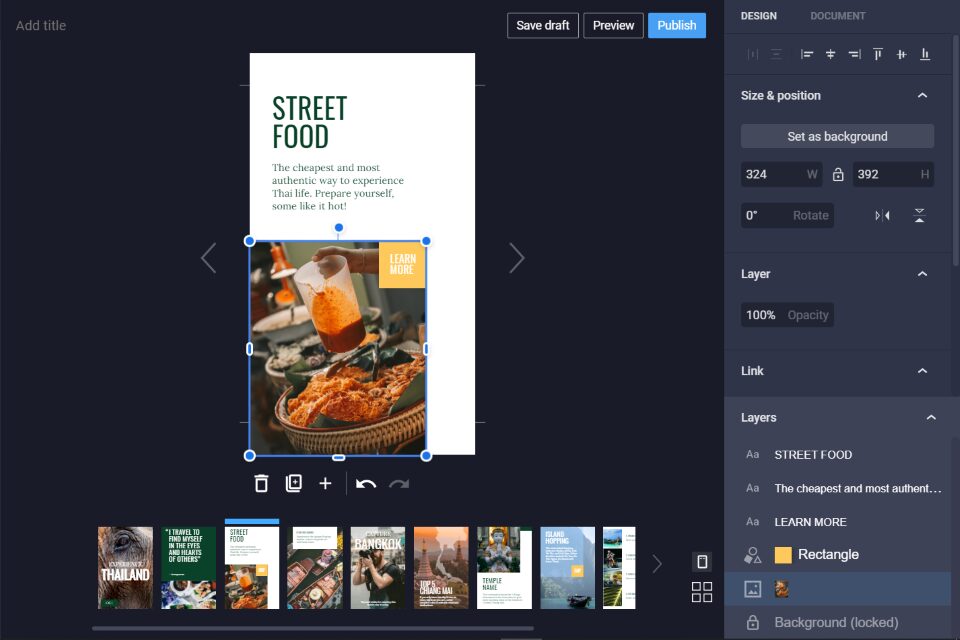
All of the pages are selectable and adjustable. Select any element to change it.
Publishing a Story
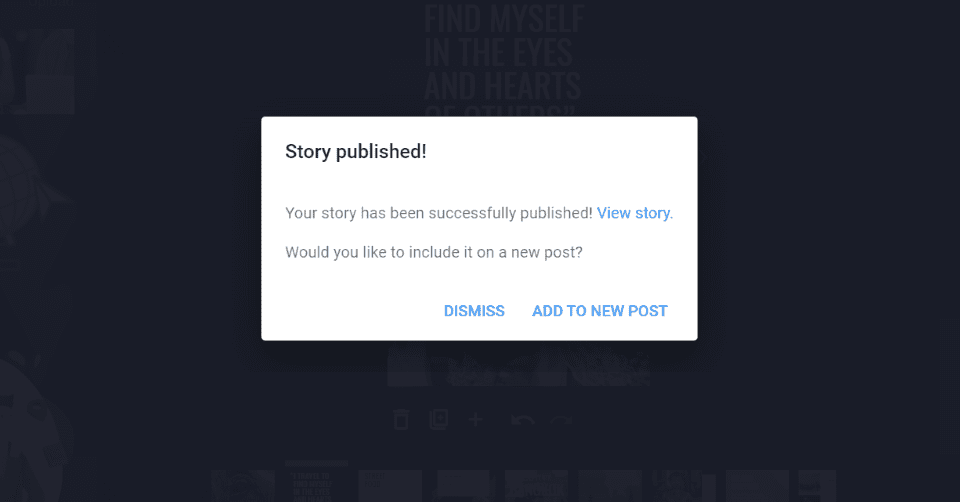
When you click to publish the story, you’ll see options to view the story or add it to a new post.
View Story
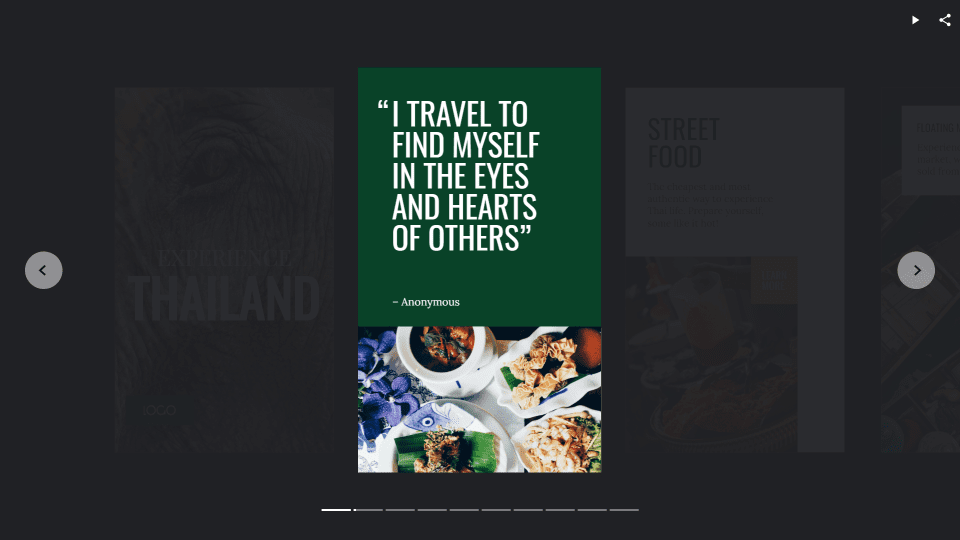
Viewing the story opens the page on the front end. Each of the pages is visible, but only the one in the center is fully readable. The page displays slider controls with arrows on the sides, bar navigation under the page, a play or pause button in the upper right corner, and a sharing button to make it easy for visitors to share your web story. Clicking the button allows visitors to copy the URL.
Add to New Post
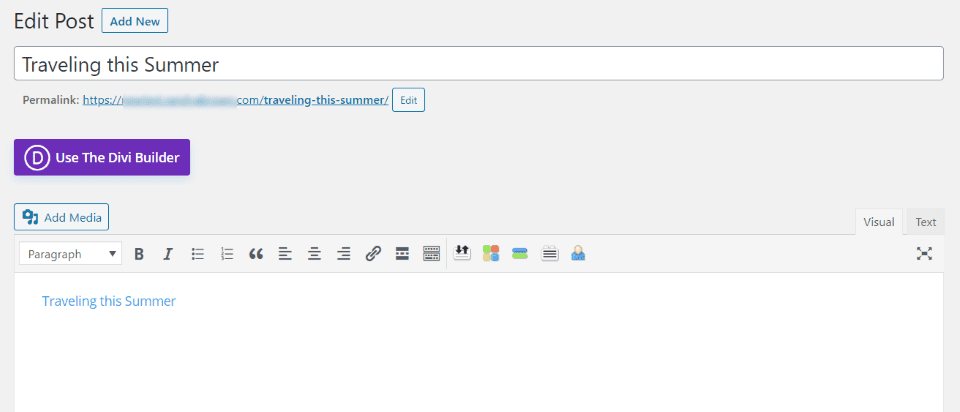
Selecting Add to New Post automatically creates a standard blog post with the code for the story already placed within the post. This is a standard blog post, so it appears in the blog stream. This is a link that opens the story’s page. Add any other content to the post you want. This code can be placed within any post or page, so you can use it with blog posts, Divi layouts, etc. I’m using the classic editor, but it works similarly in Gutenberg.
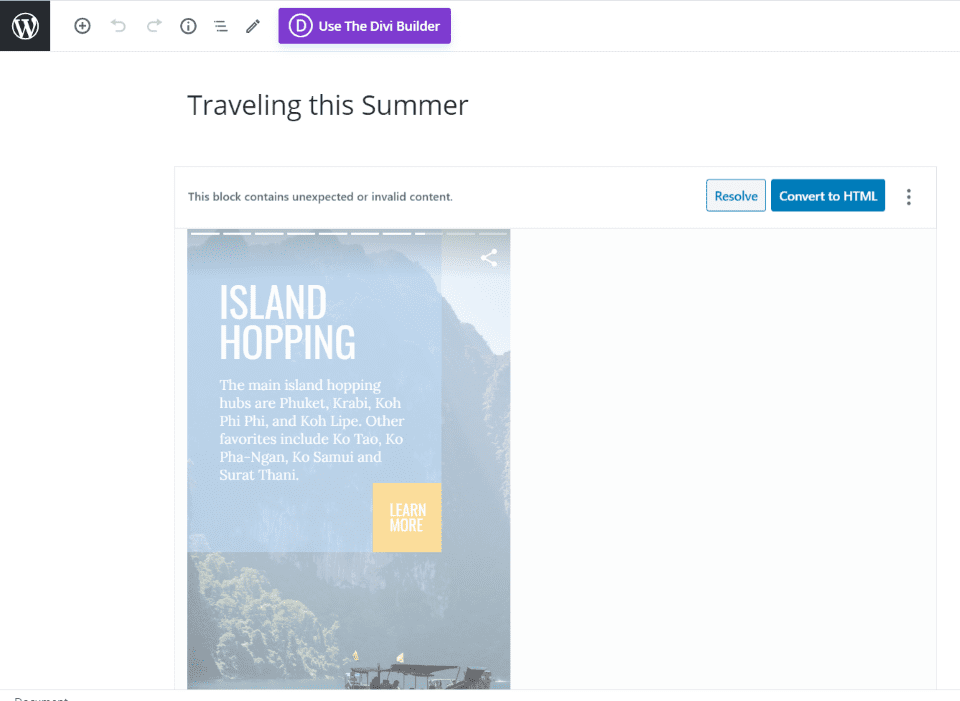
With Gutenberg, it asks the convert the code to HTML. The story works in this mode, so you can see the pages turn as you write the post.
More Ways to Use the Stories Post Type
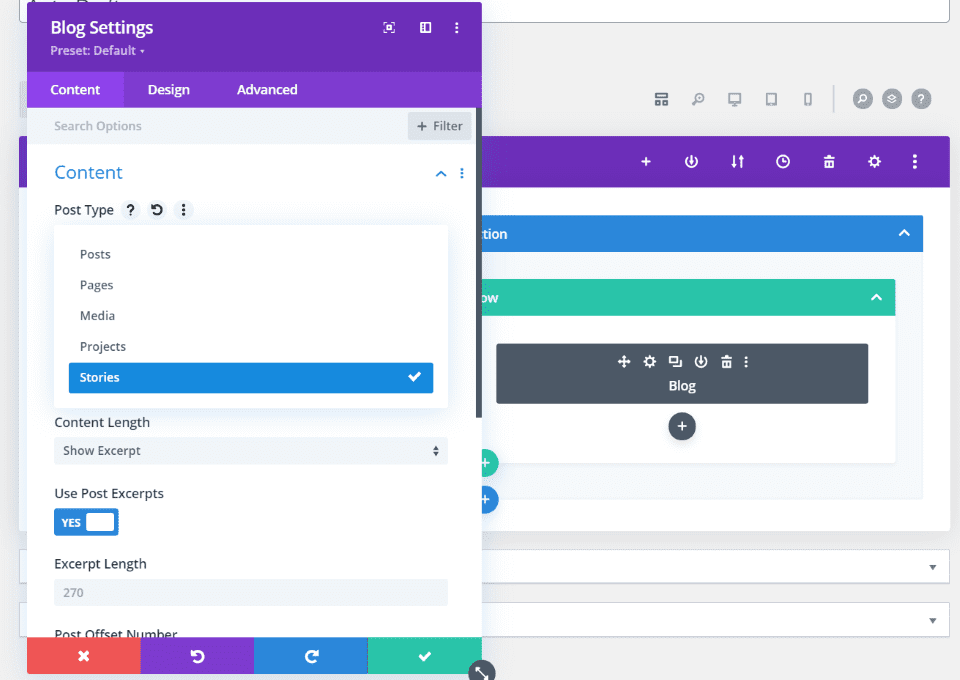
You can also add the post type to your navigation menu, use them with the Divi blog module, the Divi Theme Builder, etc.
Advertising in Google Web Stories
Monetization is limited to the Google platform and affiliate sales. Story ads are provided by Google Ad Manager and Google DV360 (which is currently in beta). Additional ad server support will be added in the future. They can include sponsored stories and affiliates.
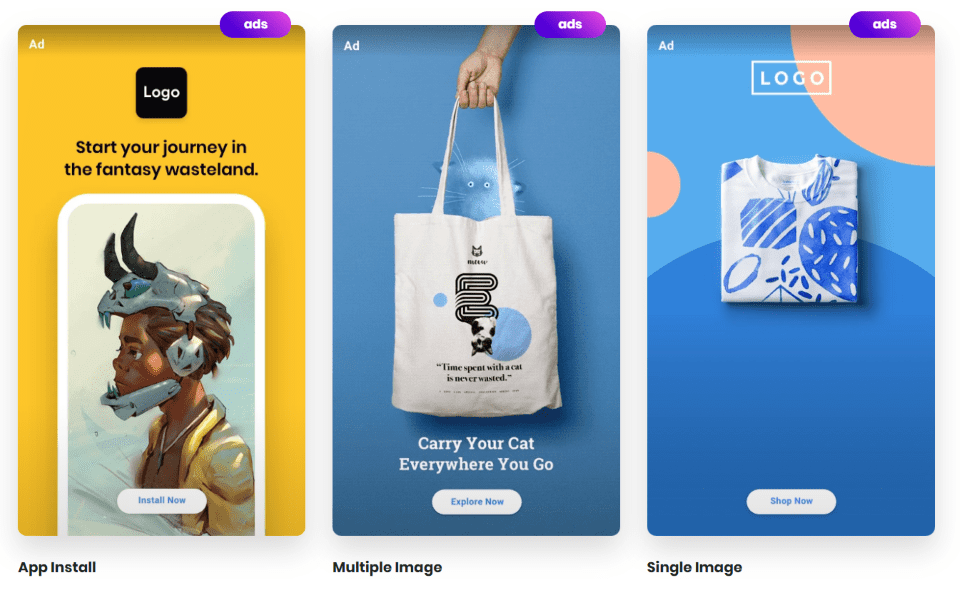
Google ads are full-page and appear within the Web Stories. They can include links to web pages, AMP pages, or an app. They can include text, images, buttons, videos, animations, and any combination. Ads are marked as an ad in the upper left corner. The goal for the ads is to have a cohesive design that blends with the Web Stories UX.
Documentation shows the details of how to code and build ads. There are several templates to get you started. A few are shown in the example above.
Ending Thoughts
Web Stories is an interesting way to publish content for your WordPress website. Stories look like magazine pages and works as a slider. They even integrate well with the WordPress navigation structure and with Divi’s layouts and modules. They work well with mobile devices.
Google’s Web Stories WordPress plugin looks and feels like graphics editing tools like Canva. It’s simple and easy to use. If you’re interested in an easy way to create simple content that looks great and improves your SEO, I recommend taking a look at the Web Stories WordPress plugin.
We want to hear from you. Have you tried the Google Web Stories WordPress plugin? Let us know about your experience in the comments below.
Featured Image via Jemastock / shutterstock.com
The post Google Web Stories WordPress Plugin Overview and Review appeared first on Elegant Themes Blog.

