One of the advantages of building pages and posts with Gutenberg Blocks is the ability to save them as templates. Creating templates for Gutenberg is a great way to help speed up the publishing process. There are several ways to create them. In this article, we’ll see how to create Gutenberg templates.
We’ll cover three methods for creating them:
- Creating a layout to add to your Gutenberg library to export or clone.
- Creating a layout to copy and paste when you want to use it.
- Creating a layout to add as the default layout for pages, posts, or custom post types.
These methods let us reuse the blocks only. No other settings will be included.
Why Create Gutenberg Templates
Once you’ve designed your page or post layout you can save the list of blocks with their attributes to reuse. This gives you a head start on creating your content because you don’t have to focus on the layout. Block templates allow you to have a consistent design.
The block template can have placeholder content. They can be static or dynamic. You can define the default state of an editor session. You can even import or export your templates as JSON files, so you can reuse your designs on multiple websites or share them with others. You can lock them so users can add content but not change the blocks.
Method 1: Create a Layout Template
Layout templates let you use the multi-select feature that was originally added to let us move or delete multiple blocks at the same time.
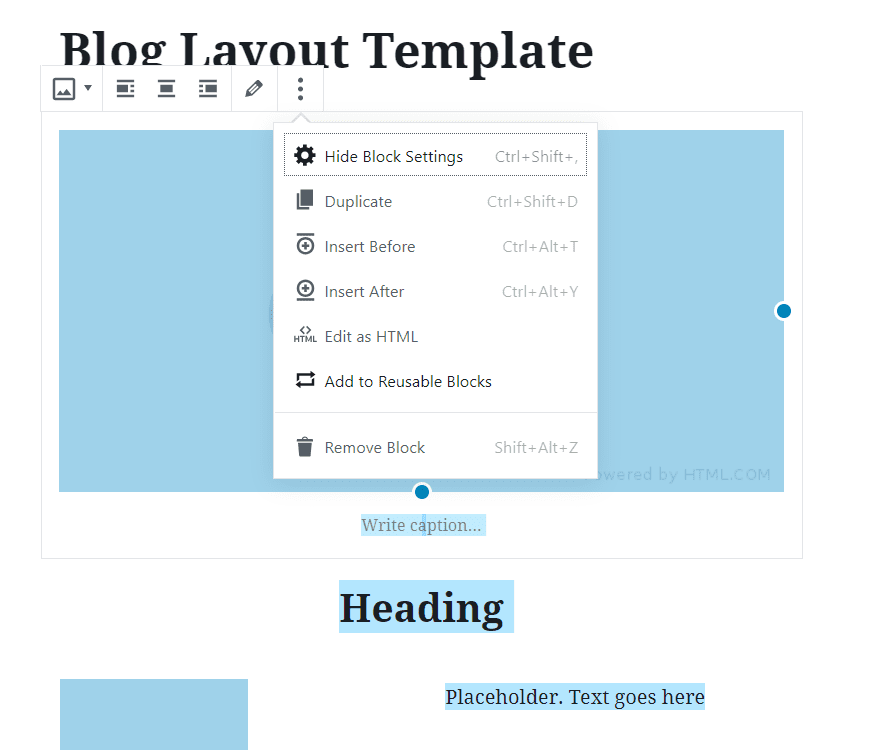
We can select and add one block at a time or multiple blocks at a time to our library of global reusable blocks. This makes it easy to export them as JSON files.
Example Layout Template

I’ve created a simple layout that I can use as a blog post, product review, etc. It’s easy to save this to the library to reuse.
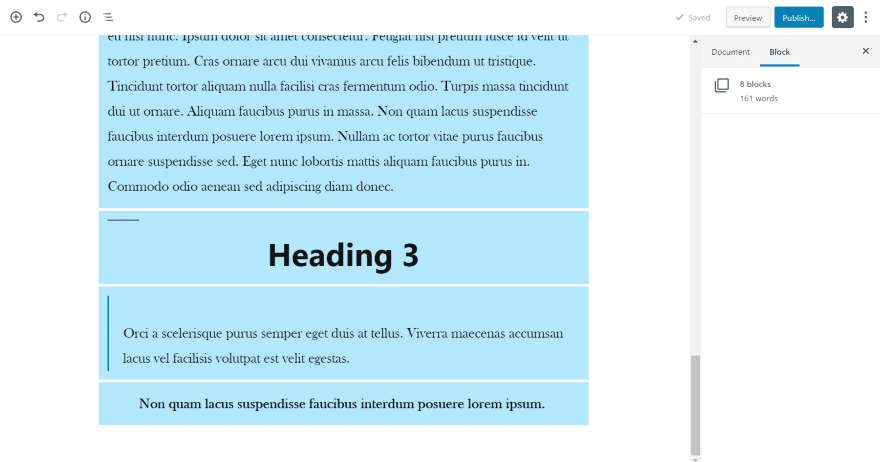
Place your cursor on the first block you want to include and drag your mouse to the last block in order to highlight them.
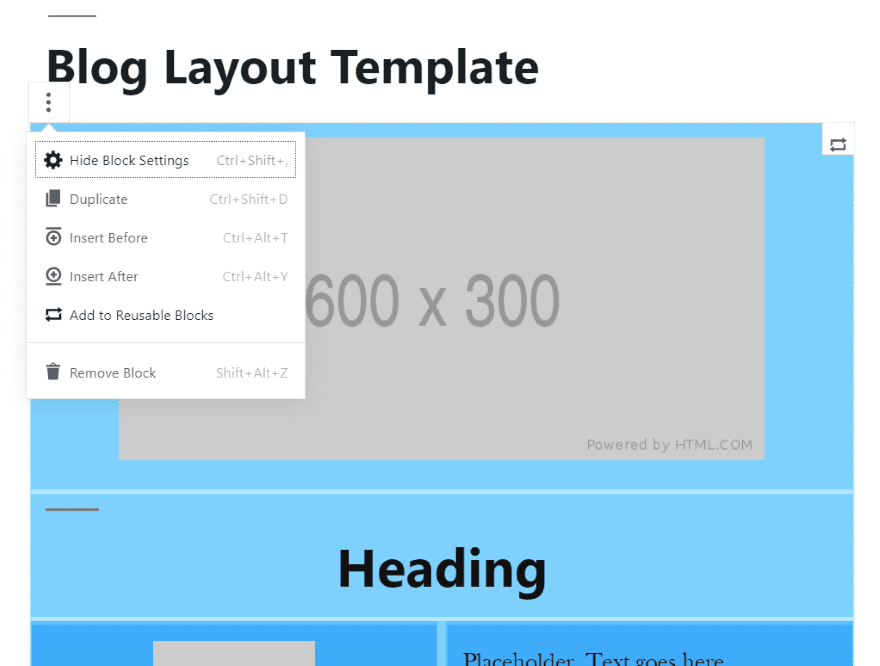
Above the first block, you’ll see three dots on the left. Click the dots and select Add to Reusable Blocks.
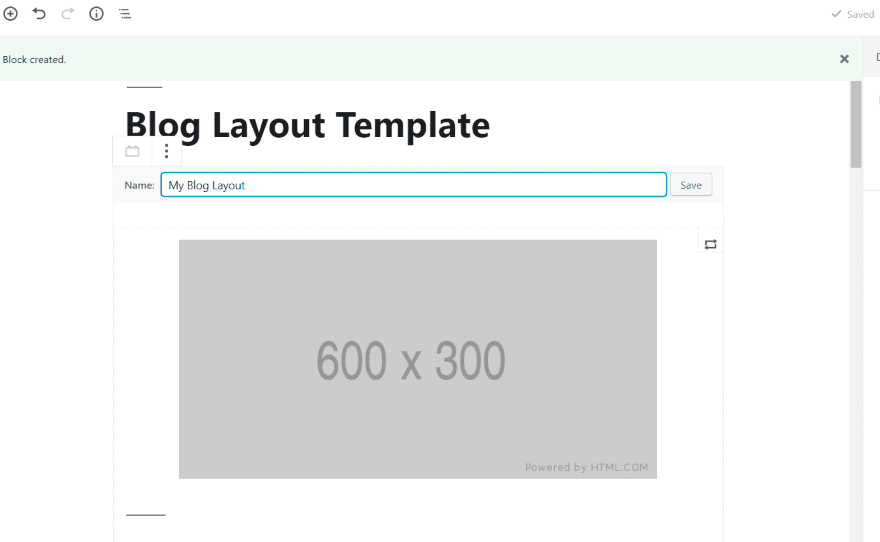
The green message bar across the top will show that the block was created. Give the layout a name that makes sense to you and select Save.
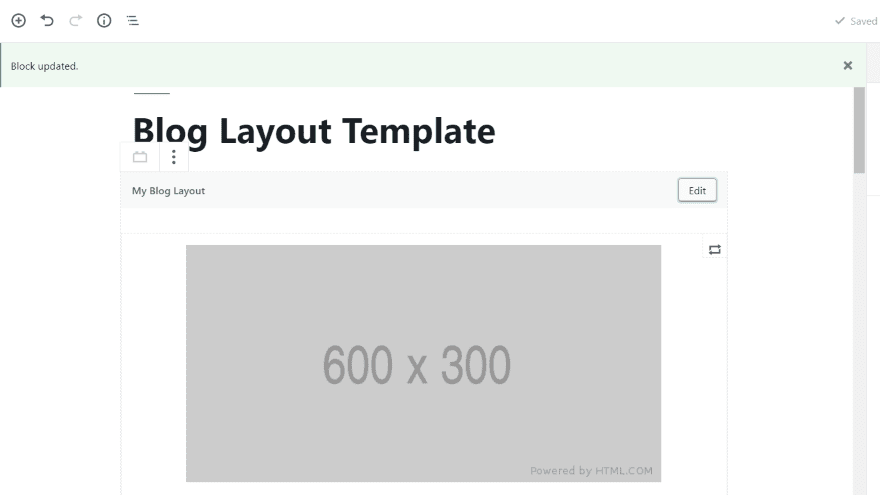
The message in the green bar will show that the block has been updated. You’ve created the layout!
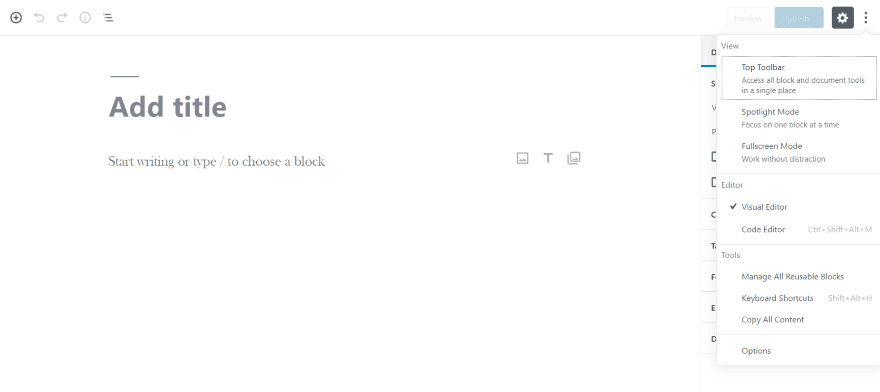
To use it, create a new page or post and open the options (three dots). Under Tools, select Manage All Reusable Blocks.

This shows a list of all your blocks. Here, you can export and import your blocks as JSON files. Reusable blocks are global. If you edit, then you’ll edit the original. In order to keep the original and create a new post using the layout, you’ll need to export it, rename it, and import the layout.
Duplicate Posts

Fortunately, we have another option. A plugin called Duplicate Post adds a cloning feature for Gutenberg blocks.
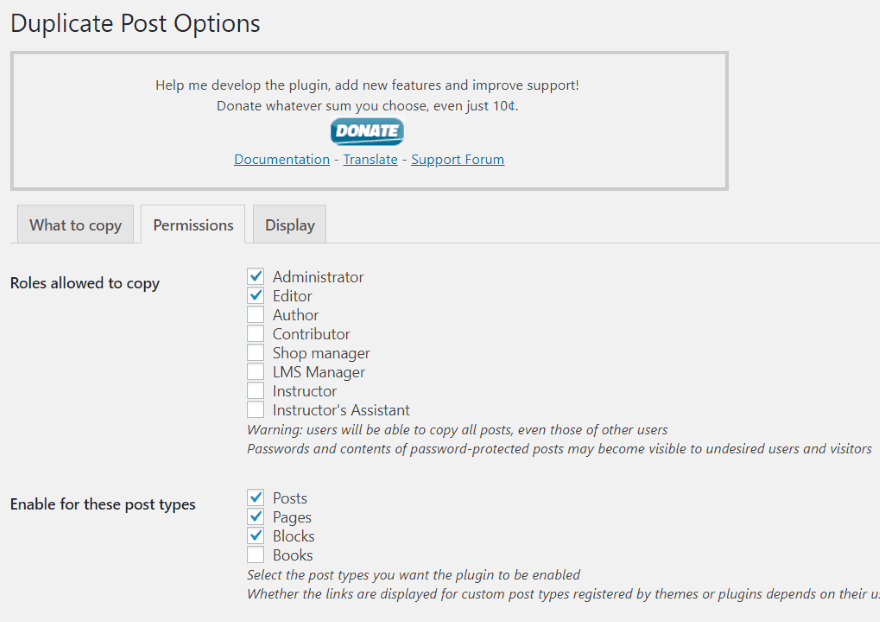
In the Duplicate Posts settings, enable Blocks.

I now have a cloning option in the Blocks library. Clone the layout you want and then edit. Each layout is global, so you’ll have to clone and edit each time you want to use the layout.
Method 2: An Easy Alternative Way to Create a Gutenberg Template
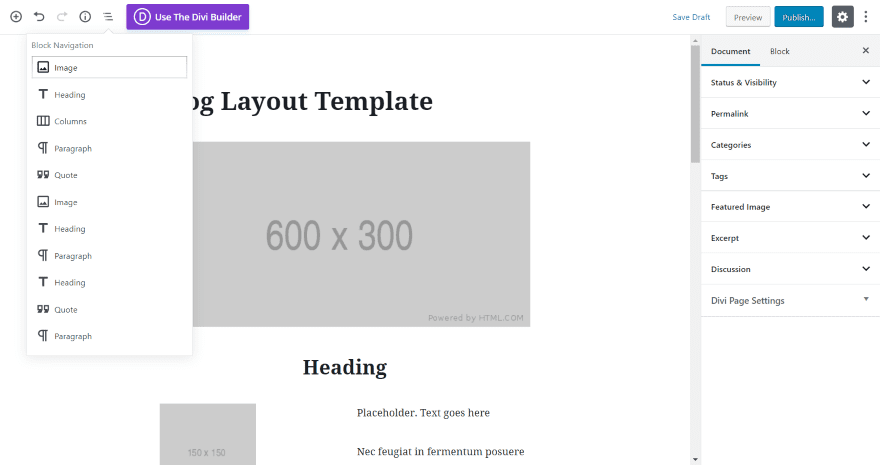
This method is just a simple cheat, but it does work. First, create a layout that you want to reuse complete with any placeholder content.
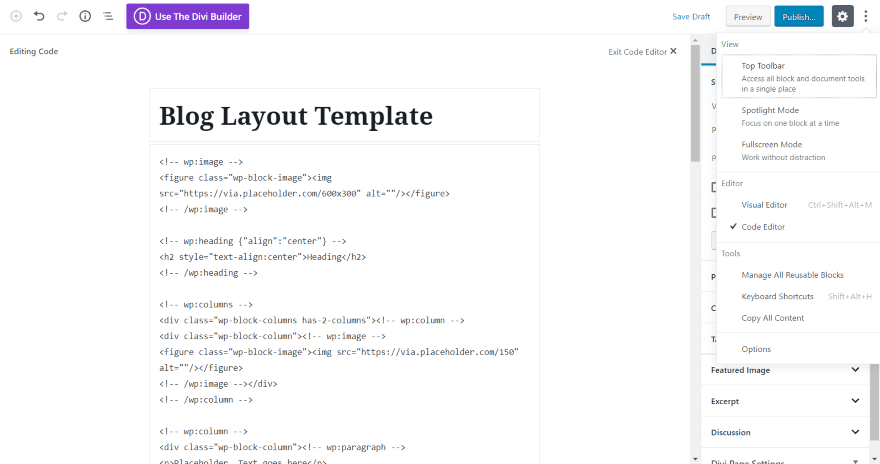
Next, switch to the code editor. To do this, select the three dots in the upper right corner. Under Editor, select Code Editor.
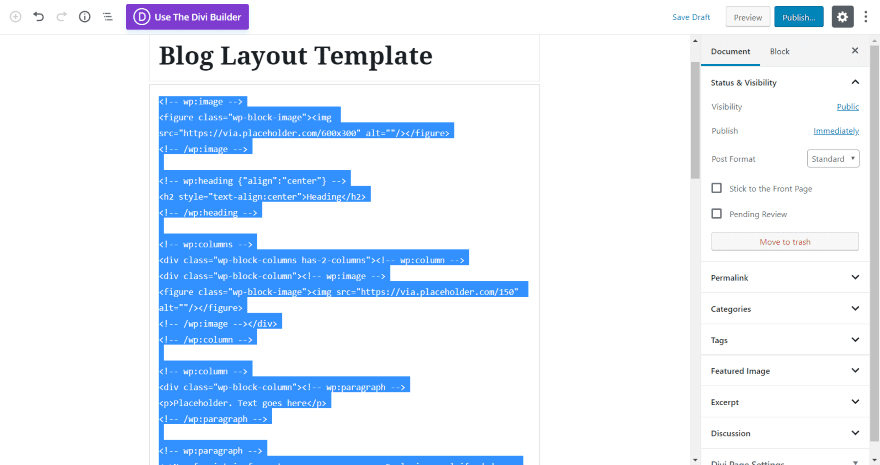
Highlight and copy the code.
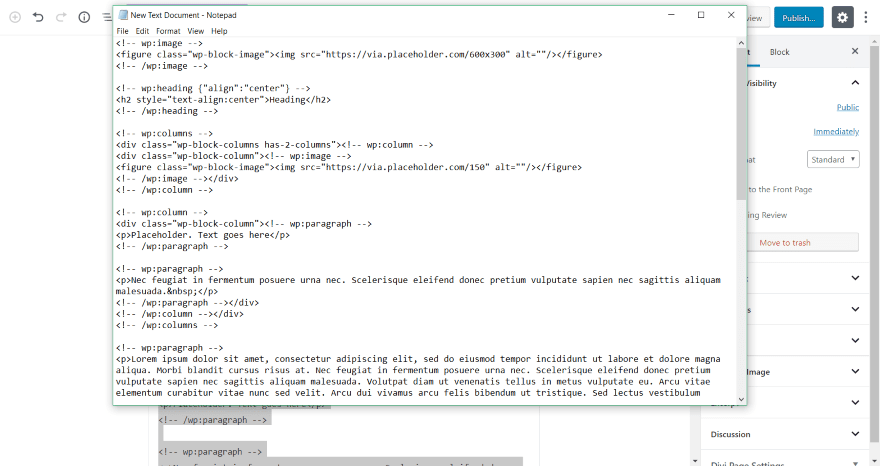
Paste the code into a text editor and save it for reuse.
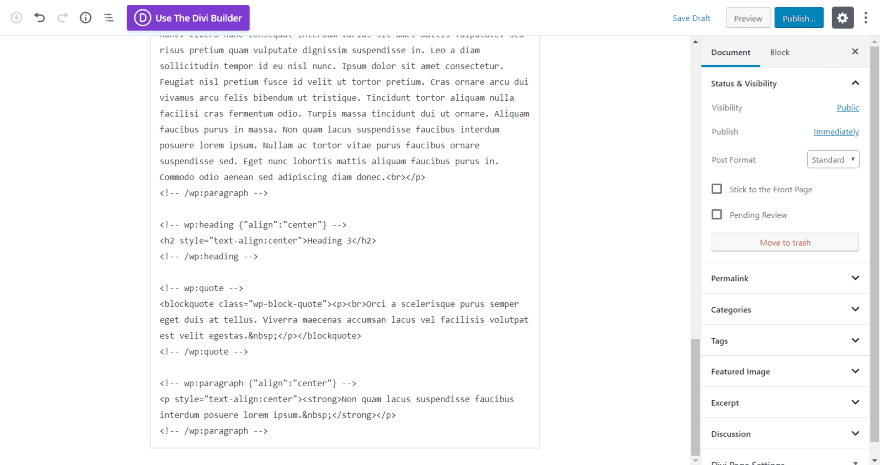
When you’re ready to use the template, simply create a new post, switch to the code editor, and paste the code.
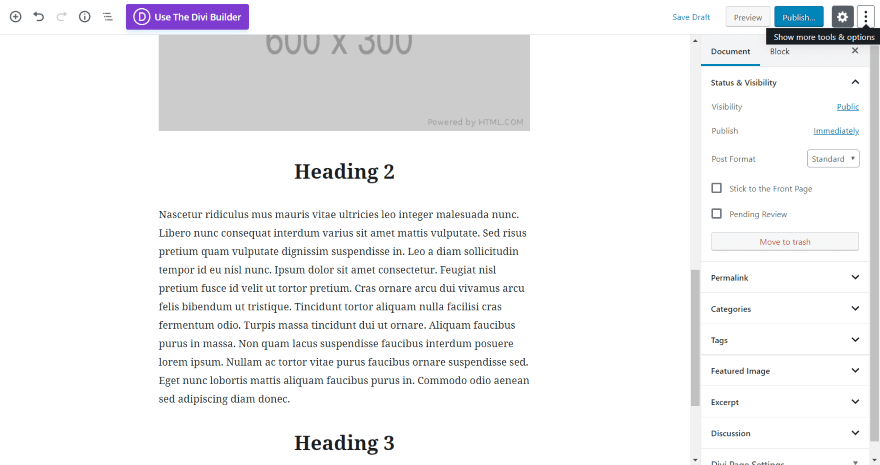
I now have a new post that I can start adding content to.
Method 3: Create a Custom Post Type
A block template is an argument. You can add the argument to pages and posts, or you can create a new post type. The layout will be tied to that post type, so when you create that post type the layout is displayed by default.
This is great for creating layouts for different types of articles. For example, you could have a product review post type, vacation summary post type, recipe post type, etc., and when you load the post type it automatically provides you with the layout associated with it.
Creating the template includes:
- Setting the default state dynamically.
- Registering it as the default layout for a specific post type.
Declaring the Template
The template itself will be declared as an array of blockTypes. This is done in JavaScript or in PHP. As the Gutenberg developer’s handbook shows, it would look like this:
const template = [

[ 'block/name', {} ], // [ blockName, attributes ]

];
Or this:
'template' => array(

array( 'block/name' ),

),
Registering the Template in Custom Post Types
The custom post type can also register the template. It could look like this:
function myplugin_register_book_post_type() {

$args = array(

'public' => true,

'label'  => 'Books',

'show_in_rest' => true,

'template' => array(

array( 'core/image', array(

'align' => 'left',

) ),

array( 'core/heading', array(

'placeholder' => 'Add Author...',

) ),

array( 'core/paragraph', array(

'placeholder' => 'Add Description...',

) ),

),

);

register_post_type( 'book', $args );

}

add_action( 'init', 'myplugin_register_book_post_type' );
The array identifies where the block comes from and the name of the block. In this example, the array uses ‘core/paragraph’. This means the block comes from the WordPress core (as opposed to a plugin) and its name it paragraph (identifying which block to use).
Registering the Template in Pages and Posts
If you add the template to pages or posts it will automatically load every time you create a page or post. I prefer to add them to specific custom post types because you have more creative freedom and it streamlines the content creation process by making the templates easier to find.
If you do decide to add them to pages or posts, you can use this code:
function my_add_template_to_posts() {

$post_type_object = get_post_type_object( 'post' );

$post_type_object->template = array(

array( 'core/paragraph', array(

'placeholder' => 'Add Description...',

) ),

);

$post_type_object->template_lock = 'all';

}

add_action( 'init', 'my_add_template_to_posts' );
Nesting Templates
You can even nest templates within Container blocks (for example, columns blocks). This is done by assigning a nested template to the block itself. For example:
$template = array(

array( 'core/paragraph', array(

'placeholder' => 'Add a root-level paragraph',

) ),

array( 'core/columns', array(), array(

array( 'core/column', array(), array(

array( 'core/image', array() ),

) ),

array( 'core/column', array(), array(

array( 'core/paragraph', array(

'placeholder' => 'Add a inner paragraph'

) ),

) ),

) )

);
Locking the Template
You can lock the template using this code:
'template_lock' => 'all', // or 'insert' to allow moving
Example Template with a Custom Post Type
I want to create the custom post type called Books that we saw above. It will display the layout template and will include an image, heading, and paragraph.
The code will be pasted into the functions.php file. Always use a child theme when adding code to the PHP files. If you don’t, the code will be overwritten when you update the theme.
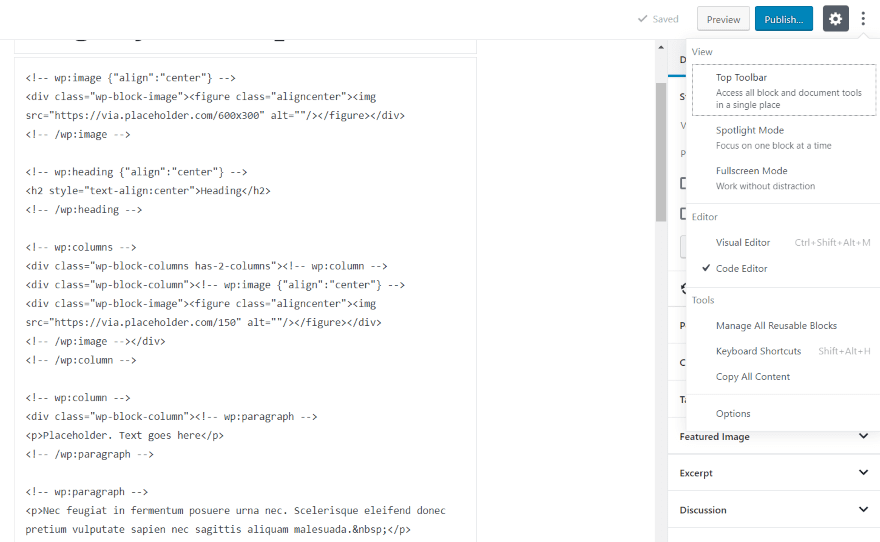
You’ll have to write the code by hand (I recommend using the code examples I’ve shown). One option is to create the layout you want and then view the code (click on the three dots in the upper right corner and select Code Editor in the Editor section). This will show the blocks with their attributes from the layout you’ve already made so you can know ahead of time how to arrange the blocks in your code.
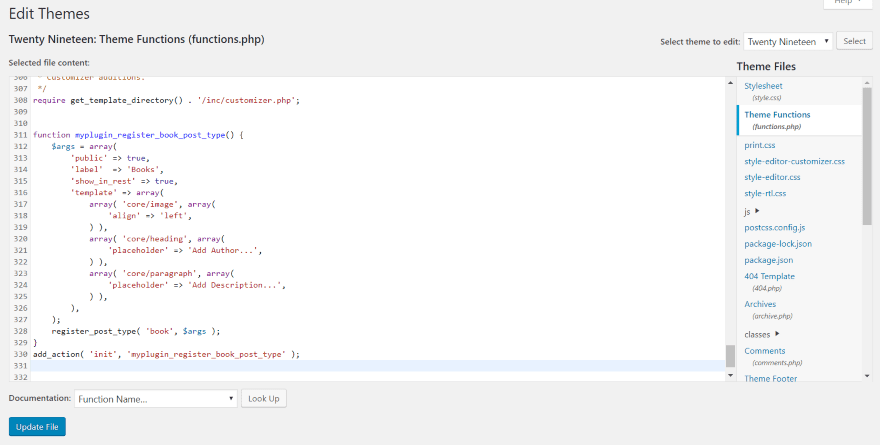
Go into Theme Functions (functions.php) and paste the code. I pasted the code at the very bottom. This is a test site and I don’t plan to keep the code, so I didn’t use a child theme.
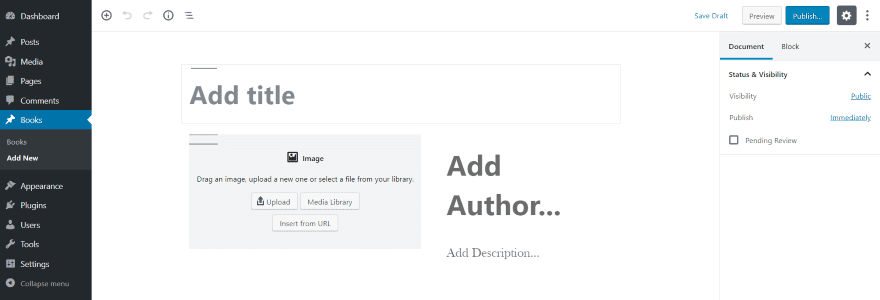
A new post type is added to the dashboard menu called Books. It includes a list and an Add New link. I clicked Add New and my new template is added to the editor where I can simply start adding content.
The blocks are placed in the order that they appear in the code and include the attributes they were assigned. You can place as many blocks in the code that you want and give them any attributes you want. You can create as many custom post types as you want and each one can have a unique default layout. This example includes placeholder text.
Ending Thoughts
That’s our look at how to create Gutenberg templates. All three methods work great. The reusable templates or one of the duplication methods might be a better choice if you don’t want to create new custom post types. I like the custom post types because it makes it easy to choose the type of content you want to create and the templates are pre-sorted for you.
The custom post types are easy to make if you’re comfortable with code and they’re the most convenient to use within WordPress. The main disadvantage in creating templates to add to your functions.php is that you’re creating the layout in code rather than in the Gutenberg editor, so it isn’t visual.
I like that you can add pre-made content to your templates. This is great for placeholder text to show contributors what information goes where. Reusable templates are a great way to speed up and streamline your workflow process, and they’re a great way to create page and post layouts to share.
We want to hear from you. Have created Gutenberg templates? Let us know about your experience in the comments below.
Featured Image via Nadia Snopek / shutterstock.com
The post How to Create Gutenberg Templates appeared first on Elegant Themes Blog.
