As far as HTTP issues go, the 405 error doesn’t give you a lot of information to work with. This error shows up when a server rejects your HTTP request, but there are several reasons that can happen. That means fixing the 405 error can require several troubleshooting steps.
In this article, we’ll give you a full breakdown of what the 405 error is and what causes it. Then we’ll go over five ways to fix this problem on your WordPress site.
Let’s get to it!
What Is the 405 Error?
The 405 or “405 Not Allowed” error appears when you try to access a website and the server rejects your request. Unlike other HTTP errors, the 405 code means that the site’s server is up and running, and that it recognizes your request. However, it’s denying that request for some reason.
Depending on what browser you’re using, you may see variations of the 405 error message, such as:
- “Method Not Allowed”
- “HTTP 405 Error”
- “HTTP 405 Method Not Allowed”
“4XX” error codes are usually caused by client-side issues, but can occasionally result from server-side issues as well. Since the error code doesn’t give you a lot of information, you may need to work your way through multiple potential fixes.
How to Fix the 405 Method Not Allowed Error in WordPress (5 Ways)
Since you’ll be making some changes to your site’s configuration in the following steps, we recommend that you perform a full backup of your website before getting started. As a rule of thumb, you should always back up your site before troubleshooting, just in case something goes wrong. Then you can work your way through these potential fixes one by one.
1. Check the URL You’re Trying to Access
It may seem simple, but typing in the wrong URL is one of the most common causes of the 405 error. You might end up trying to access an URL that’s not open to the public, causing your server to return a 405 error to say “Hey, you can’t do that here!”.
It only takes a second to double-check the URL you’re trying to visit. Since you’re the site owner, you should be able to spot if you’re visiting the wrong page. If that’s not the case and the URL is correct, you can move on to the next method.
2. Restore a Recent WordPress Backup
Updating your version of WordPress, your plugins, or your theme can sometimes lead to compatibility issues that make HTTP errors appear. That’s not to say updating your site’s components is bad – we wholeheartedly encourage you to do it – but this is a side effect you should be aware of.
The 405 error can sometimes appear due to compatibility issues from recently-updated elements on your site. If that’s the case, restoring a recent backup should fix the problem.
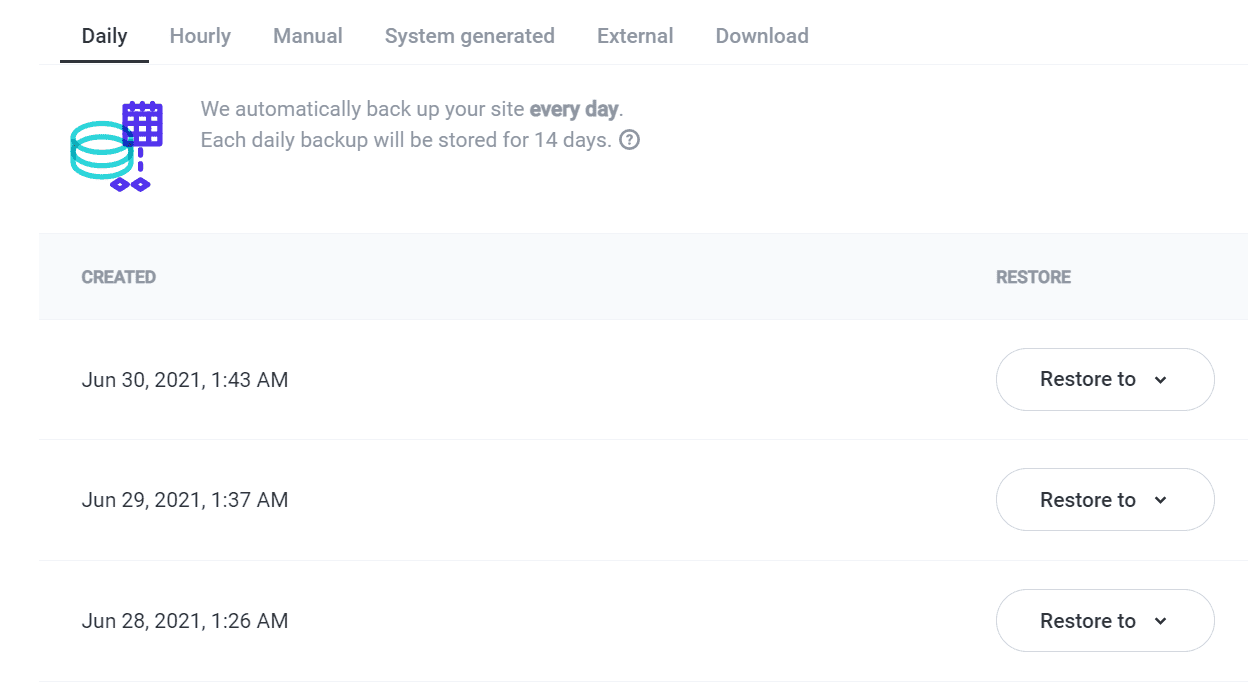
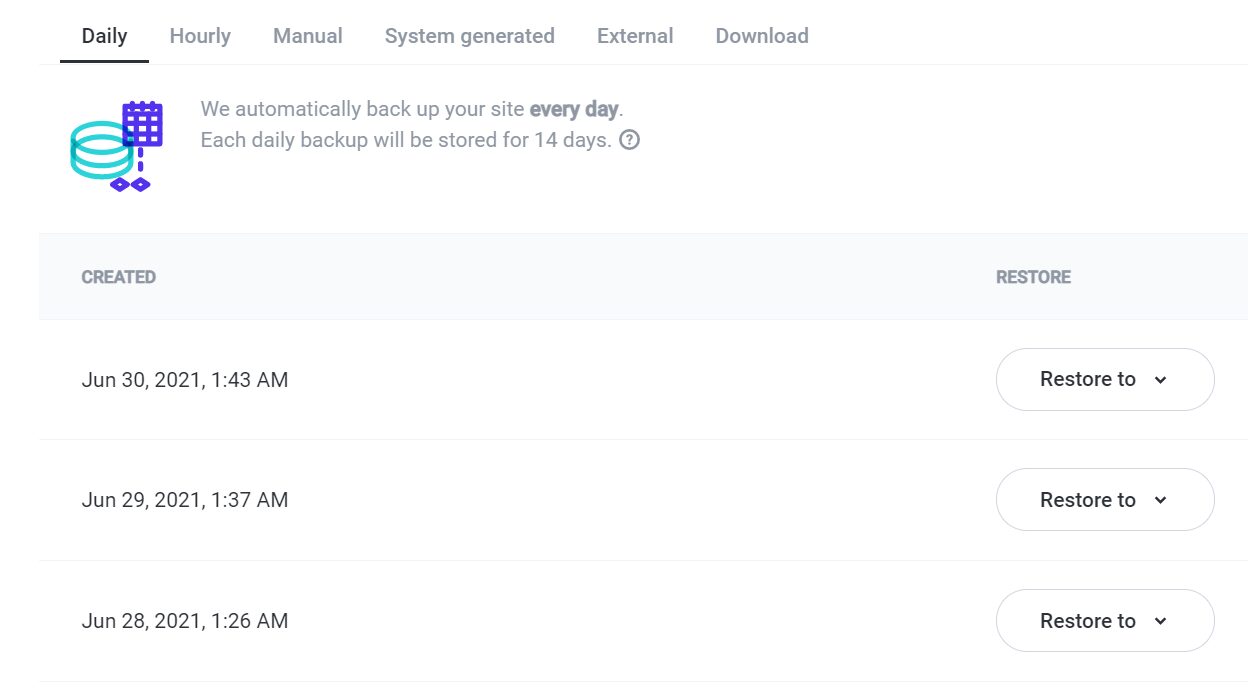
How you go about restoring your site will depend on what backup method you’re using. Backup plugins often include an option to restore the copies of your site that they make. If you use a web host that offers built-in backup functionality, you should be able to restore your site to a previous state from your hosting dashboard:

Assuming that the 405 error just showed up on your site, you’ll want to choose the most recent backup that was made before the last round of updates on your site. After you restore your website, check to see if the error persists. If it does, you can assume that updates aren’t the issue.
If this solves the problem, note that keeping elements of your site out of date isn’t usually a good idea. Instead, you’ll want to find out what aspect (such as a plugin or your theme) was most recently updated, and consider contacting its developer for help or replacing it with an alternative tool.
3. Disable Your Plugins and Theme
Even if it’s not due to a recent update, it’s still possible that a particular plugin or theme is at fault. To find out what the culprit might be, you’ll need to temporarily deactivate these elements on your site.
There are two ways that you can go about disabling your WordPress plugins and theme. The first approach is to access your dashboard and go to the Plugins or Appearance > Themes tab, and use the Deactivate option:

Deactivate one plugin or theme at a time, and check your website after each one to see if the error persists. When it goes away, you’ll know what plugin or theme was at fault.
This method works if the 405 error isn’t preventing you from accessing your dashboard. If it is, you’ll have to roll up your sleeves and connect to your site directly, using a File Transfer Protocol (FTP) client such as FileZilla.
Once you connect to your website, navigate to the wp-content/plugins folder within your root directory. Each plugin that’s installed on your site will have a corresponding folder within this directory:

You can select any of those folders and change its name. This will stop WordPress from recognizing the plugin, essentially deactivating it. You can test each plugin one by one using this method, and see if the 405 error goes away. Disabling your active theme works just the same – go to wp-content/themes and change the name of its folder.
Once you identify the offending theme or plugin, your options are the same as in the previous step. You can find a replacement for it, or get in touch with its developer for help resolving the problem.
4. Check Your .htaccess File for Rewrite Rules
As you may know, you can add redirect rules to your server by modifying your .htaccess file (of course, that’s not all that it can do). If you’re not the only person with access to the site, someone might have added a “rewrite” rule that’s causing the 405 error.
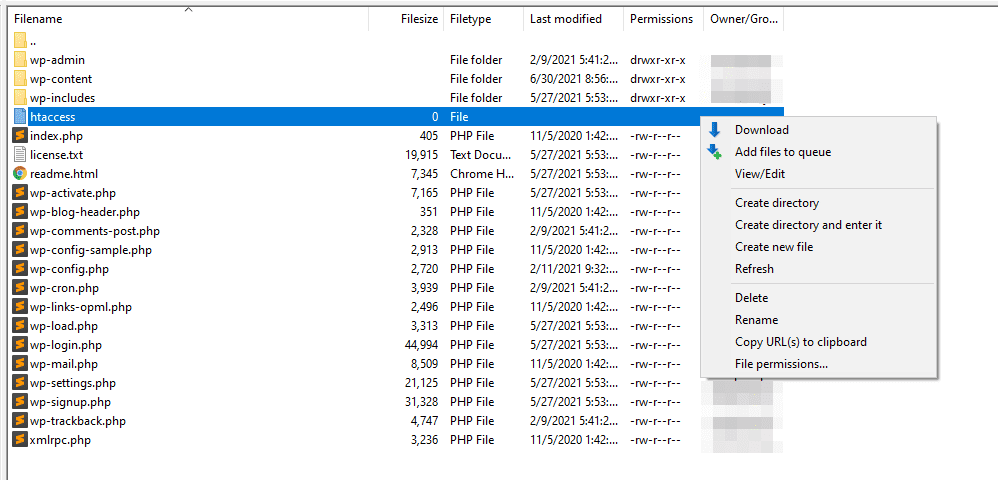
To investigate this potential cause, access your site via FTP once more and open its root folder. The .htaccess file should be right within, so right-click on it and select the View/Edit option to open it:

You can see what the default contents of a WordPress .htaccess file should look like by visiting the WordPress Codex. The file includes several lines of code that start with “RewriteCond”, but you’re looking for entries that include the number “405”. If you see a rule that includes code like this, you can go ahead and change or delete it:
[R=405, L]
Keep in mind that modifying your .htaccess file can lead to errors like the one you’re dealing with now. If you’re not sure what a specific rule does, it’s best not to touch it (or ask a developer for help). For now, save your changes to the file and try accessing your site again to see if the error is resolved.
5. Enable Debug Mode and Check Your Log Files
If nothing else works, then you’ll have to start digging into your WordPress error logs to see what’s happening on your site. WordPress enables you to turn on a “debug” mode that automatically generates logs you can check out at your leisure.
We have a full article on how to enable the WordPress debug feature, and how to access the logs it generates. Keep in mind that navigating these logs can be labor-intensive, particularly if you have a fairly active website.
To make your work easier, we recommend that you try and re-create the 405 error right before you check your WordPress logs. That way, your access attempt should be one of the last events recorded, making it easier to determine the exact source of the problem.
Conclusion
Troubleshooting the 405 error can take a while, as it doesn’t provide you any information as to what’s caused it. However, if you’re using WordPress, there are some common fixes that should help you make this error go away. Those include both client- and server-side solutions.
Here’s what you’ll need to do if you encounter the 405 error in WordPress:
- Check the URL you’re trying to access.
- Restore a recent WordPress backup.
- Disable your plugins and theme.
- Check your .htaccess file for rewrite rules.
- Enable debug mode and check your log files.
Do you have any questions about how to fix the 405 error in WordPress? Let’s talk about them in the comments section below!
Featured Image via apghedia / shutterstock.com
The post How to Fix the 405 Method Not Allowed Error in WordPress appeared first on Elegant Themes Blog.

