If you are looking to run a forum, community, or membership site, you have a lot of options. bbPress, BuddyPress, even Patreon. However, if you haven’t taken a look at running a Discourse community, we want to take a moment to show you how it can be done. A lot of forum software can be persnickety and convoluted, and Discourse is an open-source solution that does its best to simplify everything down to just what community managers need.
What is Discourse?
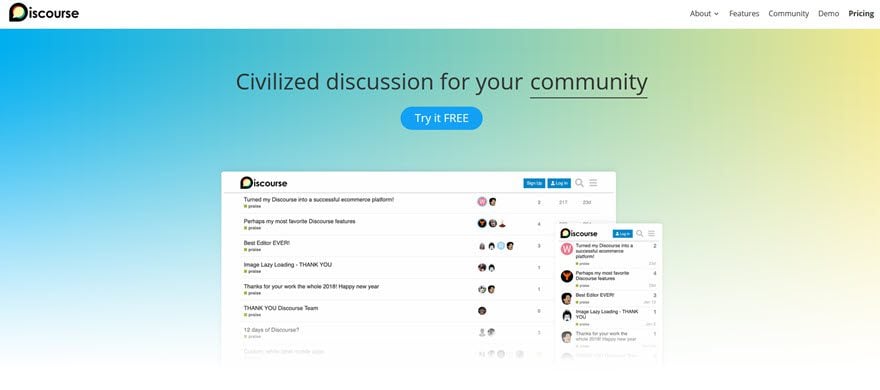
Discourse, as we said, is open-source community forum software. bbPress and BuddyPress are both open-source, too, but the big difference here is that Discourse is standalone. You don’t install it on top of WordPress. Instead, you use Docker to run a containerized instance of Discourse that you control at the root level.
Now, that doesn’t mean you have to be a tech wizard to install and use Discourse. It takes about 30 minutes to install Discourse, and once it’s set up, the software is a dream to work with.
How to Install Discourse
Installing Discourse isn’t that hard. You cannot, however, do it on a shared host (basically anything using cPanel). Sorry. You just generally don’t have root access to those. However, you can get what you need to install Discourse by using a service like Digital Ocean where you can get root access. It’s not hard, and it’s fairly cheap (generally $5 a month or under).

When you create your account, you can choose to login a number of ways. We chose to use GitHub because of the ease, but it’s totally up to you on this one. The big choice comes once that’s set up, and you have to choose a payment method.
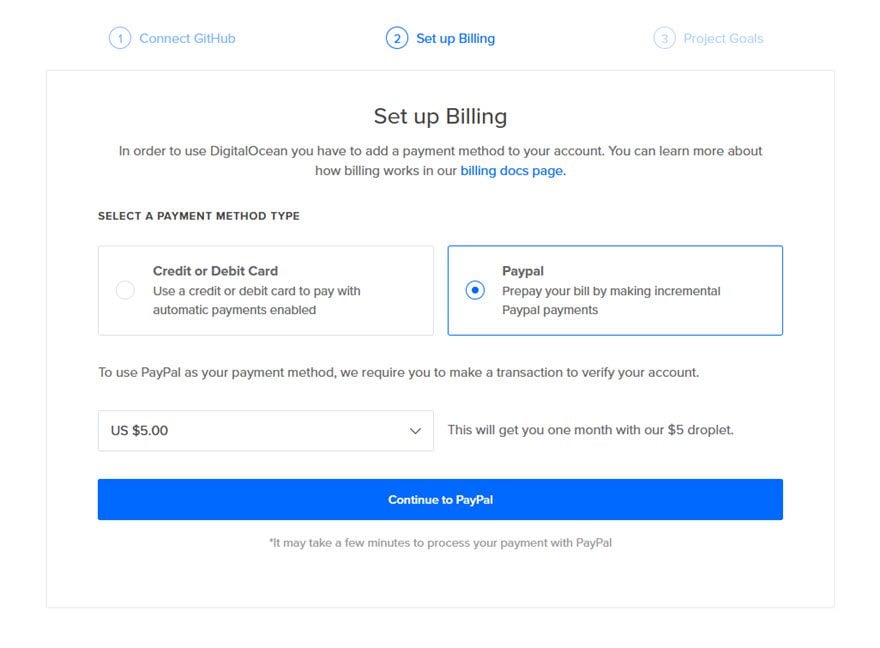
We chose to go with PayPal because of the incremental payments you can make. Choosing this method means that you get a more affordable way to pay, even though it might not be as predictable all the time.
Using Digital Ocean
When that’s done, you will see your dashboard. It’s not terribly different from other backend dashboards (including WordPress) that you probably deal with on a daily basis. For Discourse installation and management, you’ll be mostly concerned with the Droplets menu to the left.
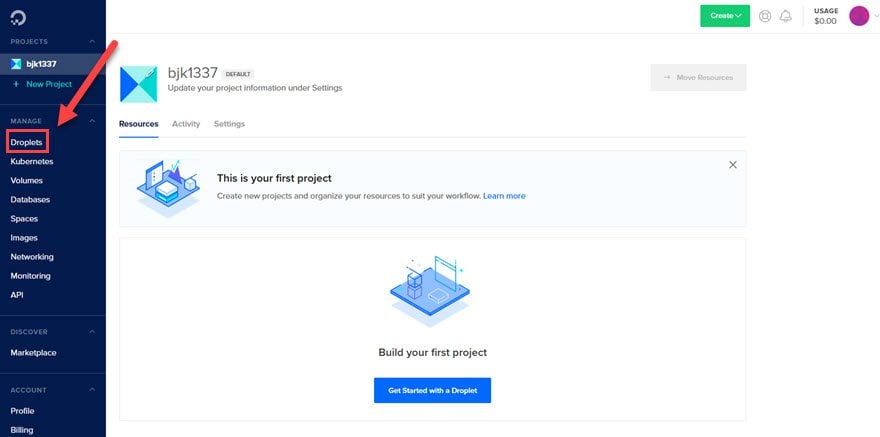
A Droplet at Digital Ocean is their name for a cloud server, nothing that scary. So you will want to click Create and then hit Droplets in the upper-right of the Droplets dashboard.

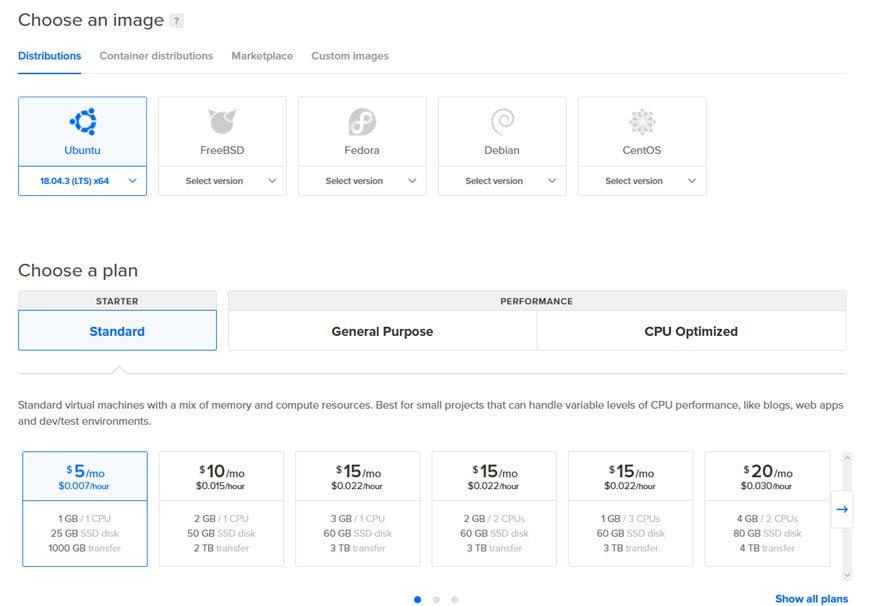
At this point, you will choose the server specs. Unless you’re expecting a large-scale community at launch, the default choices for the Droplet are fine: Ubuntu 18.04, Standard performance at $5 per month.
At this point, check your email. You will receive instructions on how to access this Droplet. They send it by email because this is where you get your root password and server IP address. These are massively important because you will be connecting to this server via the command line. (Don’t worry — we have the commands you can copy/paste for that.)

Now we have to open up the command line.
Connecting to your Discourse Droplet
If you’re not familiar with the command line, that’s okay. You’re not going to be doing anything that is too complicated. And like we said, we have the commands for you to copy/paste.
First thing, you want to pull up either the Terminal app on Mac or the command prompt in Windows. You can find Terminal under your Utilities folder in Applications, and you can start the command prompt by searching for CMD from the taskbar or start menu.
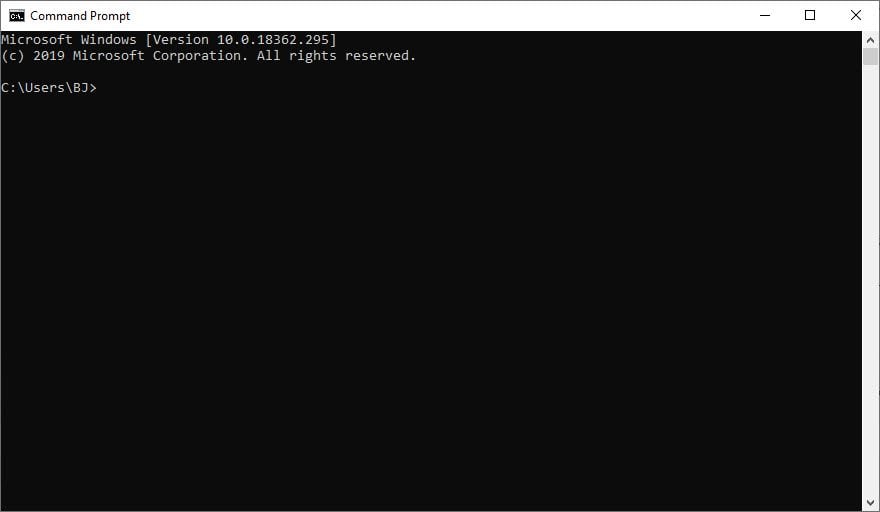
After that, you want to take the IP address from your Droplet (from the email) and type in ssh root@123.456.78.9 with the numbers being that IP address. You will then be prompted to login as and you type in root. The password you enter will be the long string from the email. You should be able to copy/paste it. If not, just be careful to type it in exactly as it is.
You will then be required to change the password into something much easier to remember (and to type).
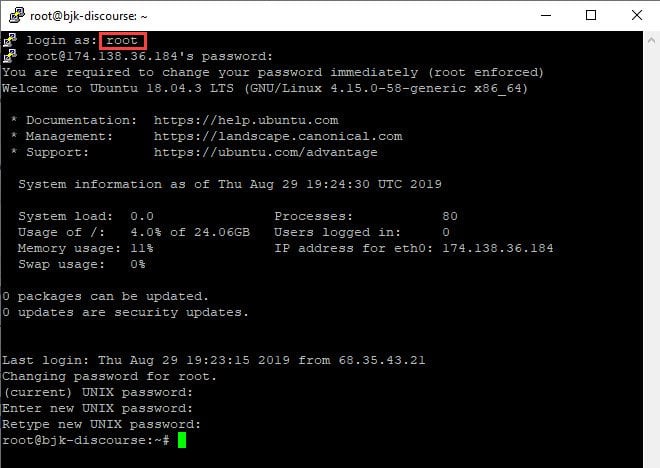
Once that is done, you have access to your Droplet. The first thing you need to do is install Docker. Again, easy peasey. Simply paste
wget -qO- https://get.docker.com/ | sh
into the command line and wait for the processes to finish. After that, it’s time to actually install Discourse! See, simple, right?
Installing Discourse using Docker and the Command Line
Since we’re using the command line, all you have to do to install Discourse is paste in this code:
sudo -s
git clone https://github.com/discourse/discourse_docker.git /var/discourse
cd /var/discourse
At this point, Discourse is now installed. You should be in the Discourse folder now, so you can type ls to list all the files and folders in the directory. You should see something similar to this, verifying all the Discourse files were copied and installed.

With that done, you need to set up the email service that you’re going to use for transactional emails (signup verifications, lost emails, etc.). Again, it’s easy to do.
Setting Up Discourse Emails
The Discourse devs suggest using Mailgun, and we do, too. Mailgun lets you send up to 10,000 emails and 100 validations per month for free, so unless you’re at major scale, you will likely be using Mailgun’s service for free.
If, however, you already have a mail server through your traditional host, you can use that, too. The important part is that you have one at all.
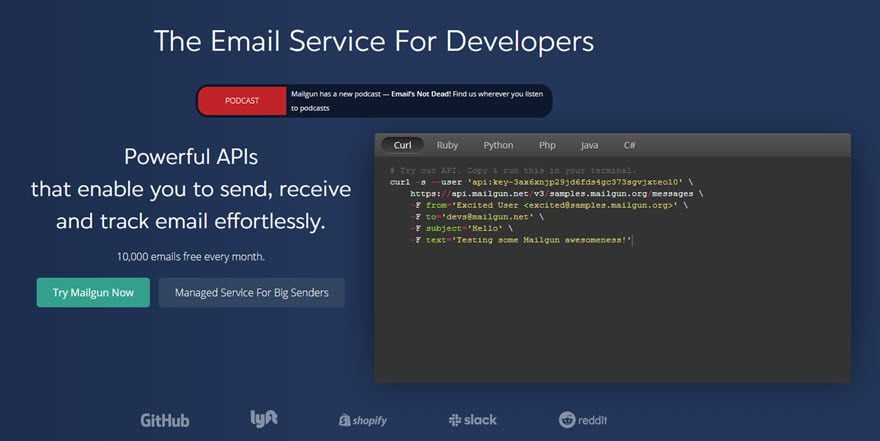
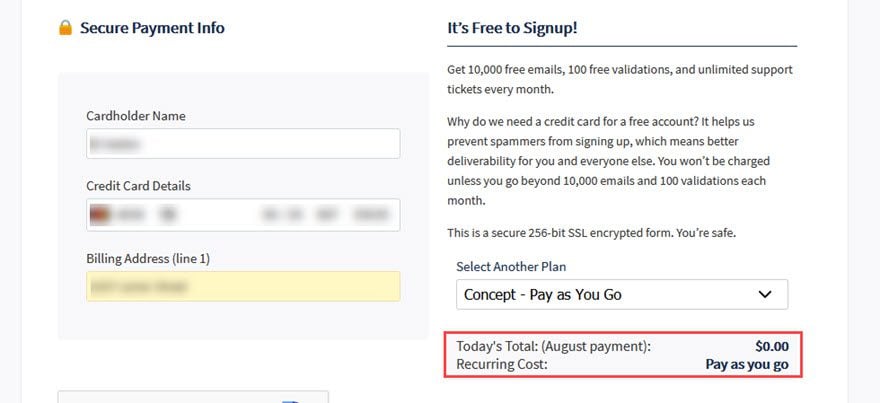
You do have to put in a credit card for Mailgun, but it will not be charged unless you go over your quota. So no worries there.
You will get an email immediately upon account verification with your API key. Keep this safe and private.
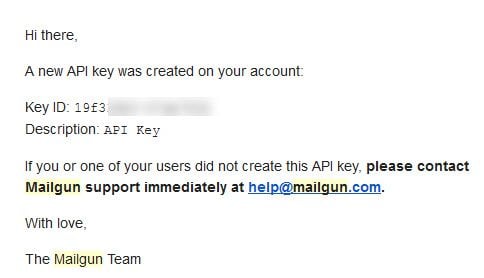
We will use this later during set up.
Your Discourse Domain Name
You will also need a domain name for where the installation will live. You can’t actually run Discourse from the IP address of your Droplet, so you will need to grab a domain or use a subdomain of an existing site. Most likely, you have one already, but if not, it’s very easy to get set up with a domain and get the DNS configured.
For this example, we created a subdomain of forum.bjkeeton.com to host this particular instance of Discourse. You then go into into the Advanced DNS Settings area of the cPanel and find the forums.bjkeeton.com zone file.
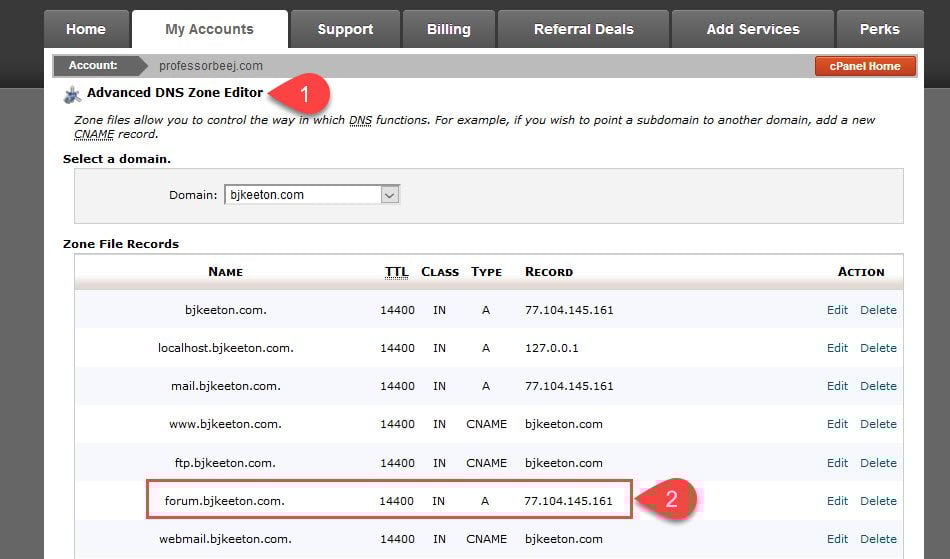
Then, click Edit and adjust the IP to that of your Droplet from Digital Ocean.

Press Edit Record, and you’re ready to go. You will also need to configure your domain’s email settings for Mailgun, but that’s easy, too. Go to your Mailgun account and click on Domains and Add New Domain. You will then have a list of records you need to create in your cPanel by doing the same thing you did above, only by using New Zone Record.
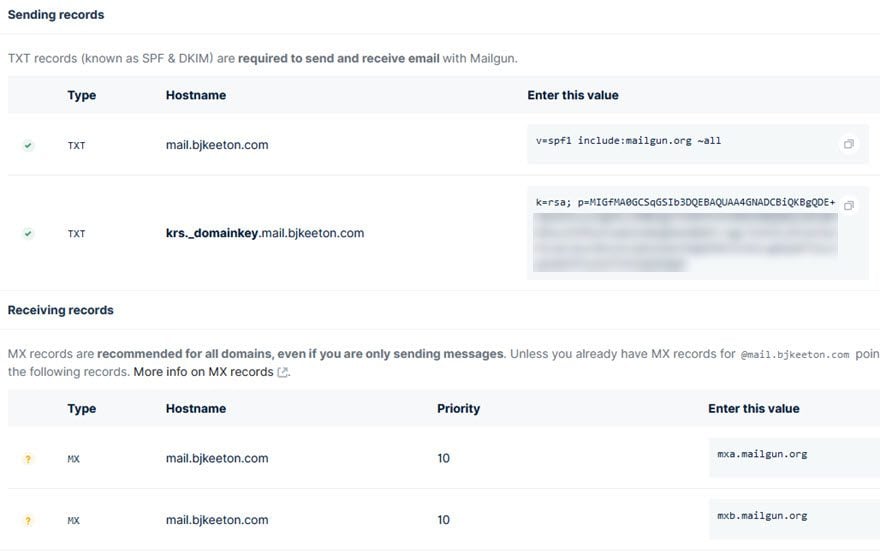
Simply match up the Type, hostname, and value, and you can verify with Mailgun. You can create the MX records the same way in your cPanel, under either MX Entry or Advanced MX Editor. These work the same way as above.

Configuring and Launching Discourse
With all of that done, you can now get the basics set up for your Discourse installation itself. Simple type in
./discourse-setupinto the command prompt and follow the instructions. The official installation instructions show they will be the following:
Hostname for your Discourse? [discourse.example.com]:
Email address for admin account(s)? [me@example.com,you@example.com]:
SMTP server address? [smtp.example.com]:
SMTP port? [587]:
SMTP user name? [user@example.com]:
SMTP password? [pa$$word]:
Let's Encrypt account email? (ENTER to skip) [me@example.com]:
After this, you will have a fairly long set up. It can take as long as 10 minutes to do, so don’t close the command prompt window. It will eventually finish and return you to the prompt itself.
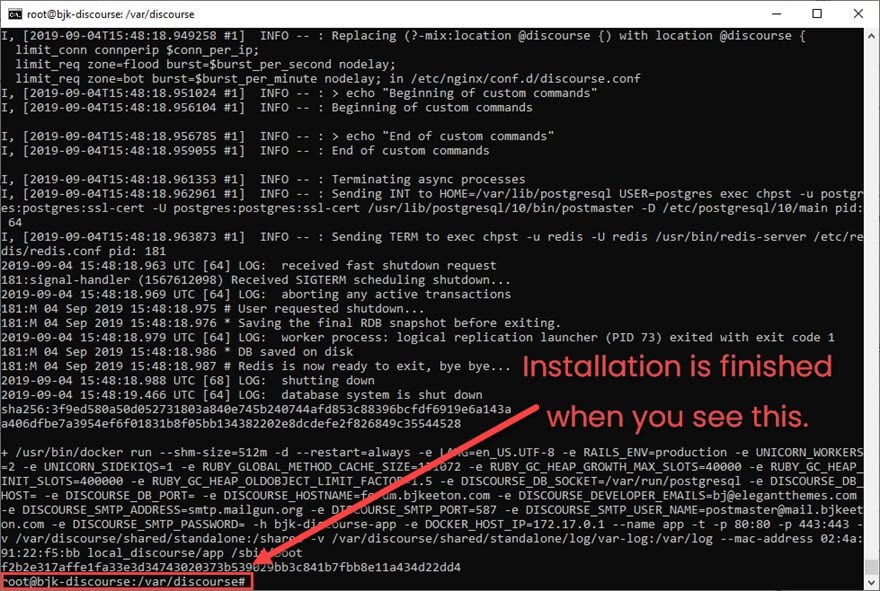
To make sure that you have done everything correctly, navigate to the URL that you set up for your Discourse community.
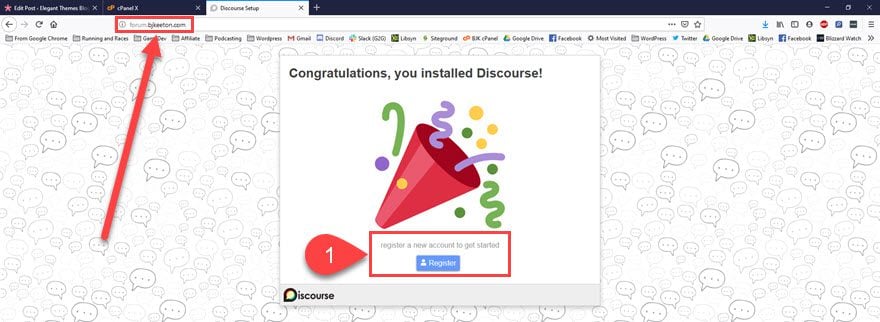
You should see a celebratory splash screen that prompts you to register for your forum account. This will be your admin account, so it will use the email that you set up during the last step.
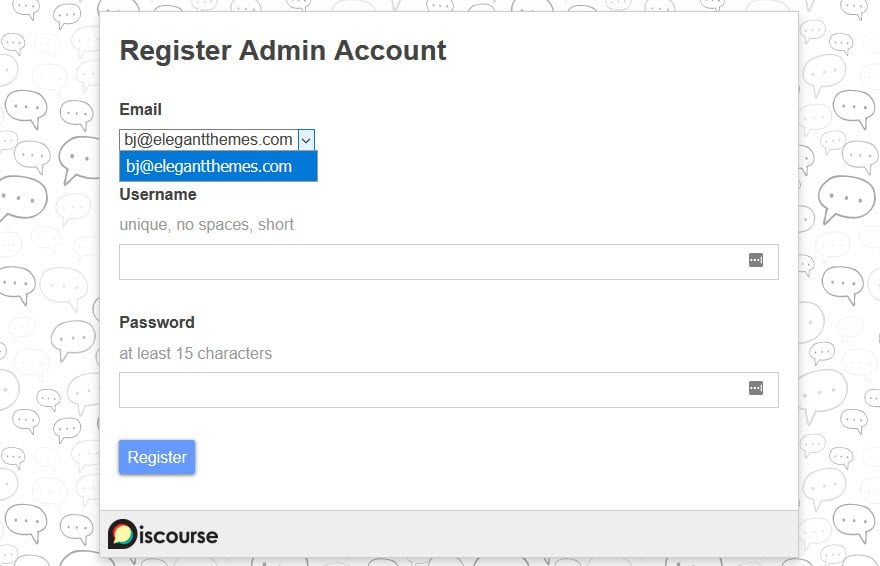
As you set this up, if for some reason you to not receive the verification email, you can manually create an admin account via the command line because you have root access. You will use the following commands to do so.
cd /var/discourse
./launcher enter app
rake admin:create
The screen will look like this as you move through the process.
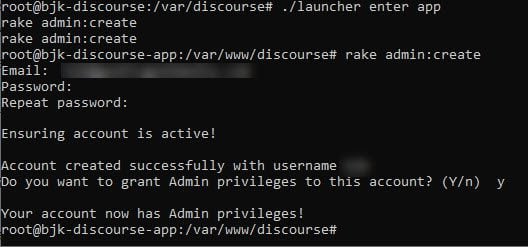
As you can see, you can do this with any account, and you don’t have to grant it admin powers. If it is a small team accessing your Discourse community, you can do this for everyone. If not…well, we suggest checking your mail settings over again.
Visiting Your Discourse Community
Now, you can go back to your Discourse community URL and see the forum itself.

At this point you will also be able to login with your new info and see the admin panel.
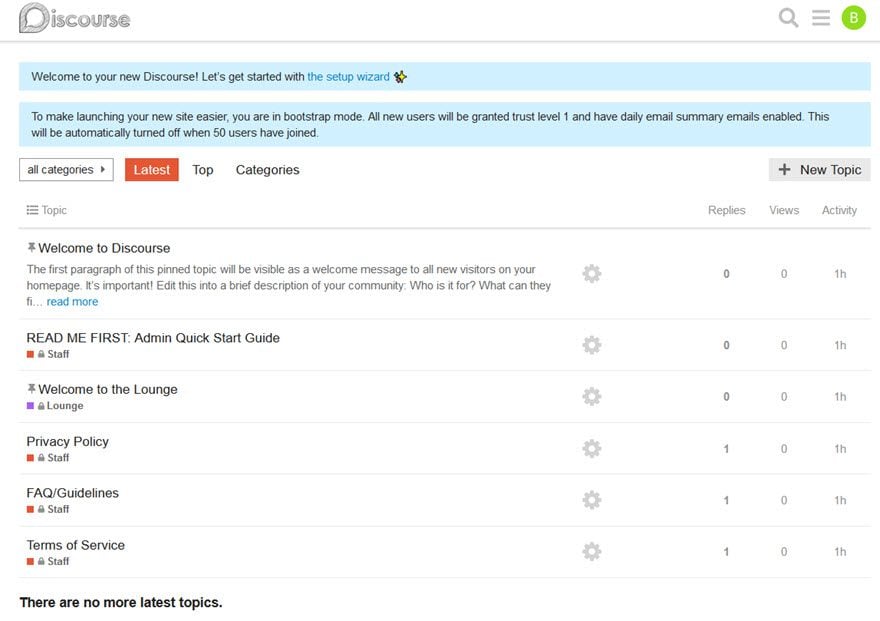
Initially, all of the forums are locked because the forum itself is public, but it’s the admin’s job to configure everything for your specific Discourse community. You can click on the Run the Setup Wizard at the top of the screen, and you will be taken through basic configurations like theming, moderators and staff invites, logos and descriptions, and most of the stuff you’d have to poke around the admin panels for.
We highly suggest taking the time to run through the wizard. After that, you’ll be taken back to your main page that’s now replete with your choices having been added in.
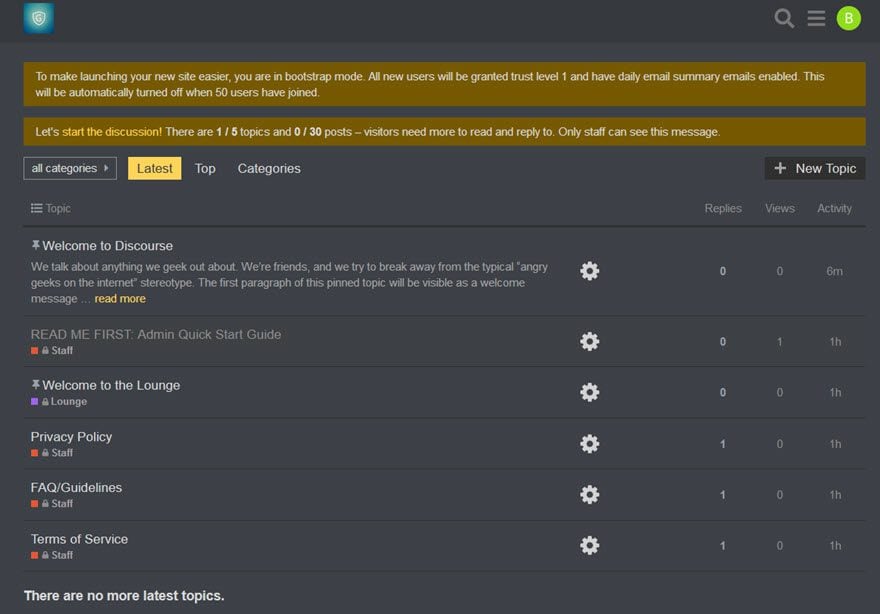
At this point, all of the major configurations for Discourse have been set. What’s left is the personalization that your individual community needs. What categories (subforums) you need for your people, what permissions users of different levels have, and so on can be accessed through your admin panel (which can also be accessed by adding /admin to your URL).
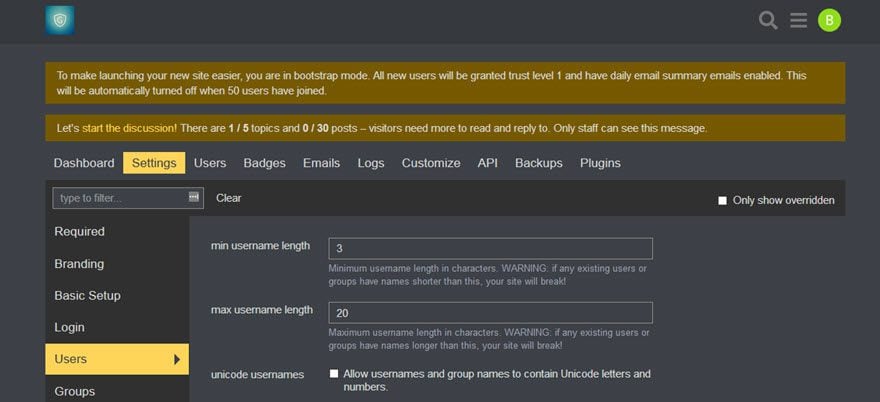
And there are a lot of options. You can easily get lost in the number of configuration settings that Discourse offers a community. So our suggestion is to take the devs up on their offer for help. You will see a READ ME FIRST: Admin Quick Start Guide on the main page. It’s a step-by-step guide for setting up automatic backups and other features that you need, but aren’t necessary for the launch of the community.
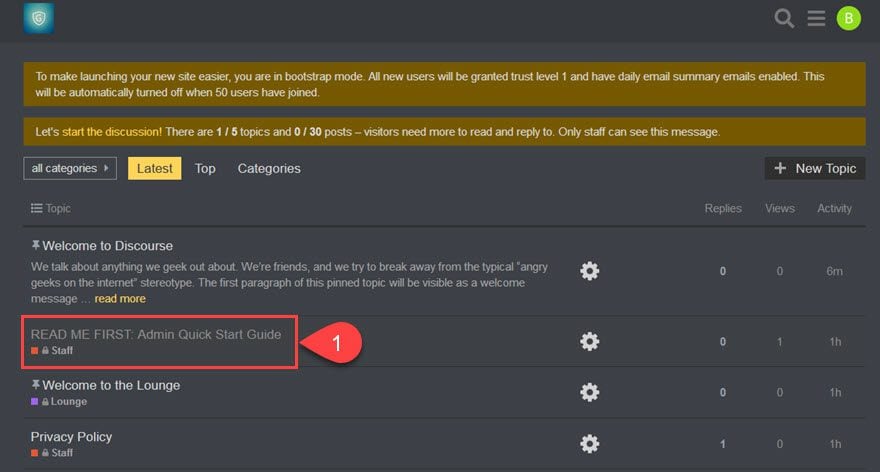
As you work through that, you’re done. You’re ready. You can start sending users to the URL you set, have them register, and start engaging with the community.
Wrapping Up
While installing Discourse might seem really daunting, hopefully we’ve assuaged any fear you had that it’s too complicated or techy to be worth it. The Discourse community forums system is probably the best available right now, and if you are willing to take the half-hour or so to set it up and configure the backend, you and your community will be happy and having conversations before you know it.
What have your experiences with Discourse been?
Article featured image by kit8.net / shutterstock.com
The post How to Install and Run a Community Forum with Discourse appeared first on Elegant Themes Blog.

