
When given the choice between using a vector icon or a static image, it’s a good idea to go with the vector. They’re small and fast to load, and they can scale to any size without a loss of resolution. Font Awesome is a superb library of vector icons that you can use on your websites, and they probably have almost any shape or brand that you’d need. And best of all? It’s free. Second to best of all, it’s easy.
Font Awesome WordPress Icons
Using the Font Awesome library on your WordPress site is relatively painless. Once you follow these simple steps, you’ll be able to lower your page-load time and create some really clean, crisp designs using these icons as part of your work.
One thing to remember is that (most of the time) the Font Awesome icons are going to be delivered to your site as actual fonts. Hence the name Font Awesome. You will be able to style and manipulate them in every way that you normally could a font character, using CSS via @font-face and the Font Awesome font-family.
Because of that, you won’t have to worry about sizing or spacing for each individual browser or viewport. If it sounds great, that’s because it is. And here’s how you do it:
Installing Font Awesome
While there is a manual way to install and use Font Awesome, there’s a better way for WordPress users. The fine folks over at FA have released an official Font Awesome WordPress plugin, and it works beautifully.
With the plugin installed and activated, you now have access to the [[icon name]] shortcode as well as the HTML snippets. As long as you keep the handy-dandy FA icon list around so you know exactly what icon you need. You will see on the plugin’s settings page (found under Settings – Font Awesome) how things are set up by default. In general, these are fine to keep and use. Most people won’t need anything else.
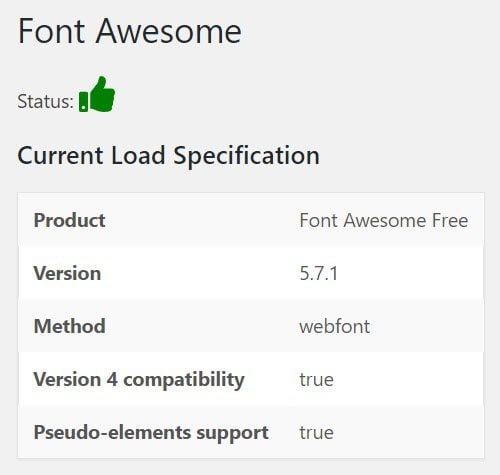
The Method option is probably the most important for most folks. You can toggle between Webfont or SVG. While SVG gives you more power and features (such as power transforms and masking), the Font Awesome CDN will deliver the icons as SVG files and not as a font. While that is better in some ways, the SVG isn’t recognized by as many browsers, nor does WordPress always play well with SVG images. So we suggest playing it safe with the webfont version.
So does Font Awesome, for that matter: If you’re not sure of the difference, or don’t know why you’d need to use SVG, then sticking with the default webfont method is probably easiest.
To use the Font Awesome icons on your WordPress site, it’s simple. Just add <i class=”fab fa-wordpress”></i> anywhere you want an icon to appear. Make sure to check the icon library to know what name to put in.
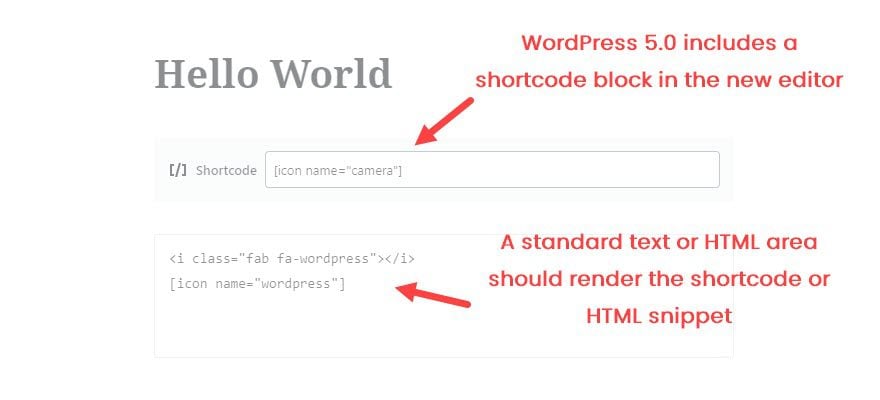
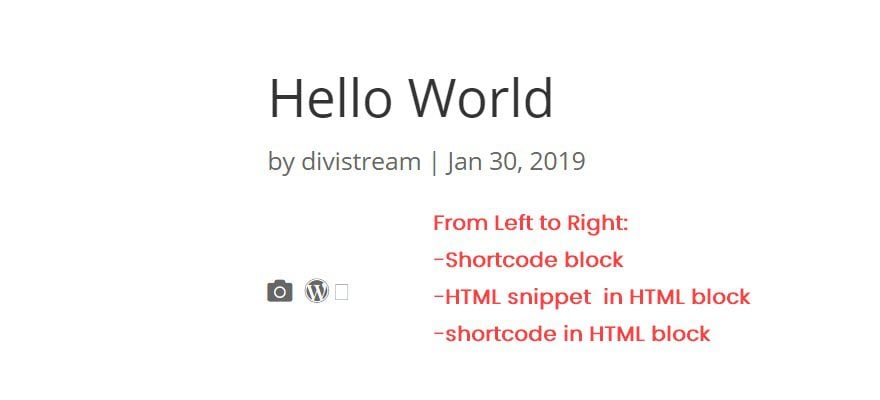
Note: the shortcodes in the plugin are hit-and-miss. Some icons render perfectly well, while others show up blank. We recommend you stick to the HTML insertion unless you see that the shortcode works for you. See below for an example of the WordPress example above not rendering, while the camera icon does.
And you’re done. The Font Awesome WordPress plugin is great for folks who aren’t comfortable going into their theme or files to insert the otherwise required code. However, if you are comfortable doing that, you can follow these instructions to get the Font Awesome icons on your site.
Installing Font Awesome Icons Manually
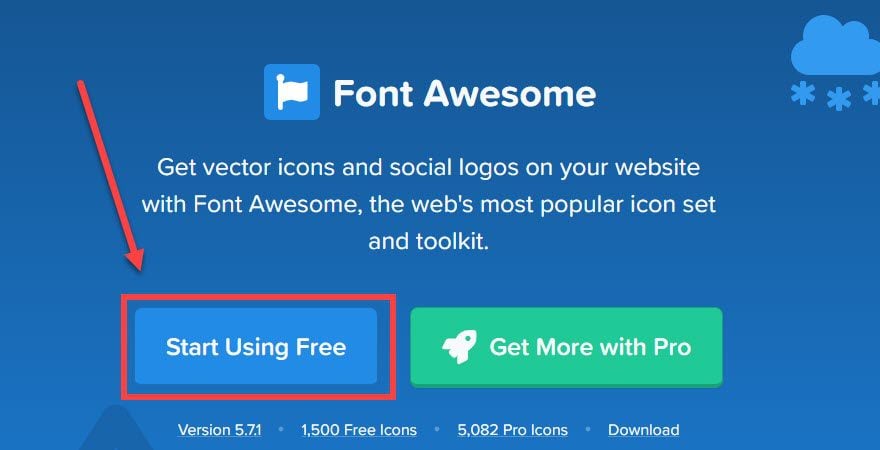
The very first thing you need to do is go to the Font Awesome website. From there, click on the Start Using Free button. They do offer paid plans for folks who have high-traffic sites and need an enterprise solution, but the general public can get away with the free version. You get 1,500 icons for free, and over 5,000 variants on the Pro plan.
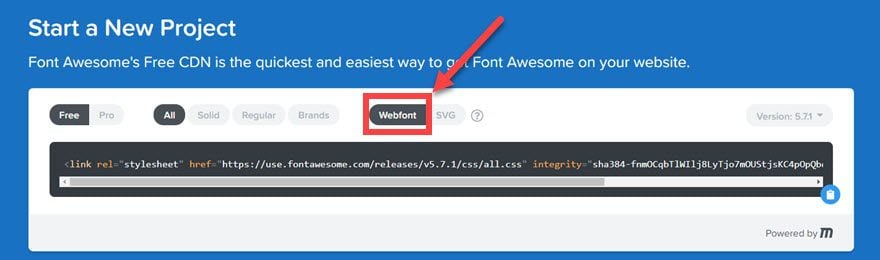
The next step is to simply copy/paste. But you will want to make sure that you’ve highlighted the webfont option, just like we discussed before.
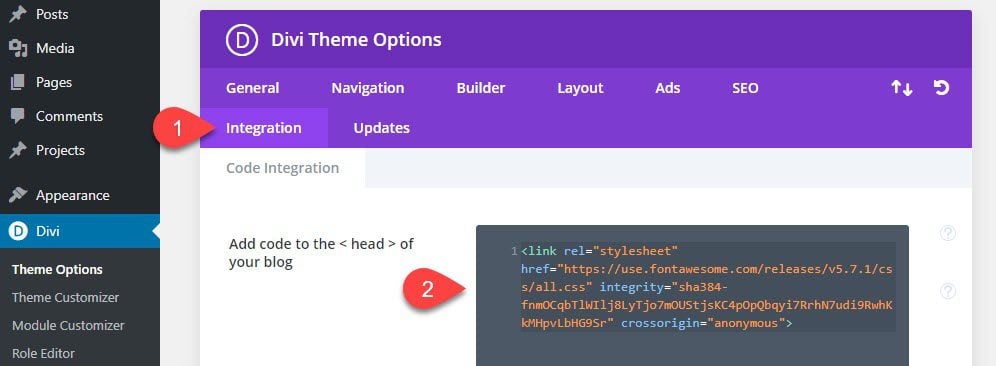
Most themes have a place for you to insert code into the <head> of the site automatically. In Divi’s case, for instance, you would go into Theme Options – Integrations and paste this code into the field labeled Add code to the Head of your blog.
<link rel="stylesheet" href="https://use.fontawesome.com/releases/v5.7.1/css/all.css" integrity="sha384-fnmOCqbTlWIlj8LyTjo7mOUStjsKC4pOpQbqyi7RrhN7udi9RwhKkMHpvLbHG9Sr" crossorigin="anonymous">
When you hit save, you can start including any of the icons you want, just like we did above. Only, you do not have access to the shortcode by doing this.
If Your Theme Doesn’t Support Code Integration
If you can’t find a spot like this in your theme, it’s also just as easy to do manually. You will have to dig into the Core files of your theme to do so, however, but it’s a very quick copy/paste, and is (generally) pretty safe to do. Go to Appearance – Editor in your WP dashboard, and find the header.php file.
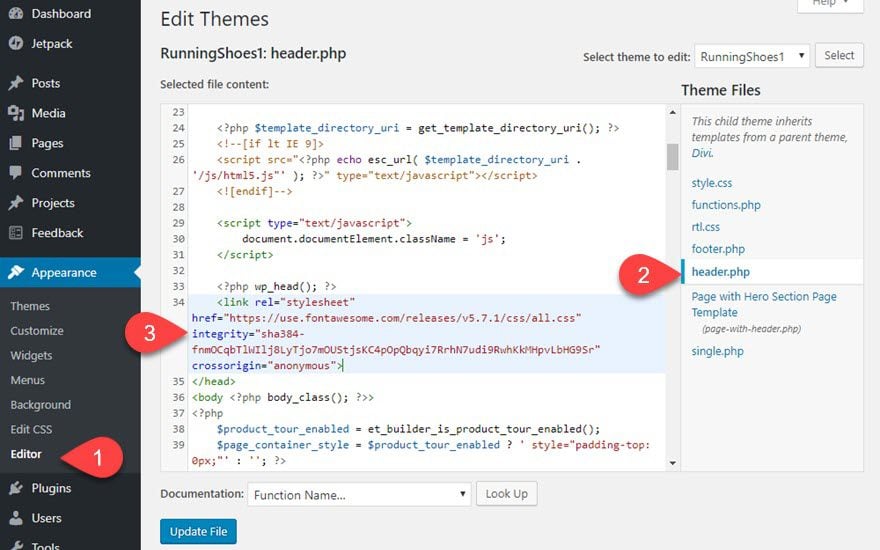
Find the line where </head> is written, and before it, you need to paste the same code from Font Awesome. Press Update File, and you will be able to begin using the FA icons immediately. Again, you don’t get a shortcode by installing Font Awesome this way.
Also, keep in mind that anytime you edit a theme file, you want to use a child theme. By doing so, you prevent the changes you’ve made from being overwritten when the theme updates.
More Options for Installation
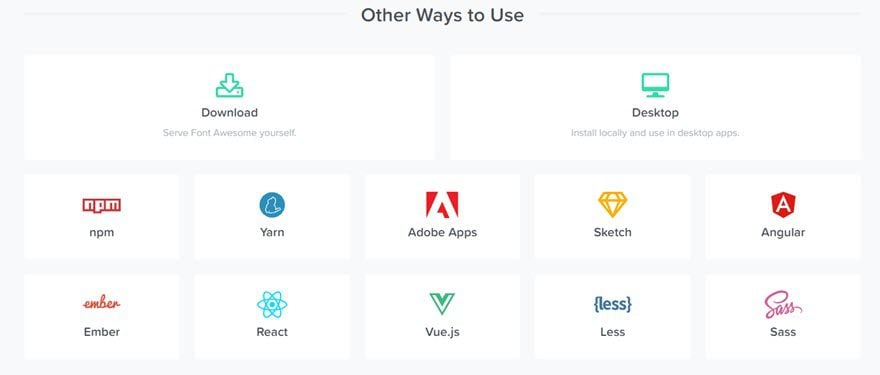
And if you have other, more specific needs for Font Awesome, they do offer a slew of ways to get access to the library. From NPM and Yarn installs, to Sketch and React integration, they have a ton of options if you need it for more than WordPress.
Styling Font Awesome Icons
Now that you have them installed, it’s time to make the icons pop. You can do this using CSS because each of the icons is governed by a CSS class. The two most-often used styles are color and size. You can either include the CSS styling in your stylesheets, or you can do it inline. In general, you may want to use inline styling because icons like these don’t tend to be universal across a whole site.
The Font Awesome website has examples of how to do this. They show sizing using their igloo icon and the additional class like fa-xs or fa-xl or fa-2x for specific size.
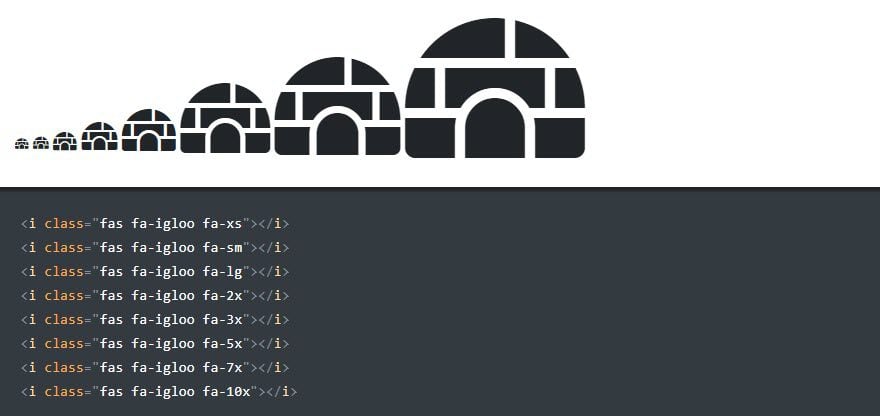
Additionally, if you need the icon to be relative to a specific size and the absolute values won’t work, you can place it in its own <div> to make it work within your constraints.
<div style="font-size: 0.5rem;">
  <i class="fas fa-igloo fa-10x"></i>
</div>
Wrapping Up
And that’s it! Awesome, right? Whether you’re using the Font Awesome WordPress plugin or inserting the code manually, it doesn’t take more than a few steps to get your site up and running. Font Awesome is popular for a reason, and some of that comes from its ease of use. So get out there and be awesome!
What’s your favorite way to use Font Awesome icons?
Article featured image courtesy of Font Awesome
The post How to Use Font Awesome On Your WordPress Website appeared first on Elegant Themes Blog.