Managing your WooCommerce business in WordPress can be a hassle when using a mobile device. Usually, this involves logging in to WordPress and accessing WooCommerce from your site’s dashboard. However, the dashboard is optimized for desktop devices, and not for mobile. So, making changes to your WooCommerce store on the go can be a challenge.
The WooCommerce mobile app seeks to make that process easier. In this article, we’ll talk about what the app does, and check out what it looks like in action. Let’s get to it!
WooCommerce for Android and iPhone
If you’re new to using WooCommerce, you might not know there’s an official app for the plugin. The app is available for both Android and iOS, and it offers a fantastic solution for managing your ecommerce store:
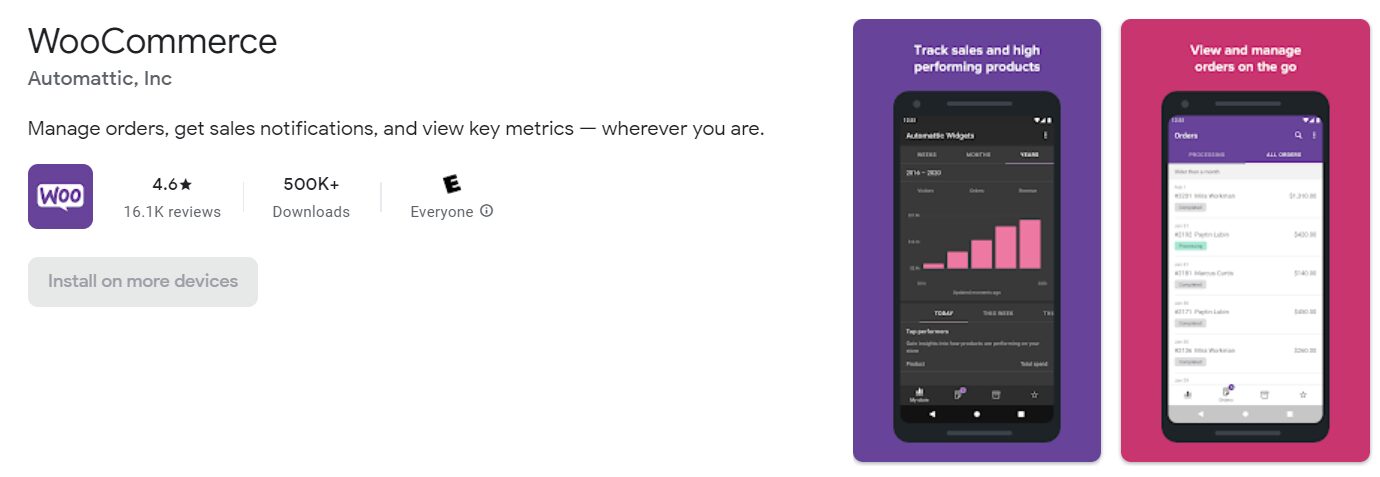
The WooCommerce app has been in public beta for over four years. That means the app doesn’t yet offer all the features that the Automattic team wants to include, but it is ready for general use.
Using this app, you can receive notifications about new orders and reviews. It also enables you to check on the status of orders, collect payments, modify shipping details, and more.
You can also use the WooCommerce mobile app to update products, delete them, and even add new ones. Since the app is still in development, you can expect to see new features appear at a rapid pace. For example, right now the developers are working on integrating coupon management.
It’s also worth noting that this app supports both WordPress.com and self-hosted WordPress WooCommerce stores. As long as you’re using WooCommerce, you can take advantage of the app’s benefits. Best of all, it’s free for both Android and iOS.
How to Use the WooCommerce Mobile App
Since the WooCommerce Android and iOS apps are almost identical, we’re going to use the former version to show you its functionality. The first thing you need to do after installing the WooCommerce app is connect it to WordPress.
Connecting the WooCommerce App to WordPress
The WooCommerce app can connect to both WordPress.com and self-hosted WordPress websites. For the app to work, you’ll need to have both Jetpack and WooCommerce installed on your site.
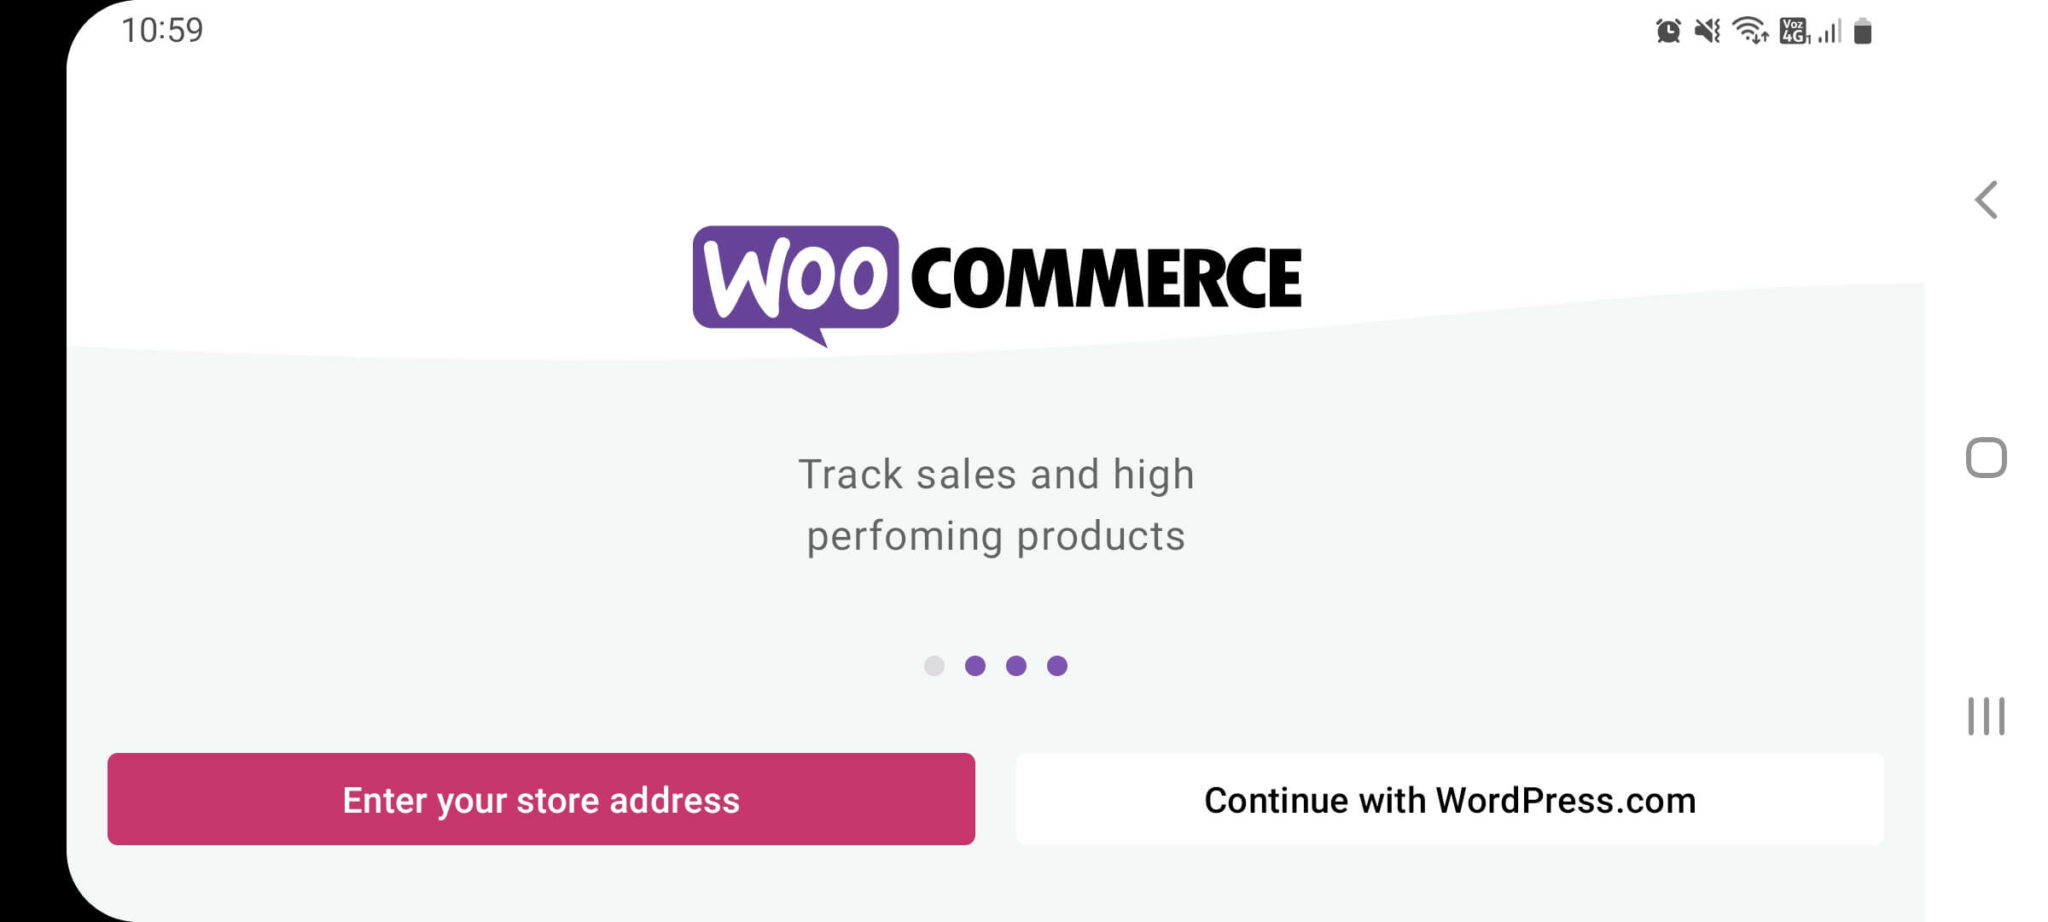
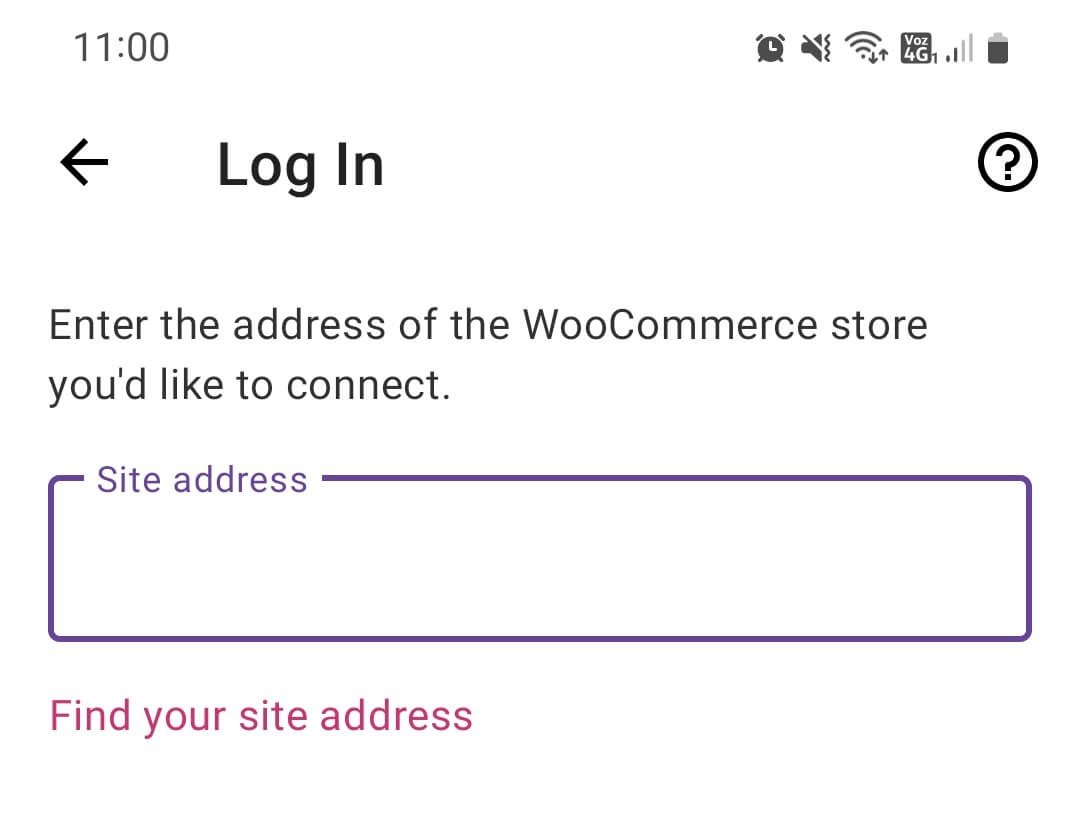
To get started, select the Enter your store address button. On the next screen, enter your WordPress website’s URL:
After that, the app will ask for your WordPress credentials. Finally, you’ll see a welcome screen prompting you to share your store. If you select that option, you’ll be able to send a link to your store via messaging apps and social media:
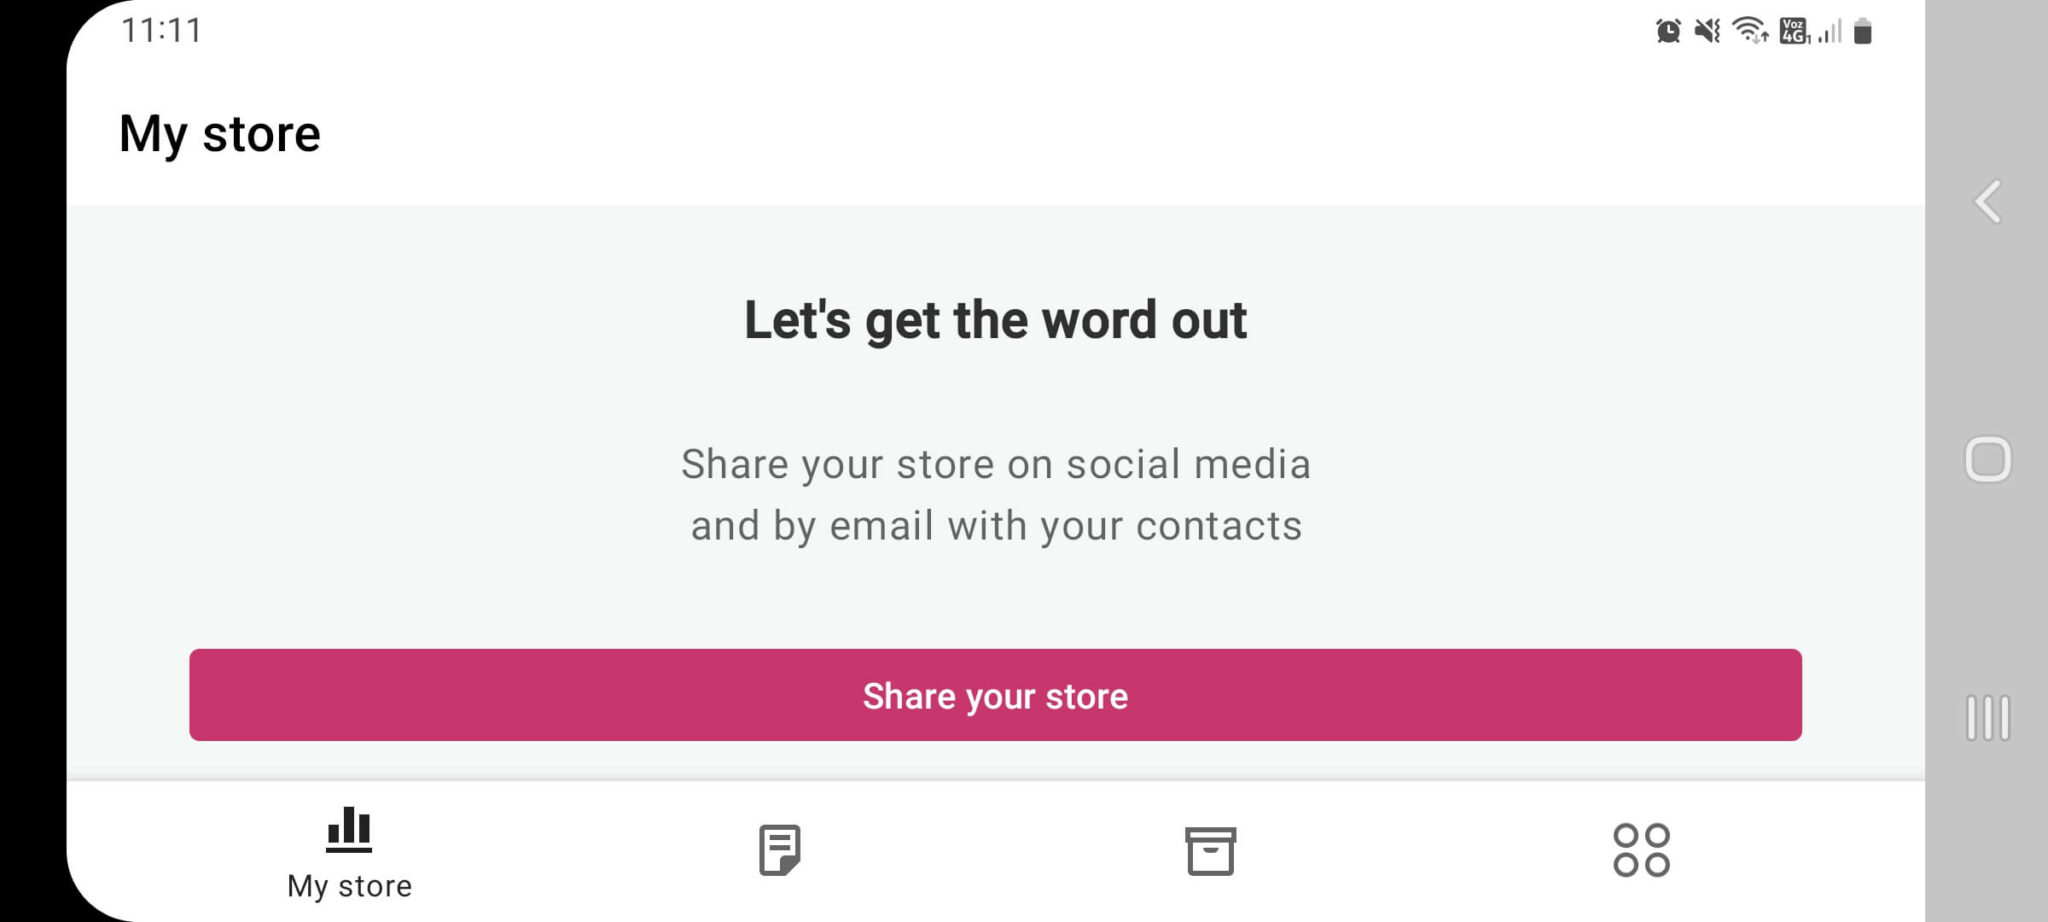
From this screen, you can jump to multiple tabs that will enable you to manage your store. Let’s check out what each section does.
Quick note: You can connect multiple stores to the app, and switch from one to the other without logging in or out.
Checking and Managing Orders
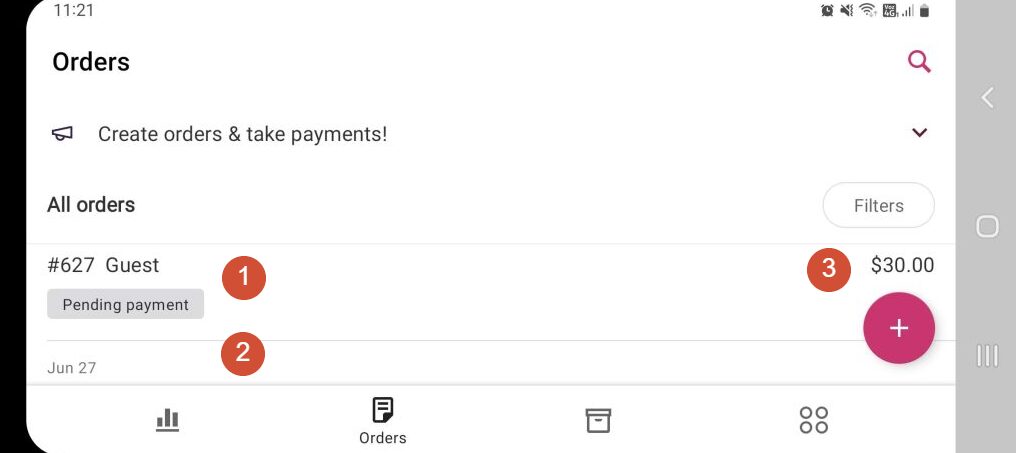
The Orders tab within the app will show you a list of all of your store’s orders, starting with the most recent ones. For each order, you can see its status, (1) customer, (2) purchase date, and (3) amount:
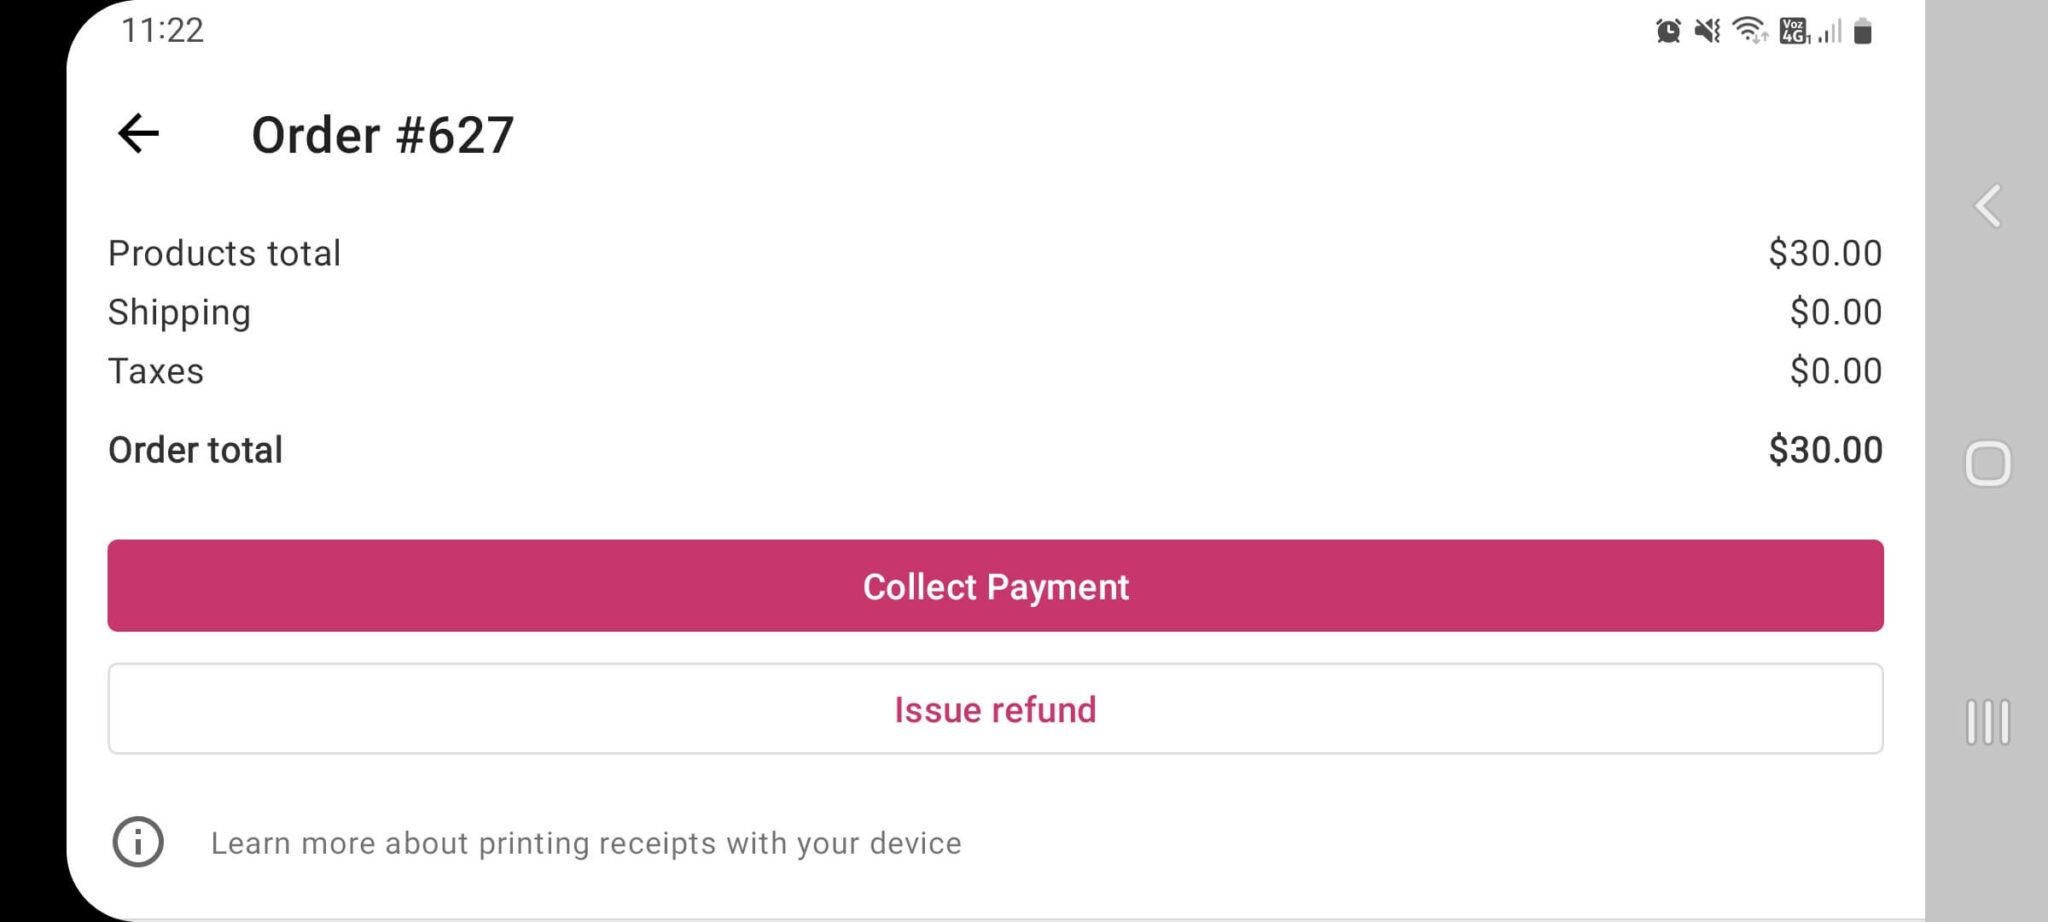
If you select a specific order, you can edit it. The editing menu enables you to modify the order’s status, send a payment reminder, issue refunds, and add personal notes:
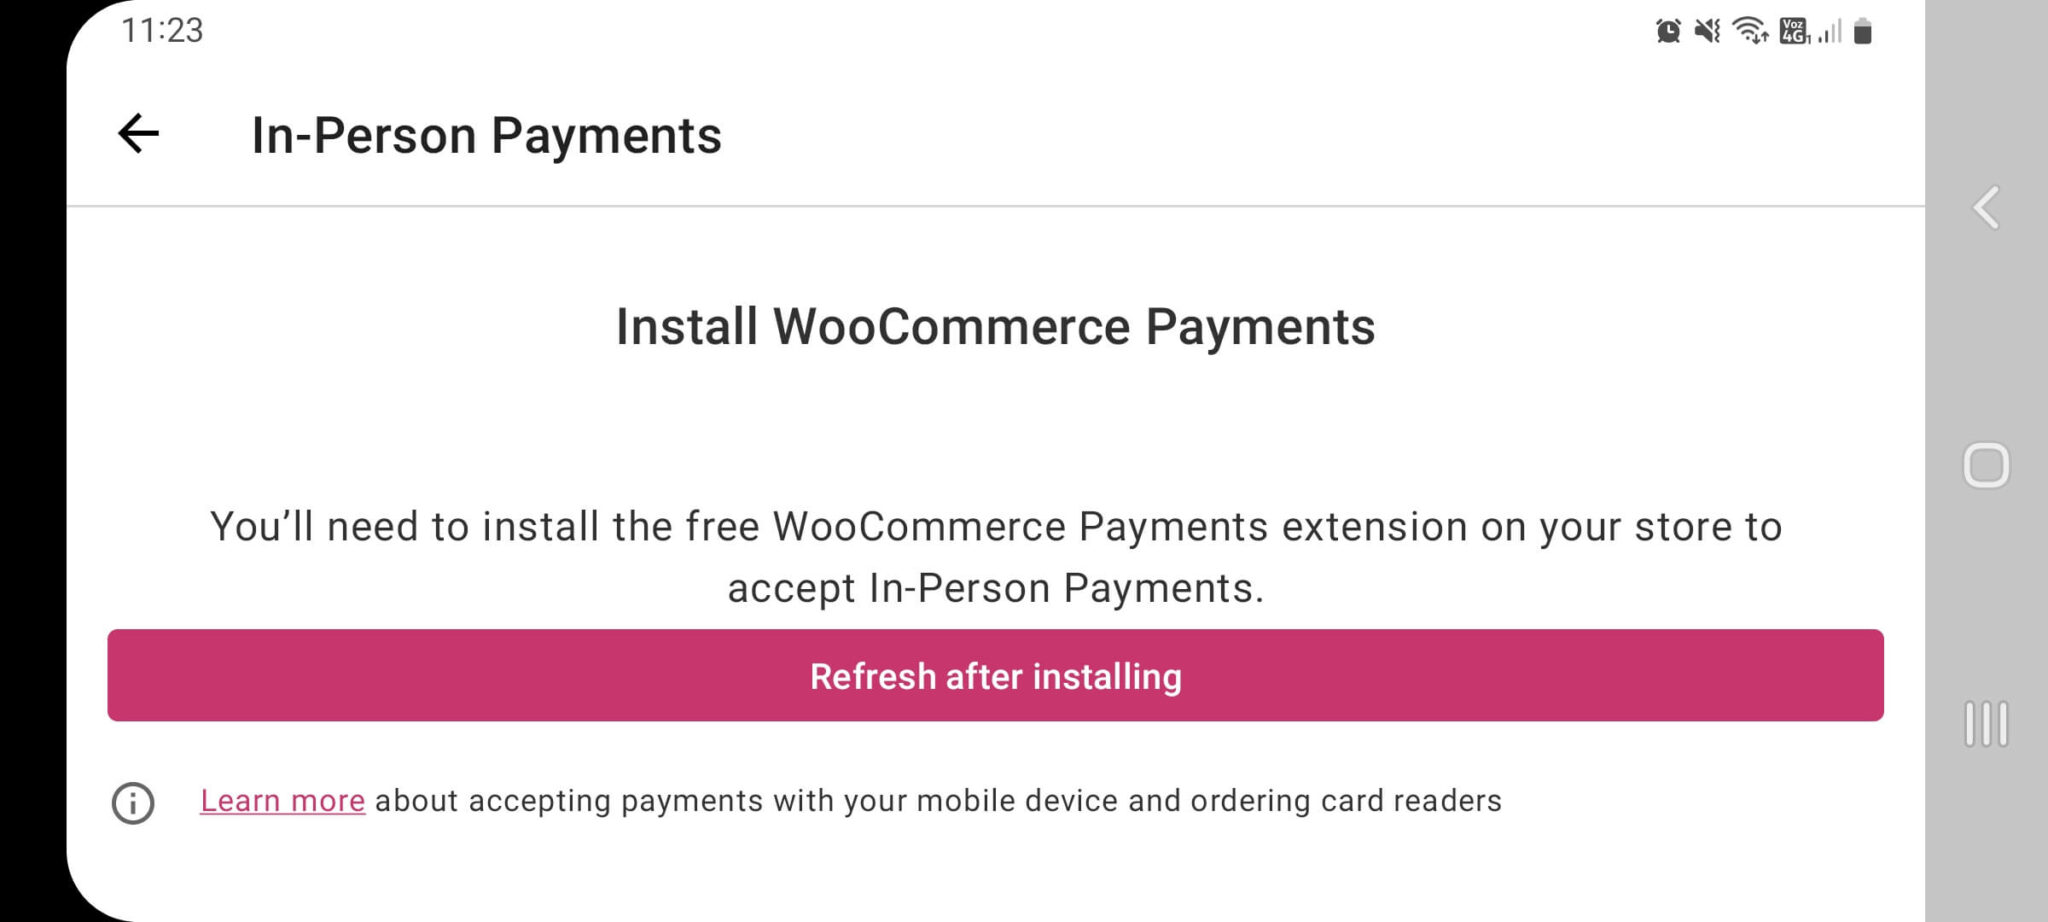
One interesting feature is that this app integrates with WooCommerce Payments. If you enable this extension in your store, you can use the app to collect in-person payments:
Once you start using the app, you’ll get mobile notifications for new orders that customers make. That feature alone can be worth getting the app for since notifications are often harder to miss than emails.
Editing and Adding Products
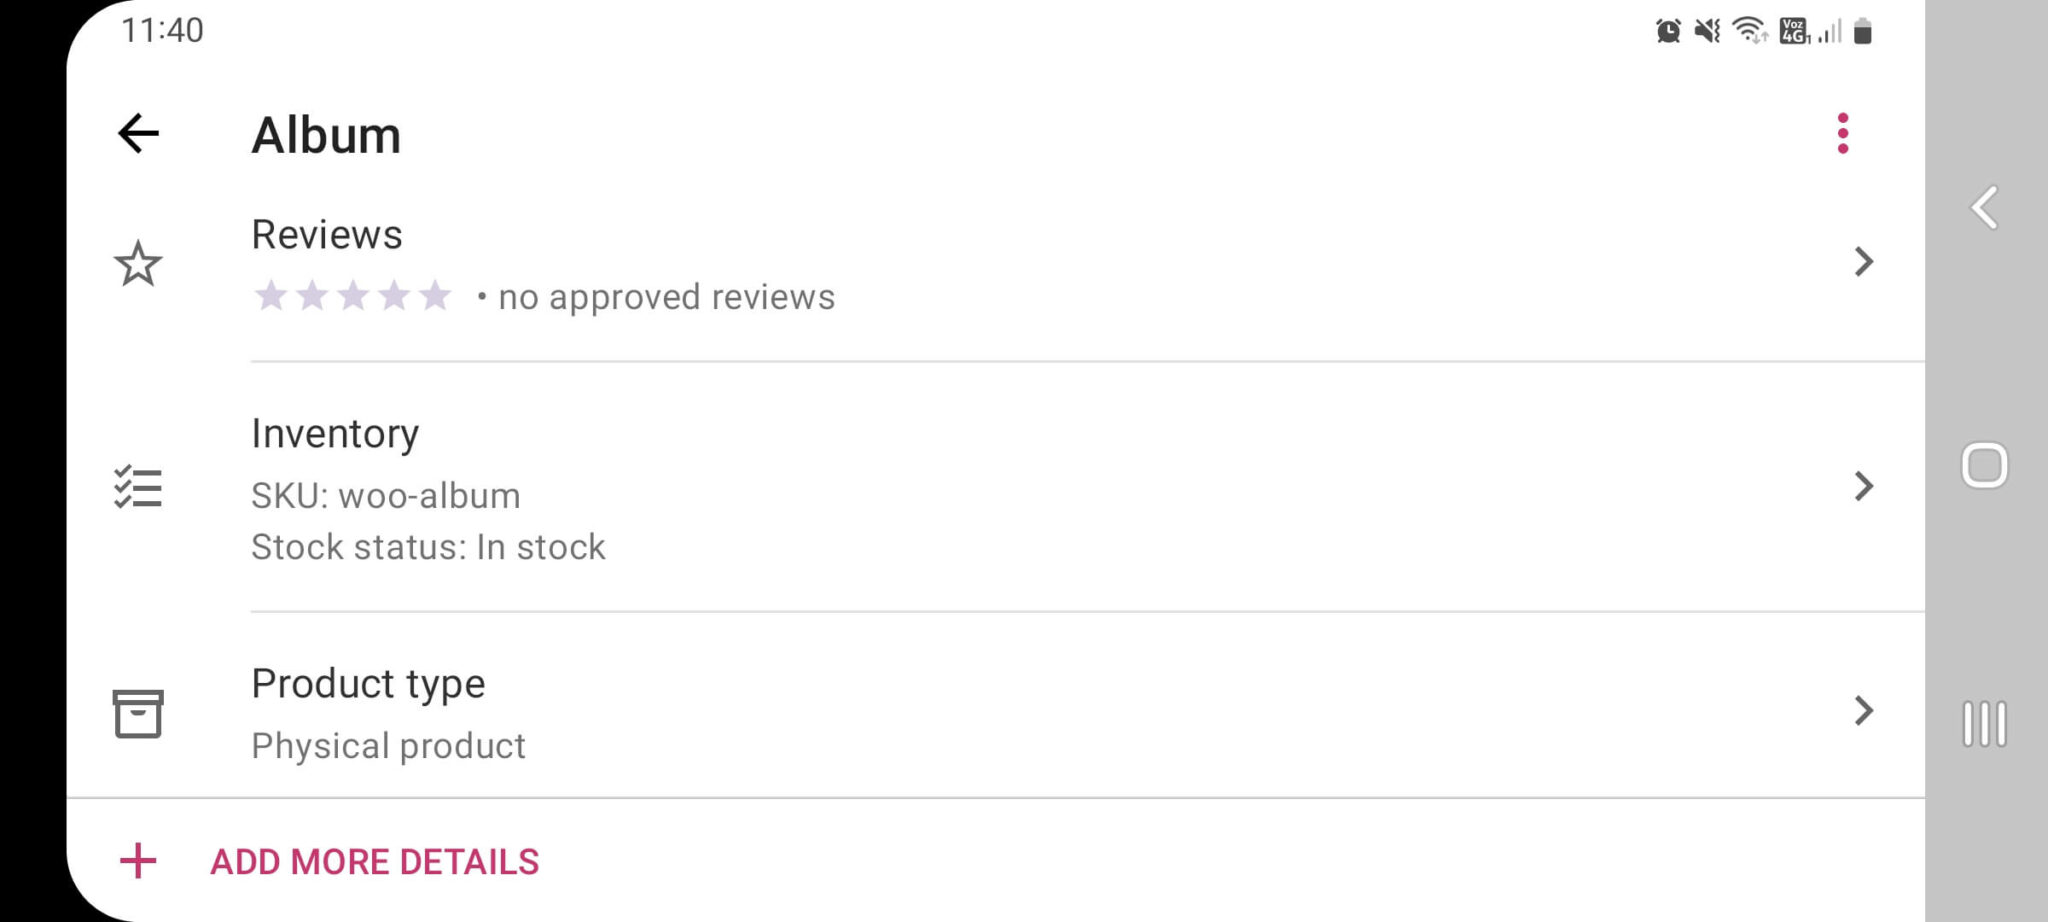
The Products tab enables you to review all existing products in the database and add new ones. If you click on an existing product, you’ll be able to update its photos and price, change its inventory and product type settings, and modify its description:
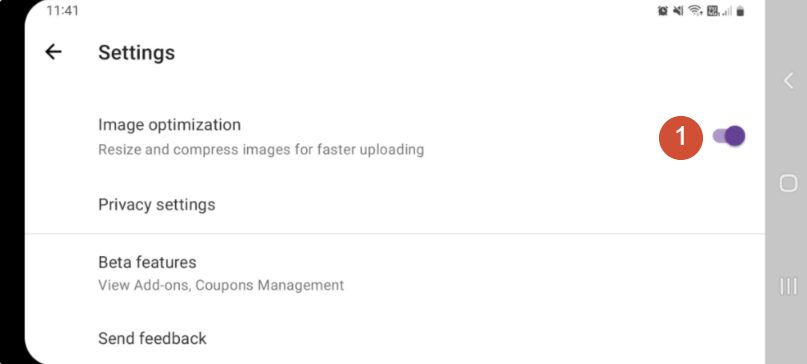
One of our favorite features is that the app can automatically (1) optimize images after you upload them. That setting is enabled by default as soon as you start using the app:
At first glance, the product editing options are more bare-bones than what you see if you use the dashboard. However, the app hides a lot of options for editing products.
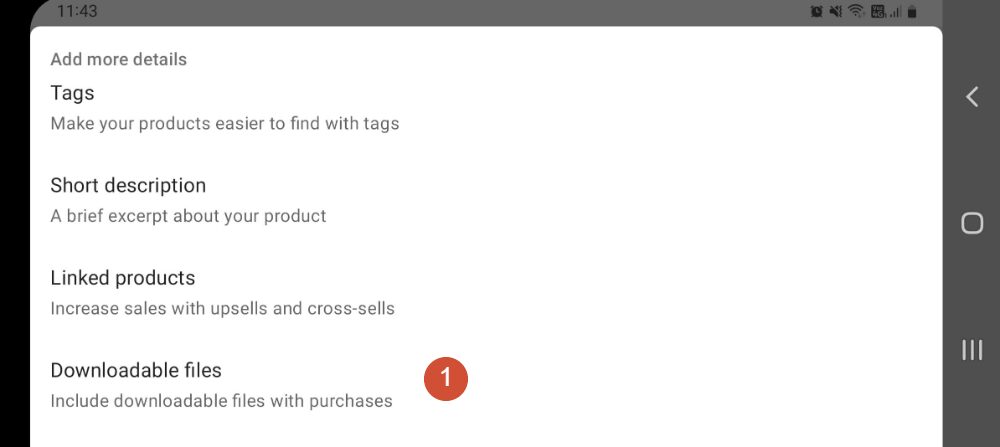
For example, if you click on + ADD MORE DETAILS at the bottom of the product screen, you get to add shipping, taxonomy, and linked product details. This section even enables you to (1) add links to downloadable files for virtual products:
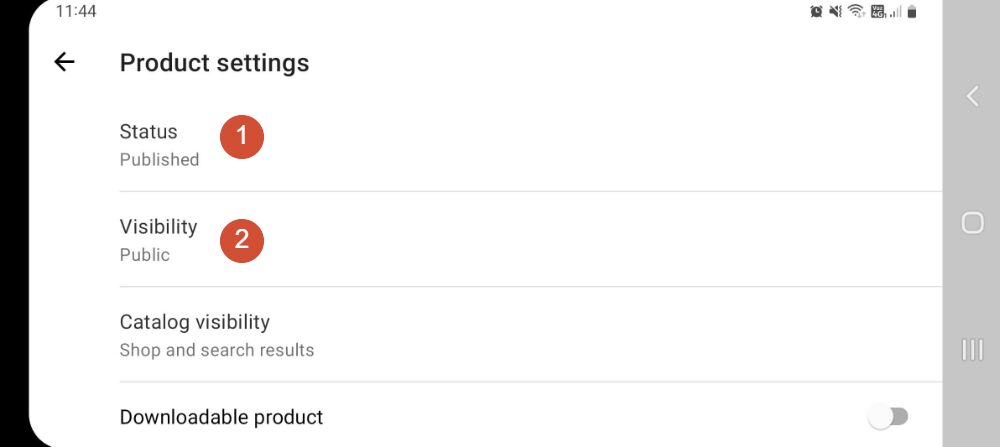
If you click on the icon in the top-right corner of the product screen, you’ll also find options for (1) previewing the item and (2) modifying its status:
Overall, navigating the WooCommerce app’s product editor is relatively simple. However, you have to move from screen to screen when editing the settings or adding a new item:
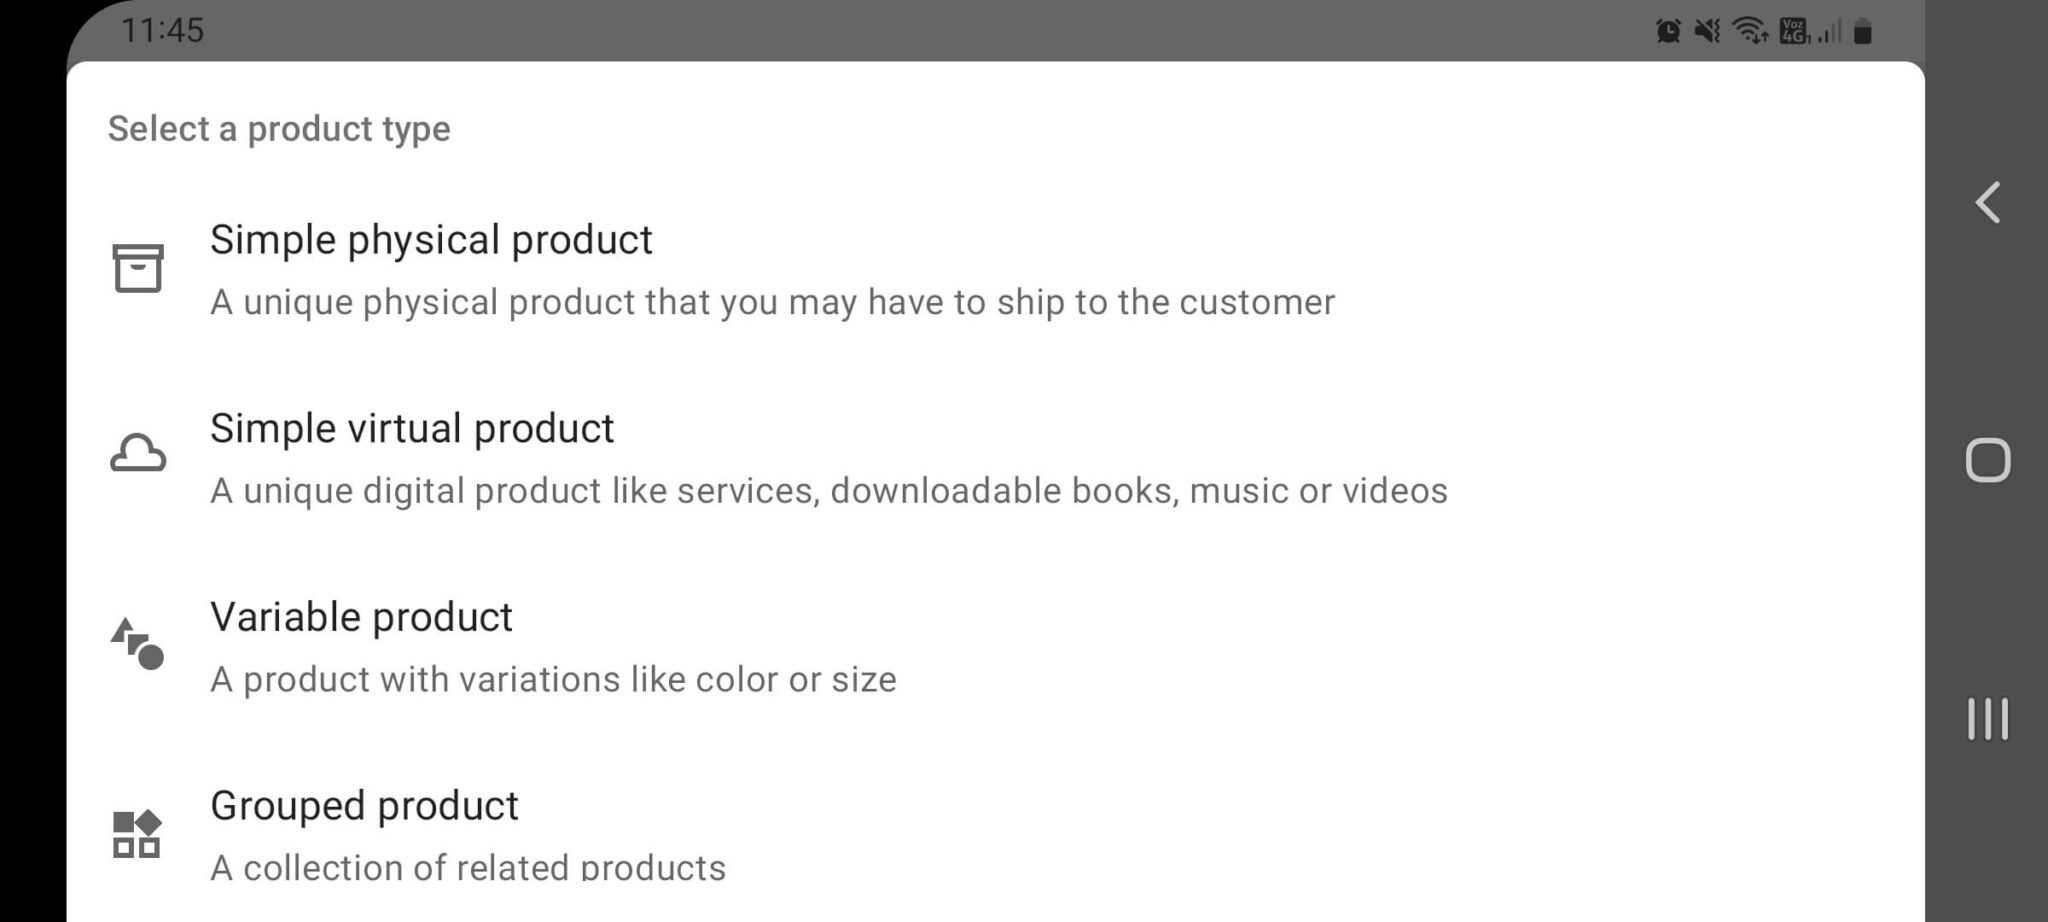
Adding products using the app takes a lot longer than doing so from the regular WooCommerce product editor. It’s doable, but if you have the option to complete this task using a laptop or a desktop computer, it’s a much more streamlined experience.
Conclusion
The WooCommerce app offers a fantastic way to monitor one or more ecommerce stores. If you enable notifications, the app will let you know when you get new orders. You can also use this app to check up on reviews, edit and add new products, issue refunds, collect payments, and more.
It’s also worth noting that the WooCommerce mobile app offers the same features on both Android and iOS. That means you can set it up on almost any smartphone, and you’ll get the same experience with a few stylistic differences. Although the app is still in beta, it’s perfectly stable, and it can help you manage your WooCommerce store on the go. As the app continues to develop, it’s also bound to receive more features.
Do you have any questions about the WooCommerce mobile app? Let’s talk about them in the comments section below!
The post How to Use the WooCommerce Mobile App to Manage Your Shops appeared first on Elegant Themes Blog.
