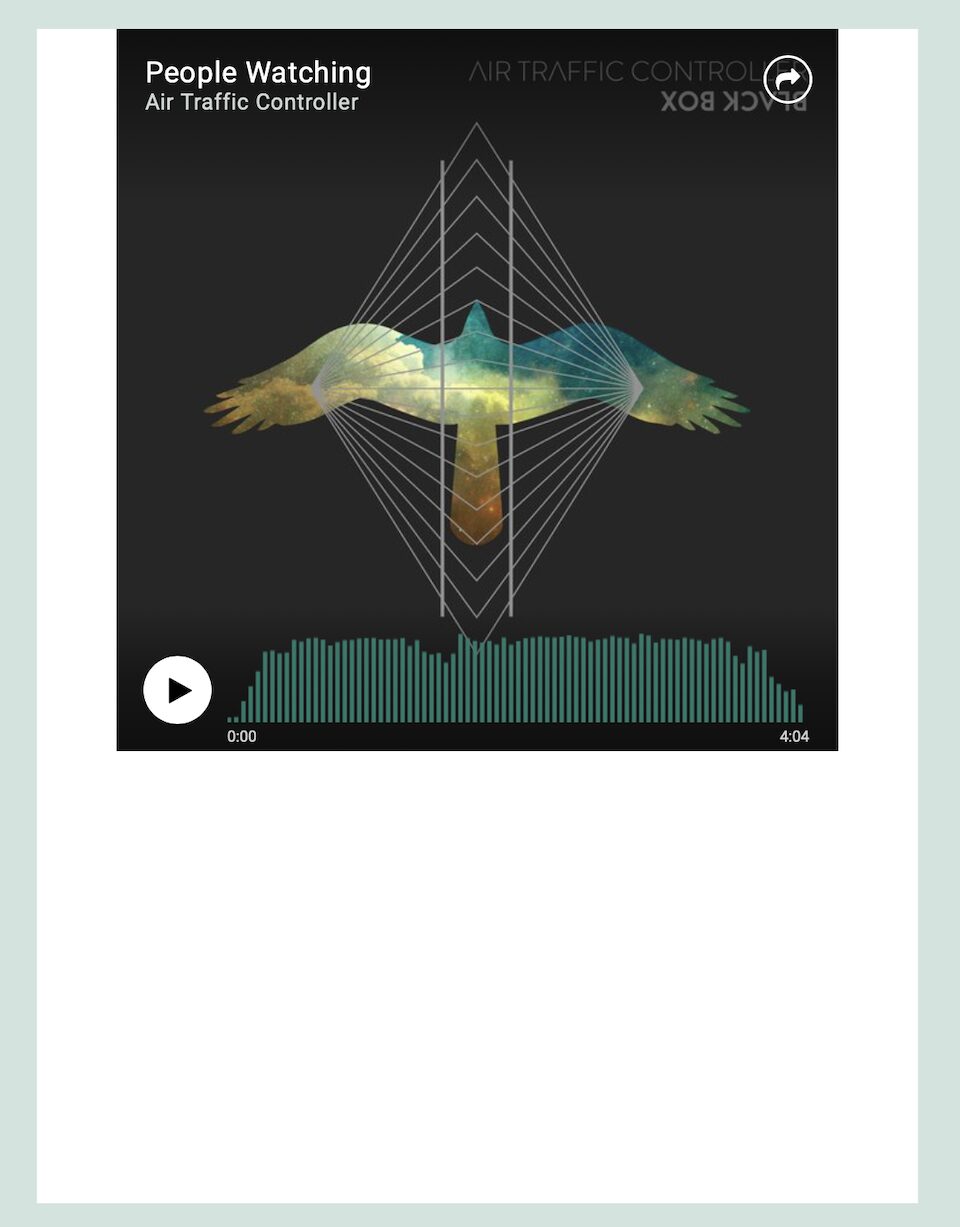
ReverbNation is a social website designed for musicians who want to connect with their audience and build their career. It’s for fans, too, so if you (or your website visitors) are music lovers, ReverbNation is a great place to discover and connect with artists. With the ReverbNation embed block in WordPress, you can add music to your website that automatically links to the content on ReverbNation.
In this article, we’re going to show you how to add the ReverbNation embed block to WordPress and add content to it. We’ll also go over best practices and FAQs so you can get the most out of this tool.
How to Add the WordPress ReverbNation Embed Block to Your Post or Page
To get ReverbNation content on your WordPress site, you have to first add the embed block, then copy/paste a URL from ReverbNation into it. Let’s go through the process.
Add the ReverbNation Embed Block
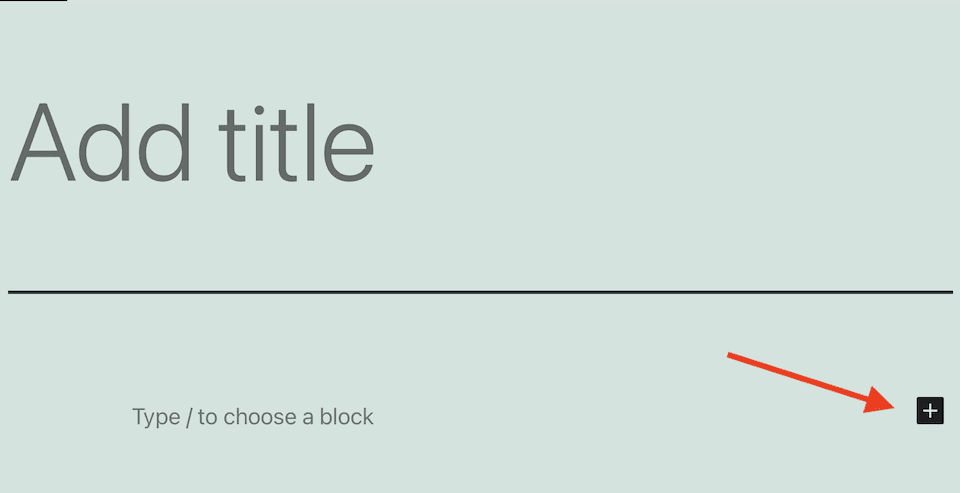
Your first step is to add the ReverbNation embed block to a WordPress post or page. To start, open or create a post or page. Click the Plus Sign icon.
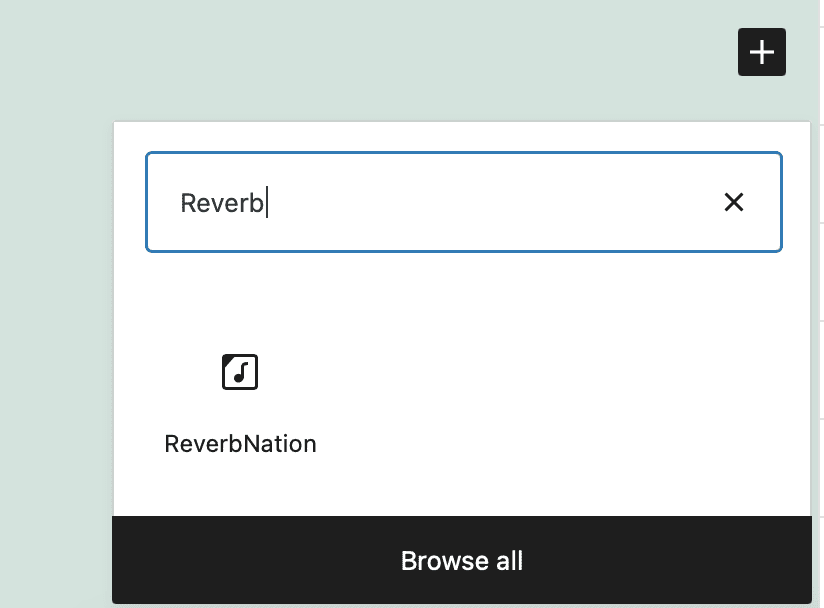
Type “Reverb” in the search bar. Click the ReverbNation block that shows up.
This is what the block looks like:
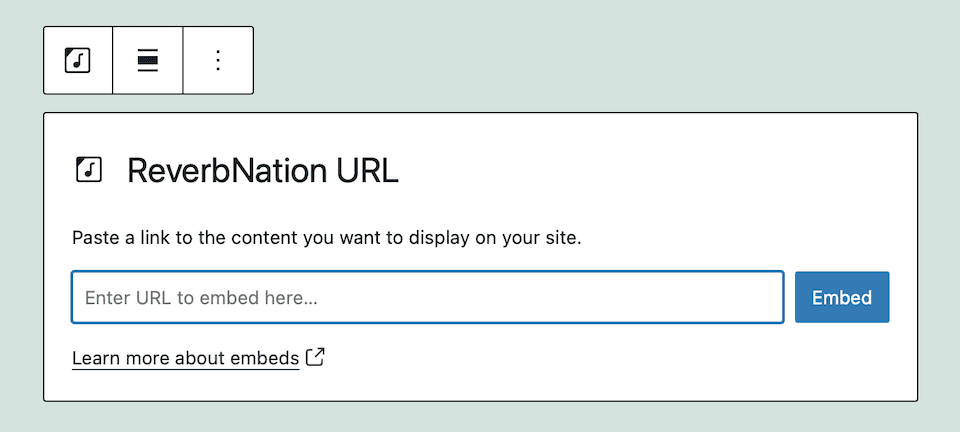
Add a Link to the ReverbNation Embed Block
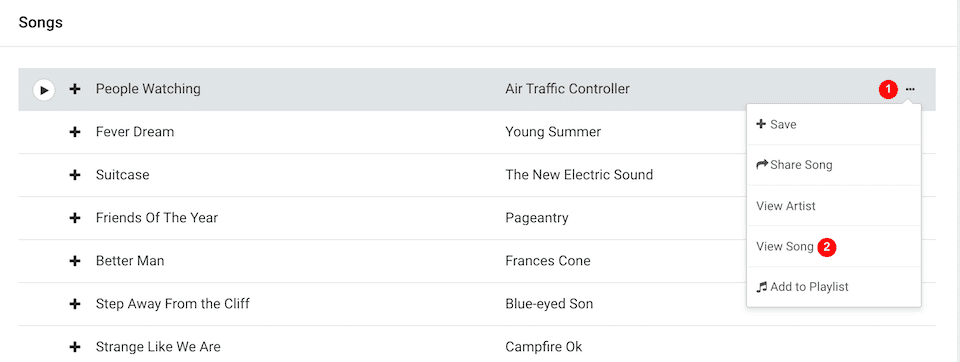
Go to the ReverbNation content that you want to share. If you see a list of songs, hover over the far-right of the page, and click the Three-Dot icon. Choose View Song. If you grab a link from a ReverbNation artist page instead of a song page, the embedded content will show the first song in the Featured Songs list.
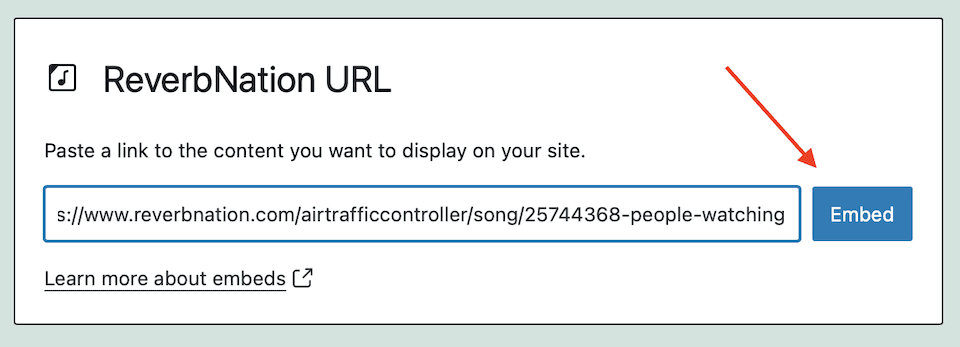
Copy the link from the address bar at the top of the page. Paste that link into the ReverbNation embed block and click Embed.
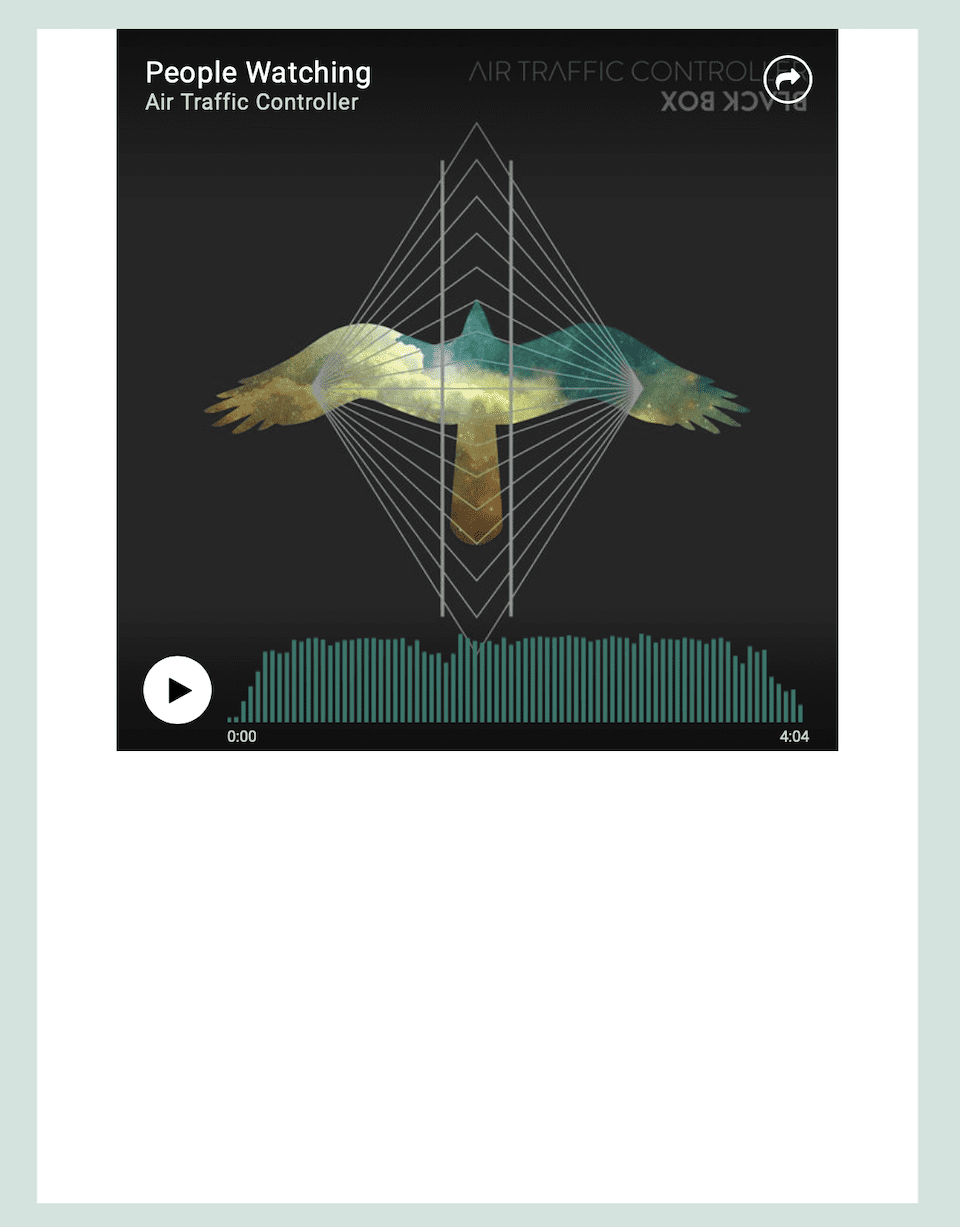
This is what it looks like on the live site once embedded:
Sometimes, a ReverbNation link won’t work, like if you’re trying to share a music collection. In that case, you’ll see an error message like this:
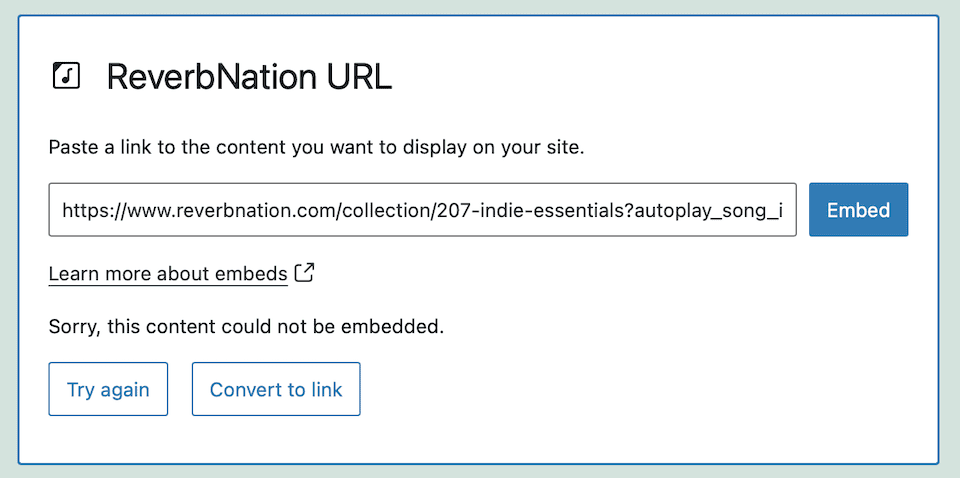
You can click Try Again, but if it still doesn’t work, you’ll have to choose different content to embed.
WordPress ReverbNation Embed Block Settings and Options
The embed block has a toolbar at the top. From left to right, the options in the toolbar are:
- Transform to
- Drag
- Move up / move down
- Change alignment
- Edit URL
- Options
Transform To
Change the block into a paragraph, column or group. The Paragraph option changes the block to just text, so you won’t want to select this. Columns creates multiple columns on the page.
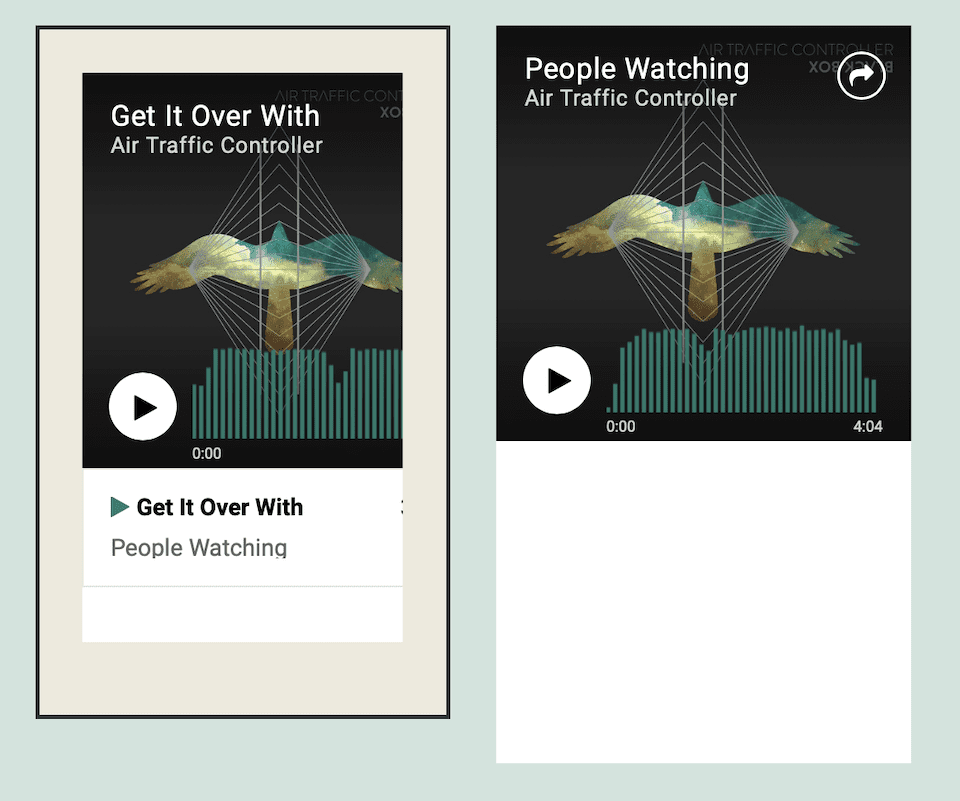
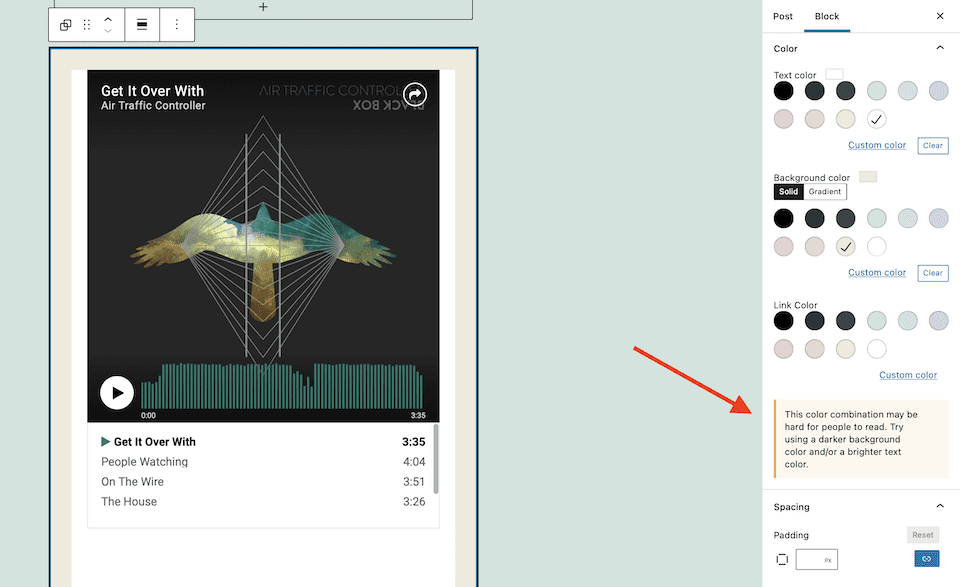
If you want to change the background color of the ReverbNation embed block, choose Group. There may be a note on the bottom of the sidebar with feedback on your color choice.
Drag
Hover over the Drag option. The cursor will turn into a hand. Drag the block where you want it ¬¬– it will temporarily be a small black box as you move it around the page.
Move Up / Move Down
The Up or Down arrows will move the block if there’s other content on the page.
Change Alignment
Align the block to the left, right or center, or select wide or full width. Options may vary based on your theme, and some may make the block smaller or larger than the size it started at.
Edit URL
Change the URL to swap out the link and embed different content.
Options
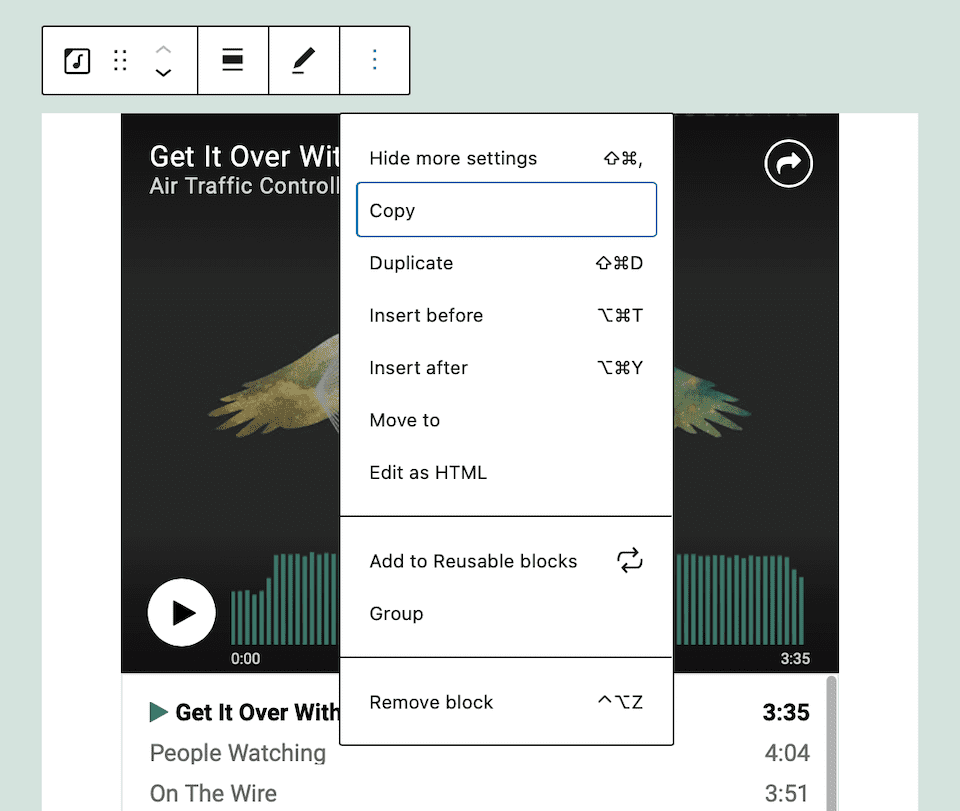
The Options menu has more to choose from:
- Hide More Settings: Hide the editors in the right sidebar.
- Copy: Copy the block in order to paste it somewhere else on your site.
- Duplicate: Create a duplicate of the block under the original one.
- Insert Before / Insert After: Add a block before or after the one you’re currently on.
- Move To: Using the arrows on your keyboard, move the blue line to where you want the content to be repositioned to. Hit Return to confirm the location.
- Edit as HTML: Change the HTML code of the block.
- Add to Reusable Blocks: Add the block to your reusable blocks, then easily add it to other posts or pages.
- Group: Change the block into a group ¬– this is the same as the Group option we went over above.
- Remove Block: Delete the block from your content.
Tips and Best Practices for Using the WordPress ReverbNation Embed Block
Here are a few ways to make the ReverbNation embed block easier to use and more effective for your website visitors.
Quick-Add the ReverbNation Embed Block
Cut out a few steps when adding the ReverbNation embed block. Your first option is to click on the post or page where you want the block, then type /reverb. The ReverbNation embed block will pop up. Just click it to add it.

Your other option is to paste the ReverbNation link onto the post or page wherever you want the content to go. WordPress will auto-detect what type of link it is and create the ReverbNation embed block for you.
Easily Change the Block Type
If you add a ReverbNation embed block, but you decide you want a link from another source, like Reddit, you don’t have to delete the block and then add a new one. You can just replace the link – WordPress will recognize the new source and update the embed block accordingly.
Update Media Settings
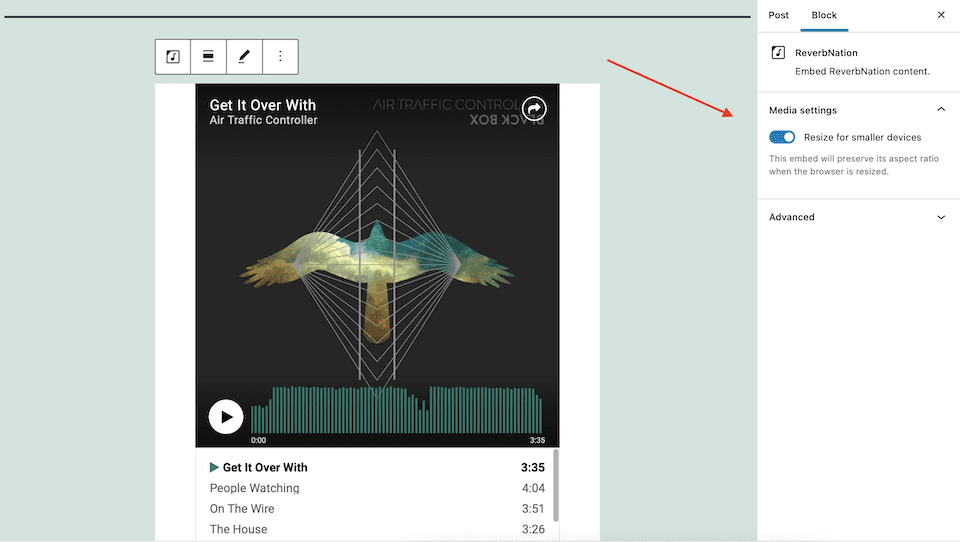
In the right-hand sidebar, it’s best to toggle on the Resize for Smaller Devices option. This means that the content will retain its aspect ratio when the browser’s resized, like when it’s viewed on a smaller device.
Frequently Asked Questions About the WordPress ReverbNation Embed Block
Do I need a ReverbNation account to embed content on WordPress?
You don’t! There’s no need to have a ReverbNation account to embed content on your website.
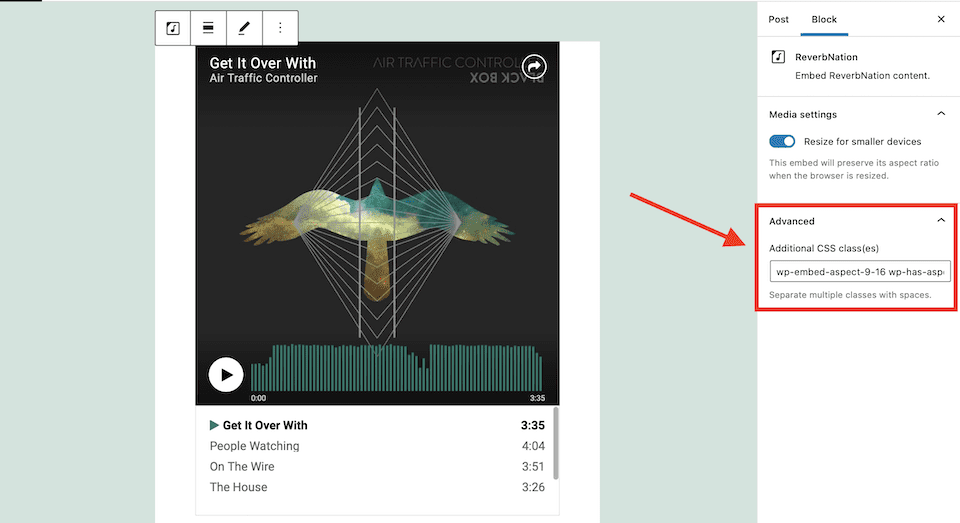
Are there any other customizations I can make to a ReverbNation embed block?
Yup! In the Advanced section, you can add CSS code for more styling.
Wrapping Up
Whether you have a ReverbNation profile that you’re promoting on your WordPress site or you’re sharing the talents of other artists, the embed block makes it easy to add your favorite content. The best part is that you can have all of that music on your website without taking up a bunch of space since it stays hosted on ReverbNation, not your site. And when a user wants to explore more from that artist, they can easily get to their profile with one click.
Want to add video content to your website, too? Check out our explainer for using the Vimeo embed block.
The post How to Use the WordPress ReverbNation Embed Block appeared first on Elegant Themes Blog.

