The WordPress Verse Block was designed to show text in a versified format. It displays the text without changing your line breaks and spaces. Hitting the Enter key starts the next line instead of beginning a new paragraph. It’s not meant for your normal content. Instead, it’s designed for poetry, song lyrics, or any other type of literary expression.
Knowing how to use the Verse Block can help you properly design the look of your content. In this article, we’ll look at the Verse Block’s settings and options, see best practices of how to use it, and see the frequently asked questions.
How to Add the Verse Block to your Post or Page
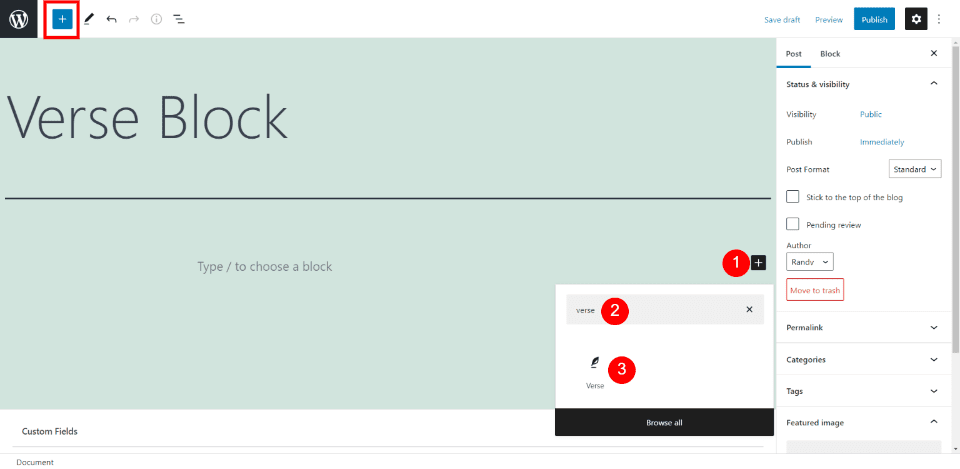
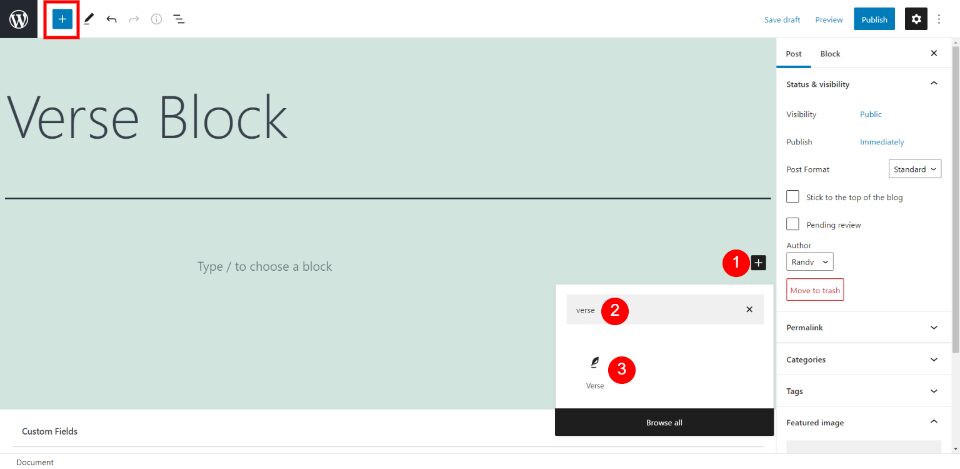
To add the Verse Block to your pages and posts, select the block icon either within your content or in the top left corner of the page, enter the name of the block, and select it when it appears.
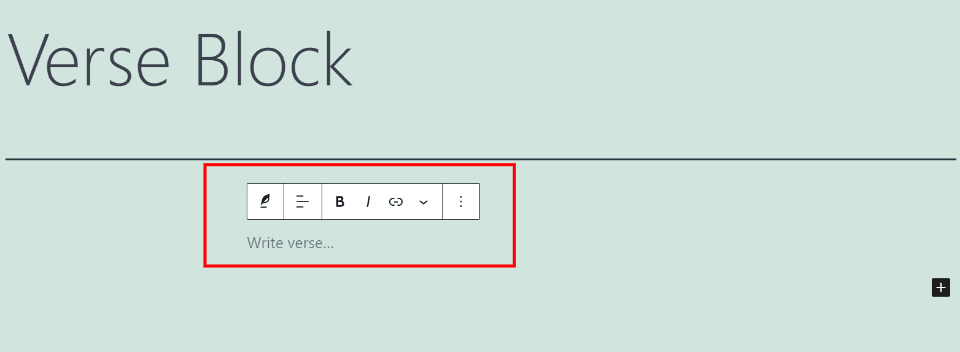
The Verse Block is then added to your content, where you can start adding poetry, song lyrics, etc. The default styles of the Verse Block will vary depending on the theme you’re using. I’m using the Twenty Twenty-One WordPress theme for these examples.
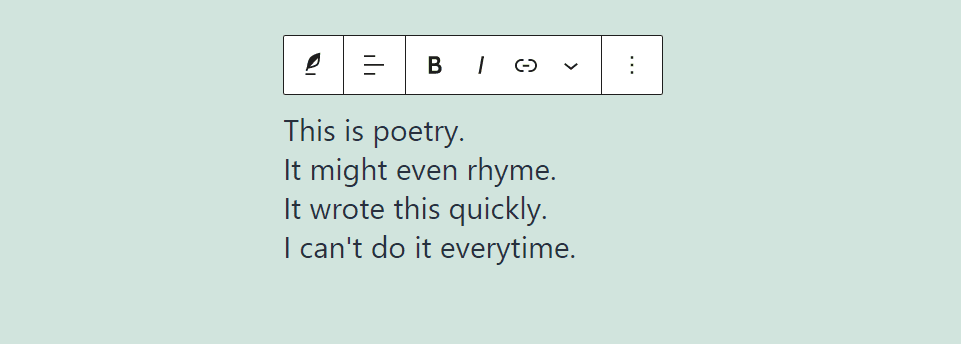
When you enter your text into the field and hit the Enter key, you’re taken to the next line. This works like the Preformatted Block rather than the Paragraph Block, which adds a new paragraph when you hit Enter.
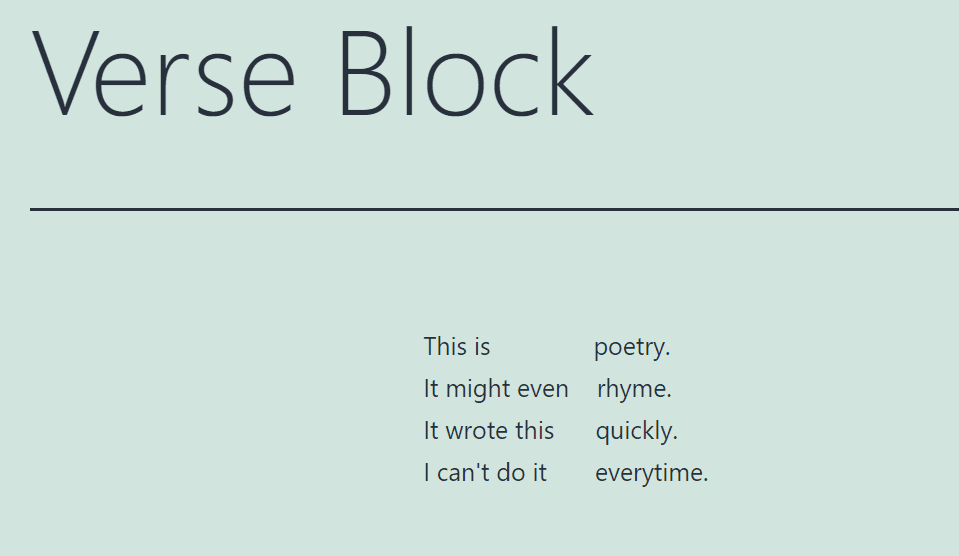
It even keeps any extra spaces you’ve added between words. This example shows the published post, complete with spaces and line breaks.
Verse Block Settings and Options
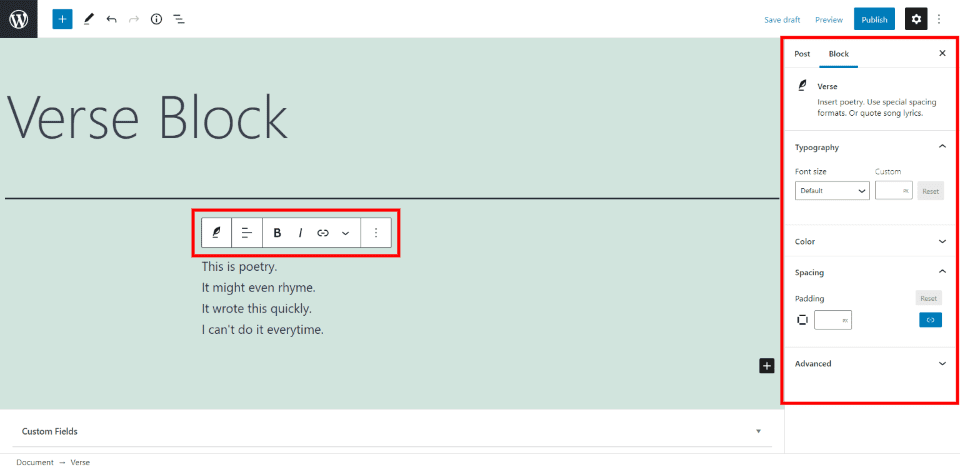
The Verse Block has two areas with settings and options. The first is the Verse Toolbar. The second is the Verse Block options in the right sidebar. Here’s a look at both.
Verse Block Toolbar

Clicking anywhere in the Verse Block opens its toolbar.
Change Block Type or Style

The first setting changes the block to a Paragraph Block, changes the number of columns, and lets you group. Hovering reveals a preview so you’ll know how it would look.
Drag or Move
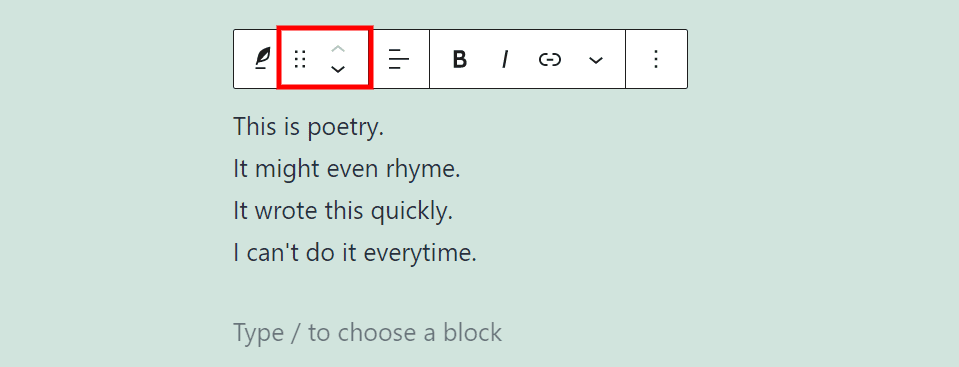
The drag tool includes six dots. Grab these dots to drag the block anywhere you want. Alternately, you can click the arrows to move the block up or text within the content.
Text Alignment
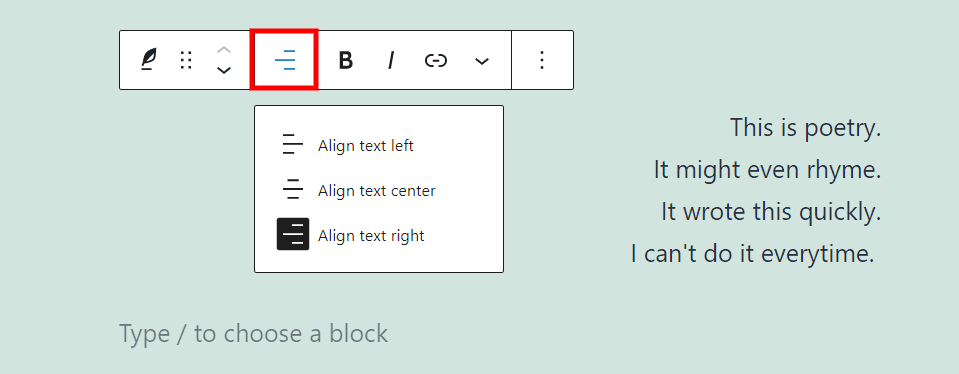
Text alignment options include left, center, and right. This moves where the text is aligned within the block.
Bold and Italic
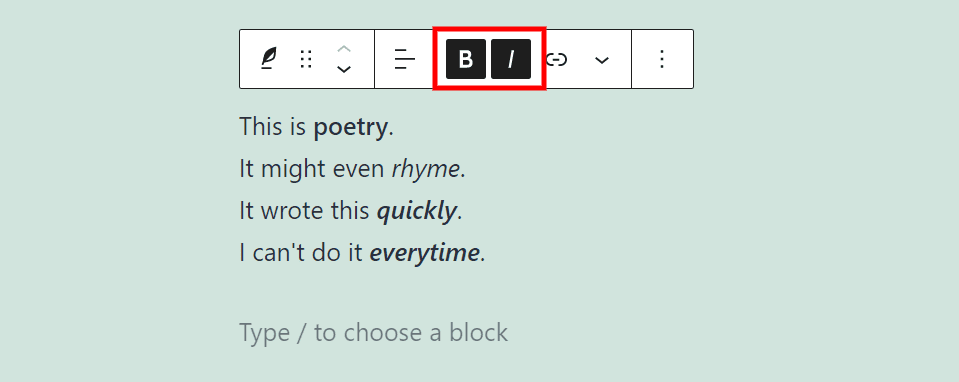
Bold and italic settings apply to the text you’ve highlighted when you select the options. Use them individually or together, as I’ve done in this example.
Link
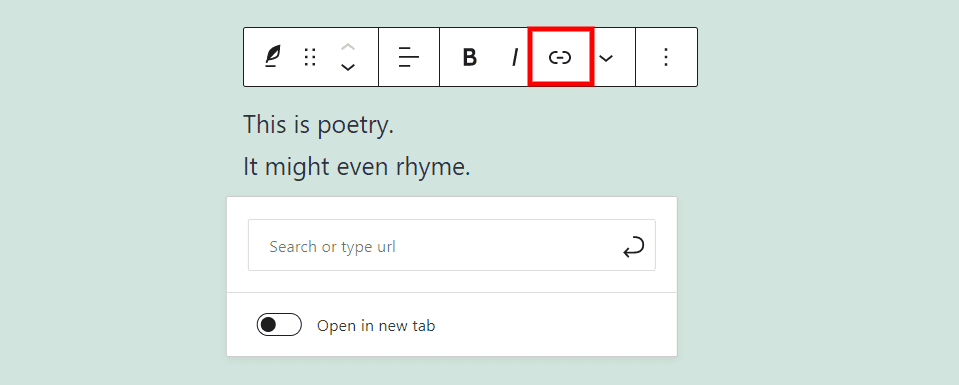
The link setting lets you search for or enter the URL for the portion of text you’ve highlighted.
More Settings
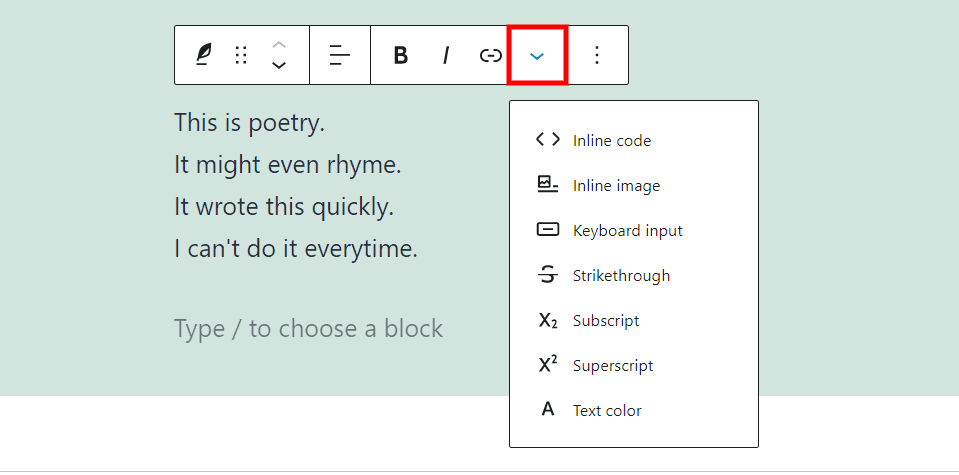
The More Settings link opens a dropdown box with lots of options. They attempt to provide a simple example to visually show what they’re for.
Inline Code
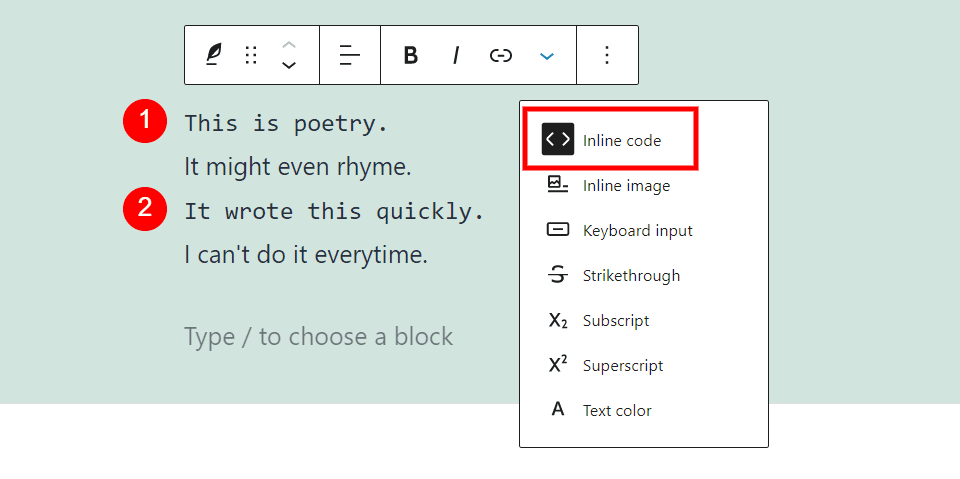
This shows the text as code. I’ve set the first and third lines to a code format in this example.
Inline Image
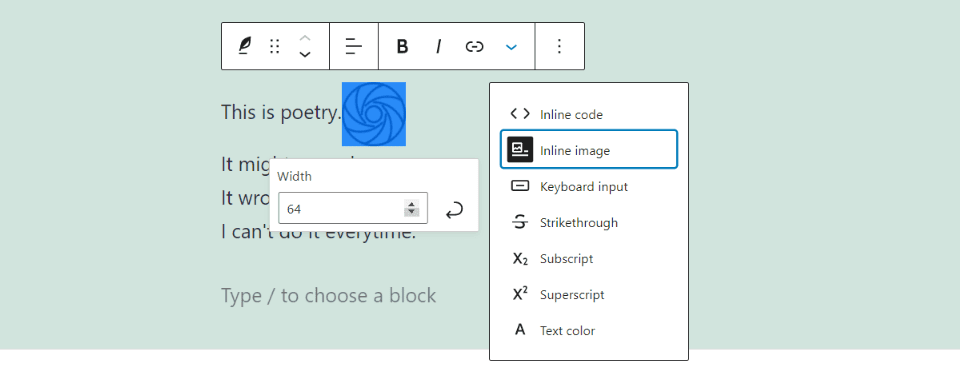
Inline Image opens the Media Library where you can select an image. The image is added inline, at the location of your cursor. Selecting the image opens a dropdown box where you can select the width for the image.
Keyboard Input
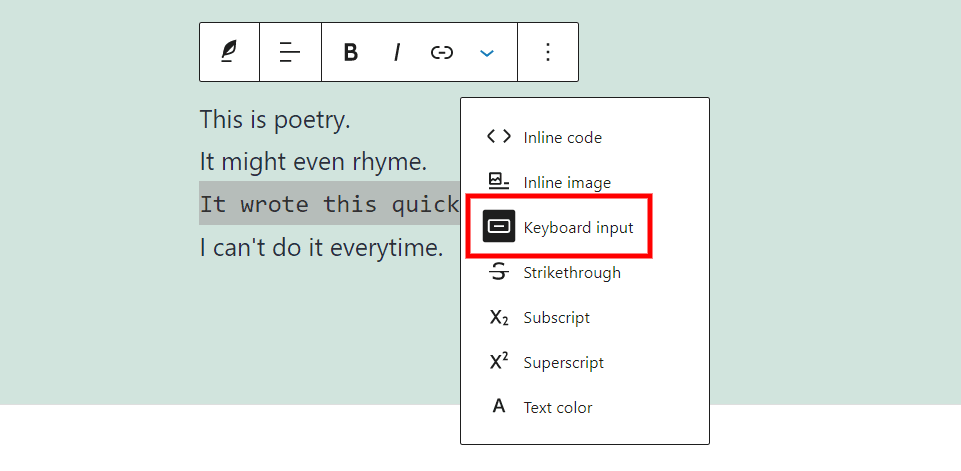
Keyboard Input adds keyboard tags to your content. This defines keyboard input and is displayed in the browser’s default monospace font.
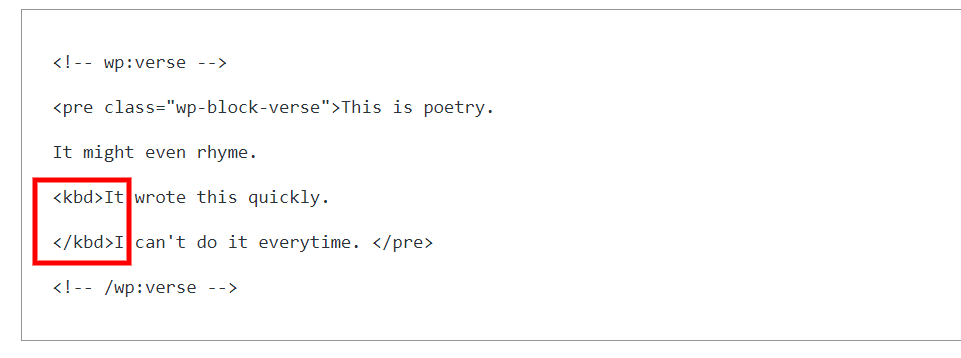
Here are the tags added to the text when you view it in the code editor.
Strikethrough
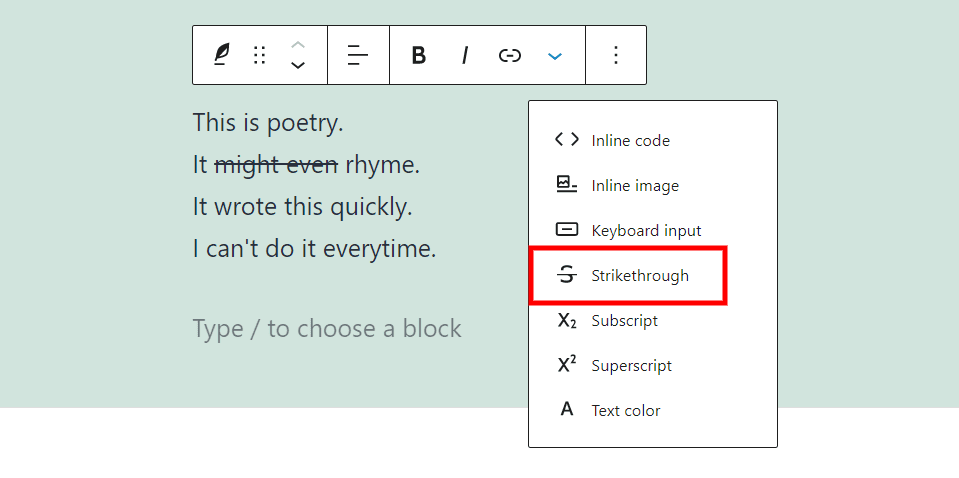
Strikethrough adds a line through the text you’ve highlighted.
Subscript
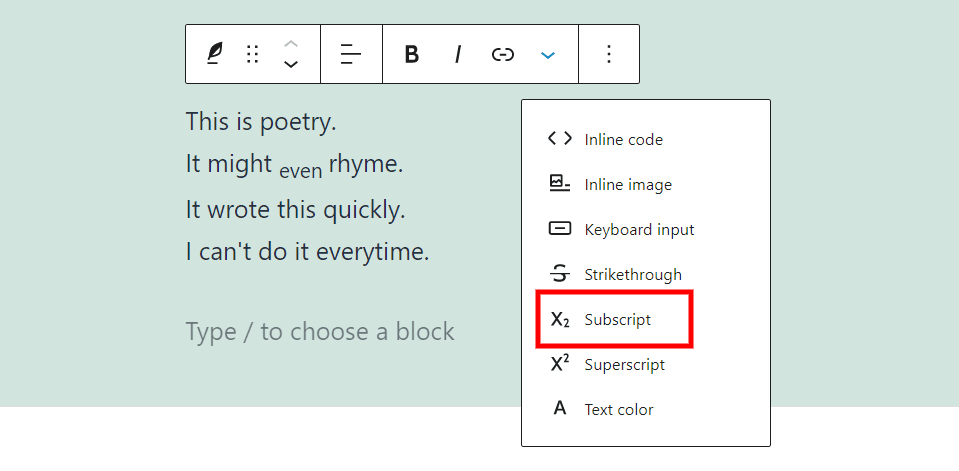
Subscript formats the text you’ve highlighted as a subscript.
Superscript
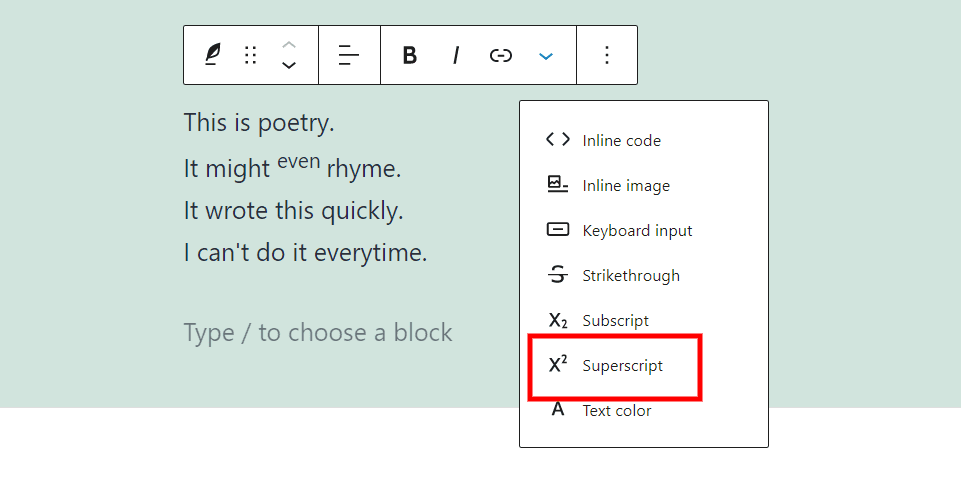
Superscript formats the text you’ve highlighted as superscript.
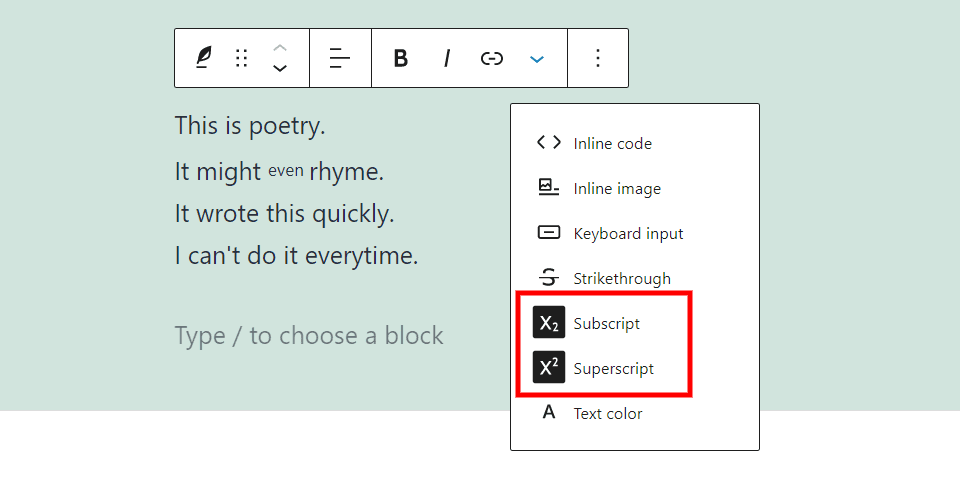
Use subscript and superscript together to reduce the size of the font and center it horizontally.
Text Color
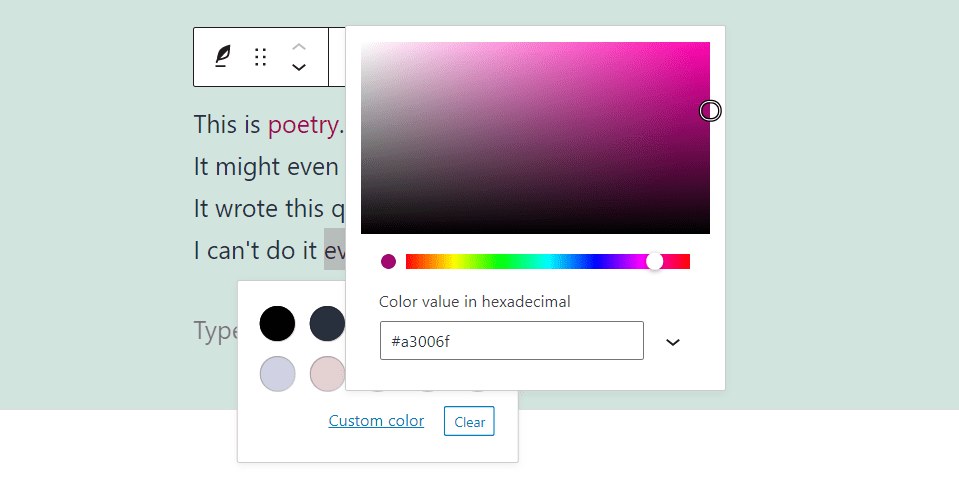
Text Color lets you adjust the color of the text you’ve highlighted. You can select from a few pre-chosen colors, choose a color on the color picker tool, or enter the value as a hex or RBG code.
Verse Block Options
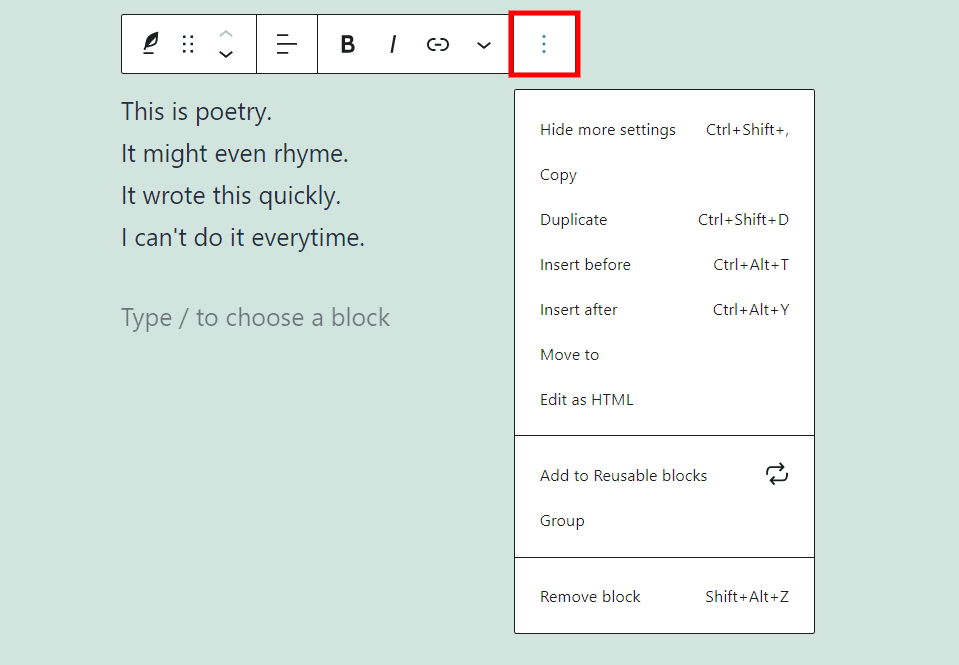
The Verse Block options include:
Hide More Settings – this hides the right sidebar, giving you a cleaner workspace.
Copy – copies the Verse Block so you can paste it anywhere in the editor you want.
Duplicate – creates a duplicate of the Verse Block and places it under the original.
Insert Before – adds a space before the Verse Block where you can place another block.
Insert After – adds a space after the Verse Block where you can place another block.
Move To – places a blue line that you can move up or down with the arrow keys. When the blue line reaches the location that you want to move your Verse Block to, hit enter and your block is moved automatically.
Edit as HTML – opens the code editor where you can edit all your content as HTML.
Add to Reusable Blocks – adds the Verse Block to your list of reusable blocks so you can use it on any page or post.
Group – add the block to a group so you can adjust the blocks as a single unit.
Remove Block – deletes the block.
Verse Block Settings
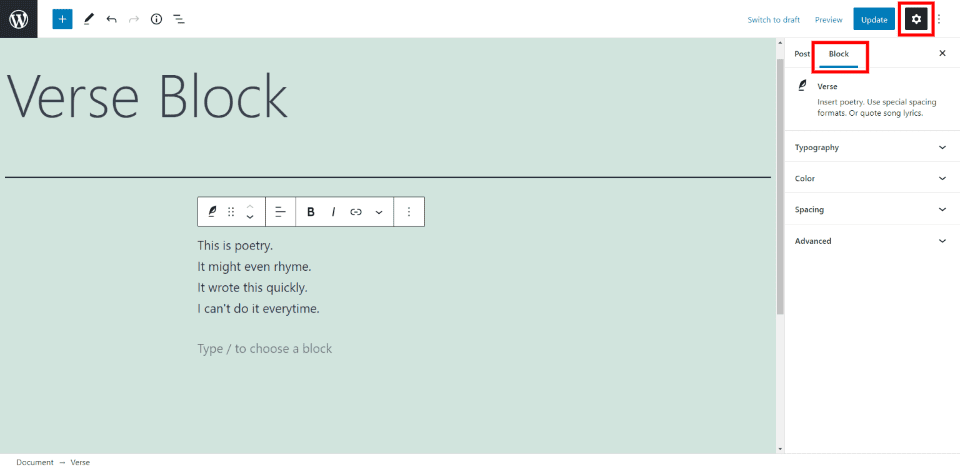
The Verse Block settings are placed in the right sidebar. If the sidebar is showing, then selecting the block will display the settings. If the sidebar is not showing, click on the gear icon and then select the block in the content area.
Typography
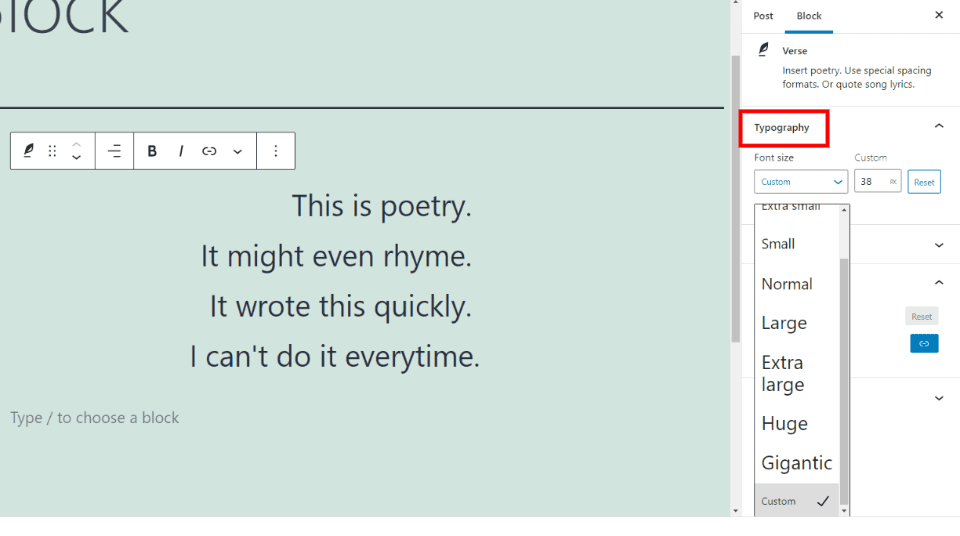
Typography lets you select the size of the font for the entire block from a dropdown box or enter a custom size.
Color
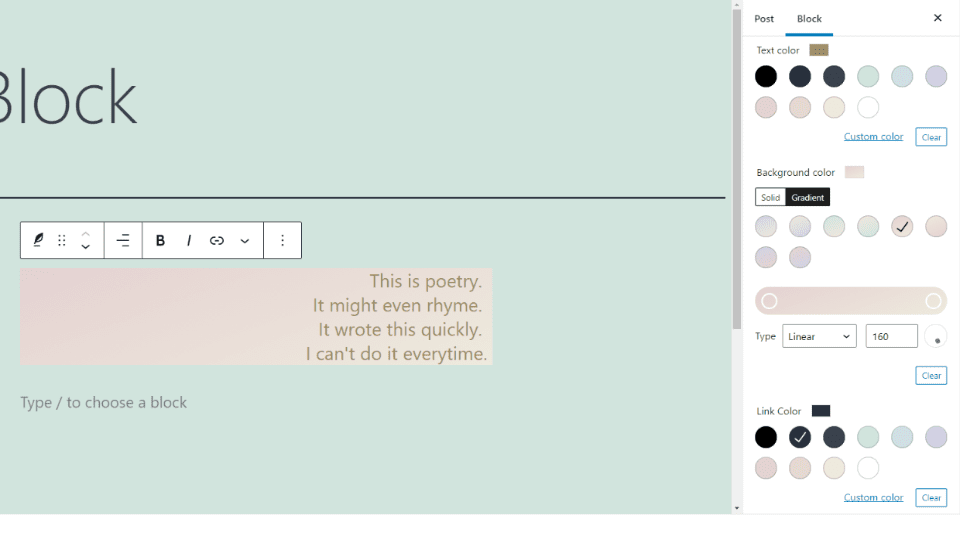
Color gives you control over the text and background colors of the Verse Block. Choose from pre-selected colors or select a custom color. Choose a solid color or create a gradient for the background. Set the gradient as linear or radial. You can also set the color for links.
Spacing
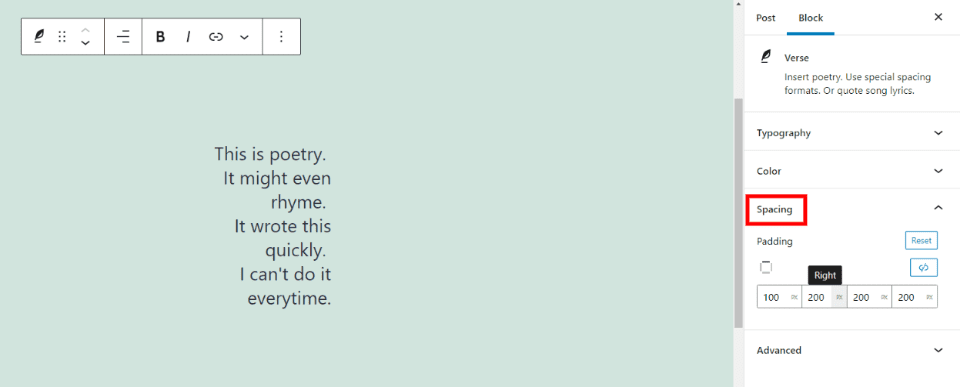
Spacing allows you to add space to all sides, or specific sides, of the Verse Block.
Advanced

Advanced includes an option for an HTML anchor and a field to add CSS classes. The anchor is a special web address just for the Verse Block. This lets you link directly to this block. The CSS classes field allows you to create custom CSS to style your block.
Tips and Best Practices for Using the Verse Block Effectively
Use it to show text differently from the standard text on your website. It’s also a great choice if you want to retain spaces in your content.
Use a Paragraph Block to create a title for the poem or song.
The styling for your Verse Block will match your theme by default. Style yours differently so it stands out from the rest of your website. Once you’ve styled it, add it to your reusable blocks so you can use it again.
To convert it to another type of block, you’ll need to convert it to a Paragraph Block first. Then, you can convert it to other types of blocks.
Frequently Asked Questions about the Verse Block
What’s the purpose of the Verse Block?
It is used to display text with multiple lines. This is ideal for poetry, song lyrics, etc.
What’s the difference between a Verse Block and a Paragraph Block?
It works similarly to the Paragraph Block, except that it retains your spacing and adds the text to the next line by hitting the enter key. The Paragraph Block requires you to hold the shift key when you hit enter.
Can it be used for anything besides poetry?
Yes. It’s ideal for poetry and song lyrics, but it can be used for any type of text that you want to divide into verse format. For example, you can also use it to present a list that isn’t bulleted or numbered.
Do you have to use it if you want poetry?
No. You can add poetry to the Paragraph Block by holding shift when you hit enter, but the Verse Block is pre-formatted which makes it easier to use quickly. Simply enter your text, hit enter, and continue typing on the next line.
Conclusion
That’s our look at the WordPress Verse Block. This is an excellent block for displaying poetry, song lyrics, or any other type of versified literature. It’s also useful for any type of text that you want to retain spaces or line breaks. It’s easy to use and can give your content some visual flair that’s difficult to get with a Paragraph Block. We highly recommend using this specialized WordPress block for all your poetic content.
We want to hear from you. Do you use the WordPress Verse Block? Let us know what you think about it in the comments.
Featured Image via ivector/ shutterstock.com
The post How to Use the WordPress Verse Block appeared first on Elegant Themes Blog.

