
Paint.NET is a free image and photo editing app for Windows. It was designed to have the look and feel of Microsoft Paint, an app that’s simple and intuitive, while providing advanced features of high-end graphics software such as layers and effects. It can be expanded through plugins.
Paint.NET started as a college design project that was mentored by Microsoft and is now maintained by Rick Brewster. It has a large online following with lots of support. If you’re looking for a free app with all the power of Photoshop, this app isn’t for you. But if you want a powerful and free app that’s simple to use and can do the majority of image editing tasks, then read on.
Paint.NET Features
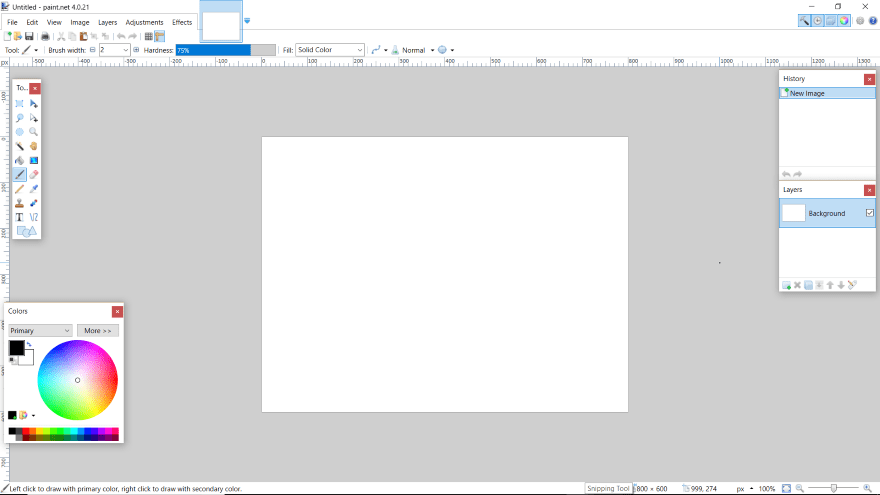
This is the workspace after the app loads. Each of the tools can be moved around or closed. The menu looks like a standard Windows app from before the Microsoft Ribbon design. File and Edit include the tools you’d expect. Edit adds a feature to paste into a new layer or new image.
View
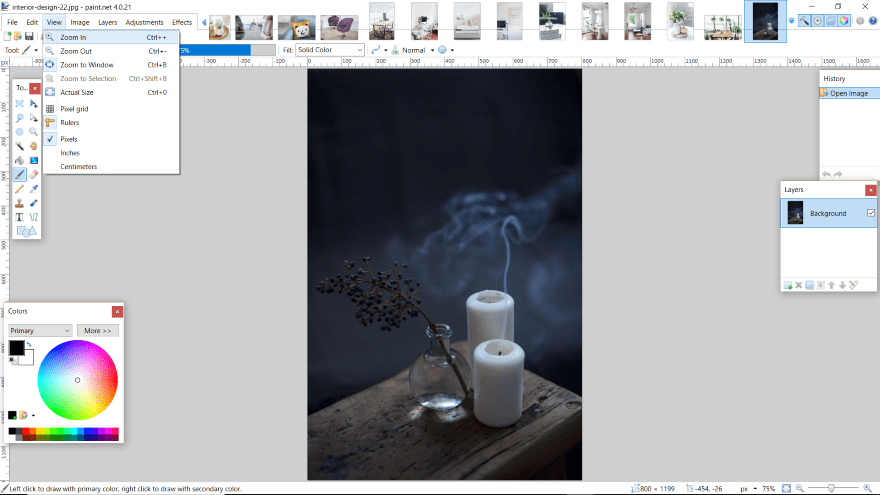
The View menu includes zoom, grid, rulers, and options. Here I’ve opened the image pack for the Interior Design layout pack.
Image
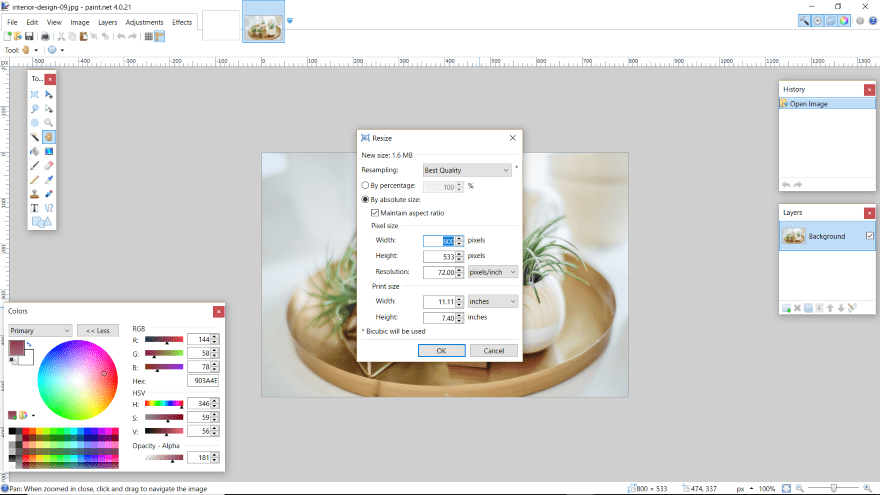
Image includes size and rotation options. The resize menu lets you resample the image for best quality, bicubic, bilinear, and nearest neighbor. Resize by percentage or enter a pixel size. Unfortunately, it doesn’t do batch resizing. You can copy the resize value to paste into the field, but batch resizing would be a better choice.
Layers
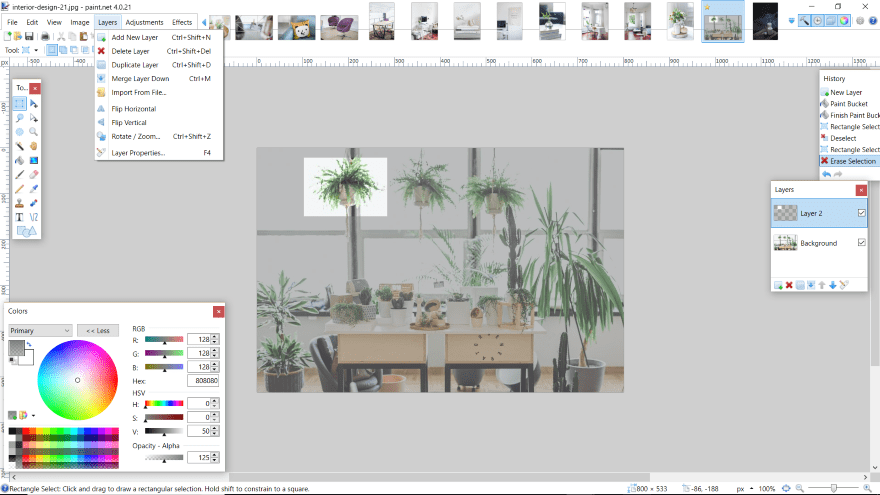
The Layers menu includes tools to add a new layer, duplicate a layer, merge, import, flip, rotate, zoom, etc. You can see the individual layers, move them, disable them, copy them, etc., in the layers tool to the right of the screen. You can add as many layers as you want.
I use this tool to create a gray overlay with 125 opacity as part of beautifying images for tutorials. I fill the layer with the color, select the portion of the screen I want to peek through, and delete the selected area of the layer (as seen in the image above).
Rather than deleting what I’ve selected, other options are available in the toolbar to replace, add, subtract, intersect, or invert. Layers can also be used to create masks.
Adjustments
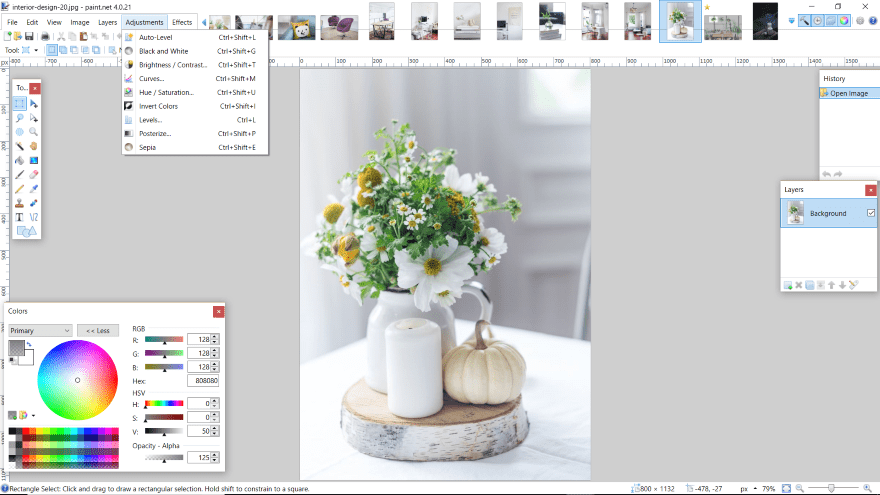
The Adjustments menu includes tools to adjust the images including auto-level, black and white, brightness, contrast, curves, hue, saturation, invert colors, levels, posterize, and sepia.
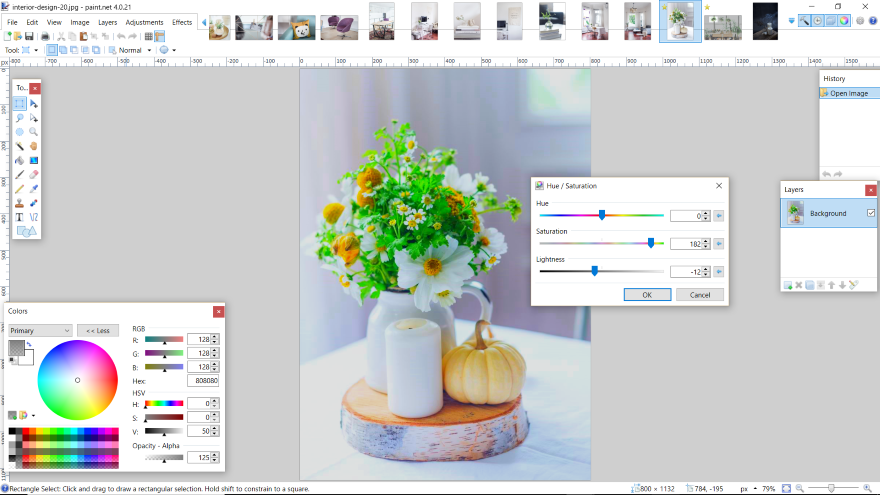
Here I’ve adjusted the saturation and lightness. If I click OK and then open this tool again it retains the settings. This is helpful when adjusting multiple images that need the same or similar adjustments. The same goes for most of the tools.
Effects
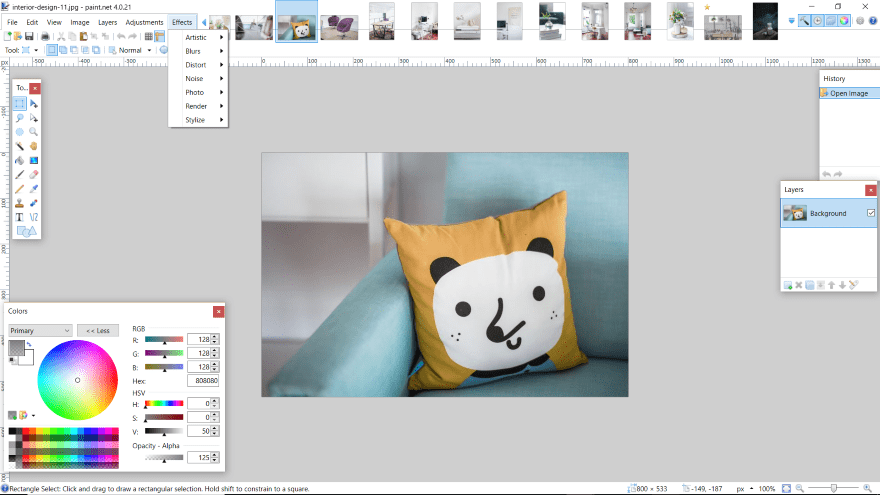
The Effects menu includes artistic, blurs, distortions, noise, photo, render, and stylize. Each has lots of options and features and are fully adjustable. They work on any portion of an image that you select. Each of the adjustments has multiple settings.
Artistic
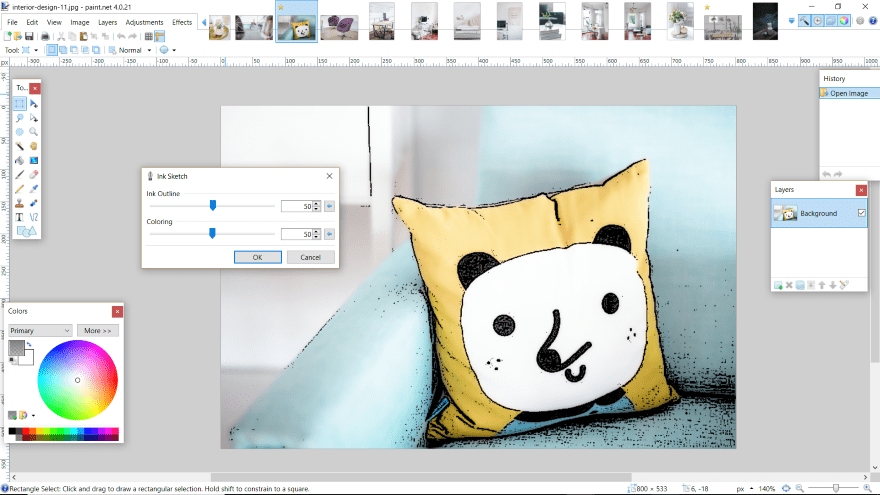
Artistic includes ink sketch, oil painting, and pencil sketch. Here’s the cute pillow made into an artistic ink sketch.
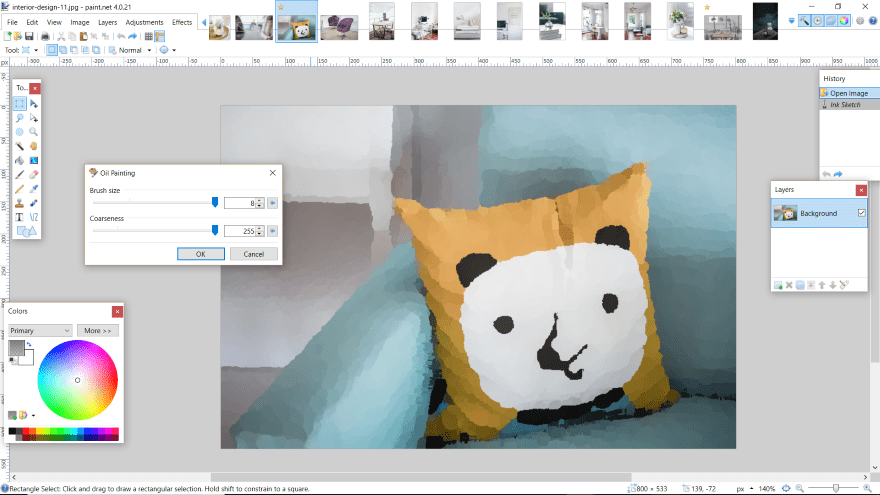
Here’s an artistic oil painting.
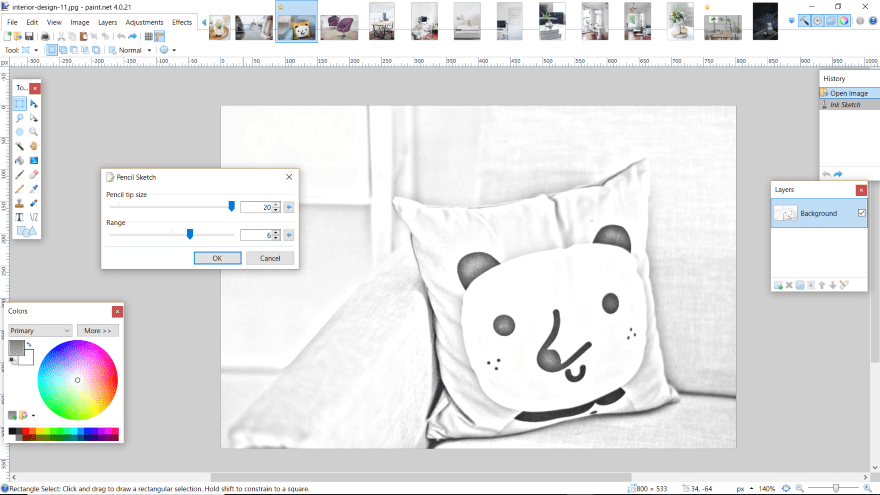
How about an artistic pencil sketch?
Blur
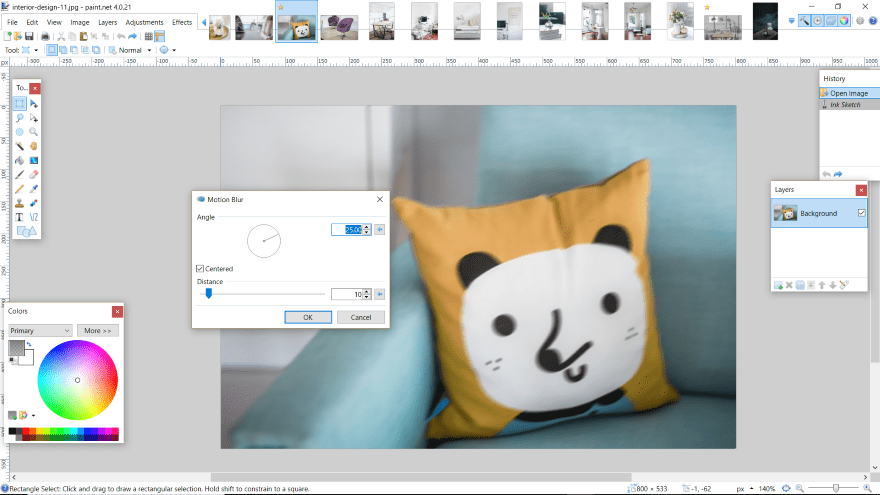
Blurs include fragment, Gaussian, motion, radial, surface, unfocus, and zoom. Here’s a motion blur.
Distort
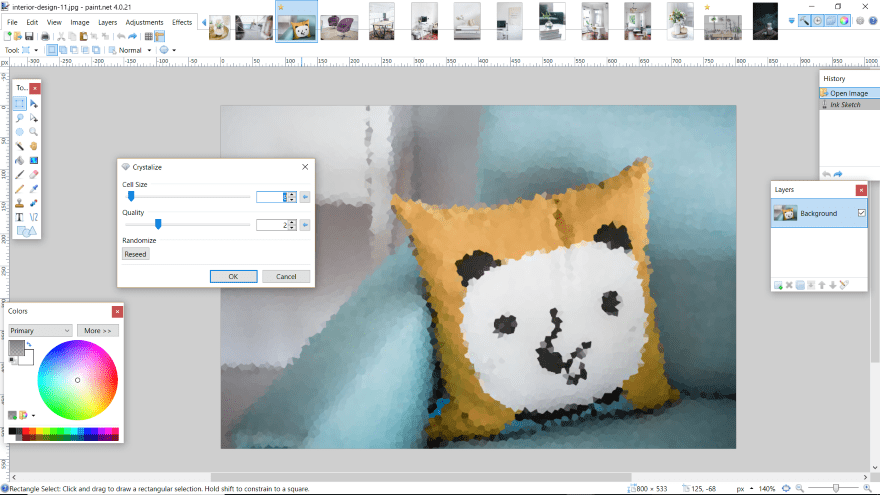
Distort includes bulge, crystalize, dents, frosted glass, pixelate, polar inversion, tile reflection, and twist. This one’s a crystalized distortion.
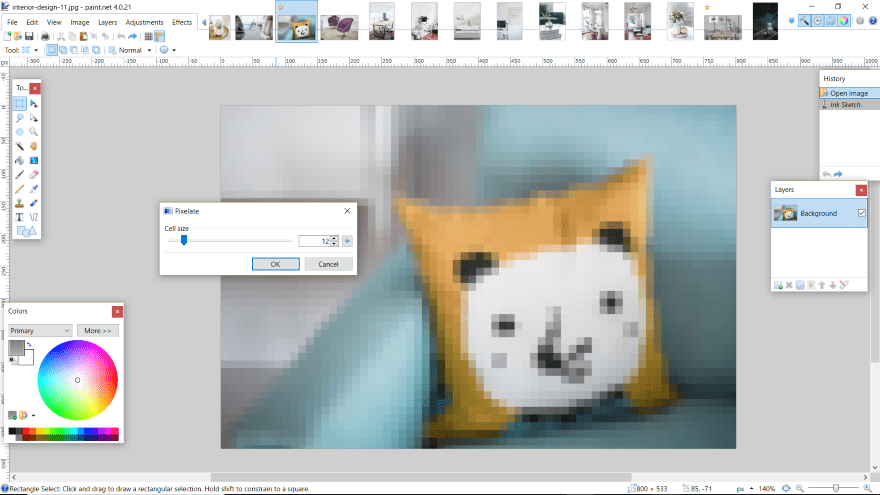
How about a pixelate distortion?
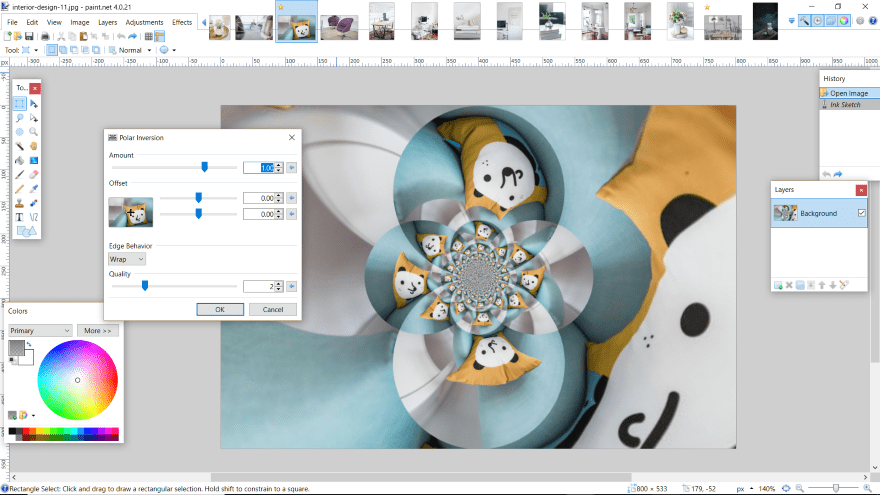
Or a polar inversion?
Noise
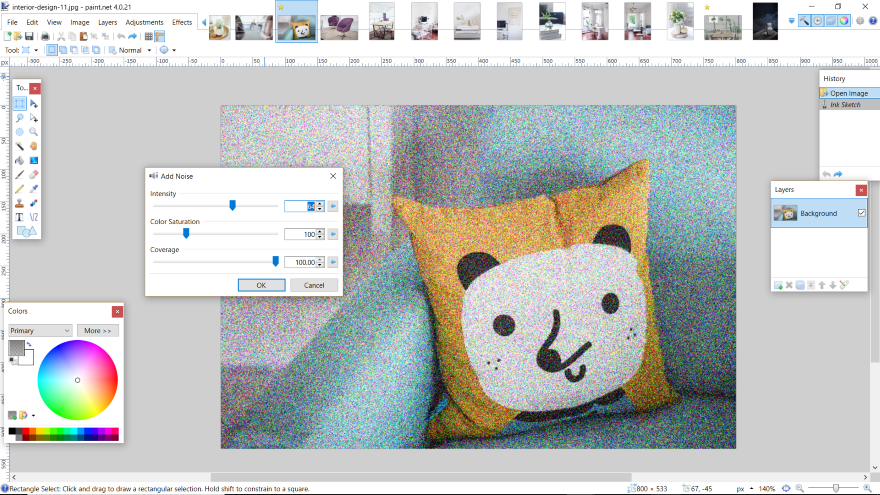
Noise includes add noise, median, and reduce noise. This one adds noise.
Photo
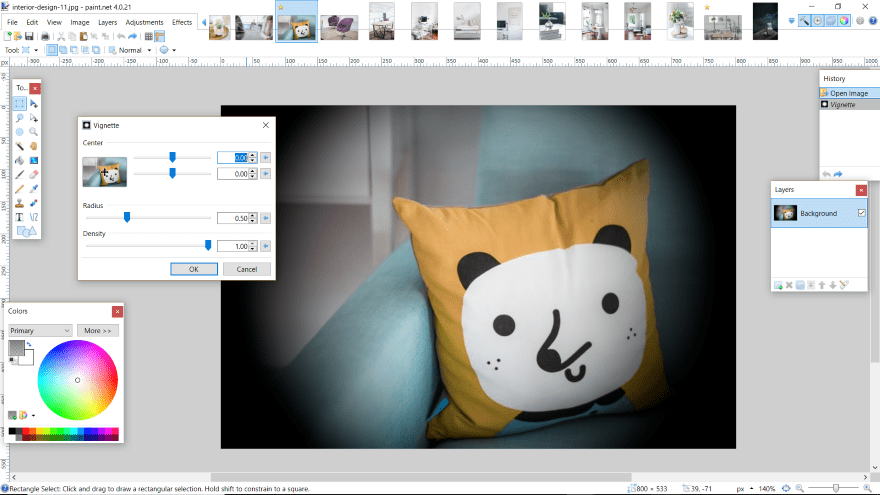
Photo options include glow, red-eye removal, sharpen, soft portrait, and vignette. This example is vignette.
Render
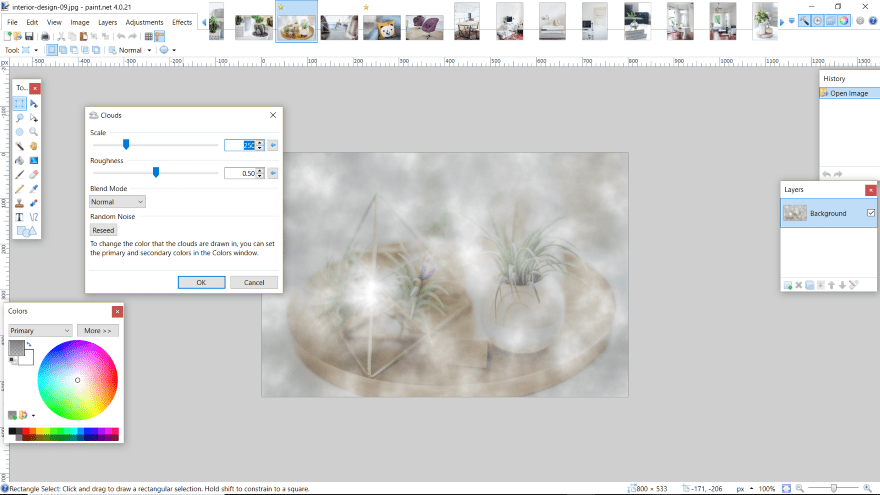
Render includes clouds, Julia fractal, and Mandelbrot fractal. This one is clouds.
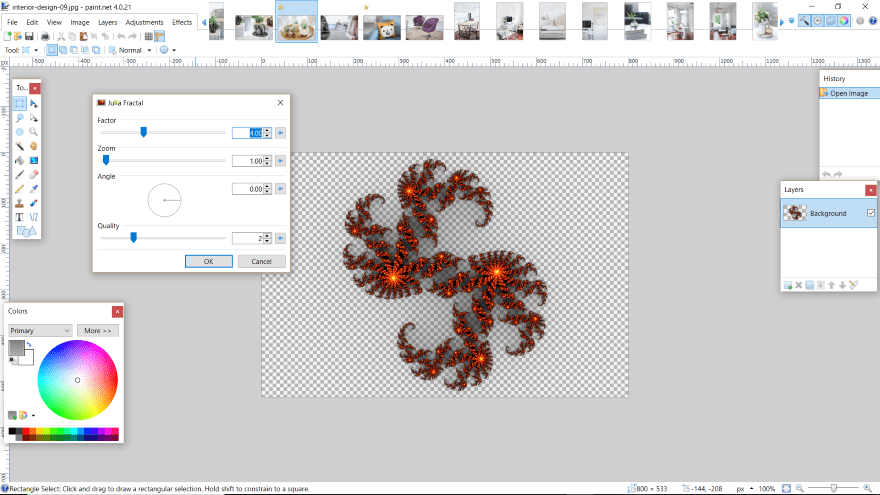
This one’s Julia fractal.
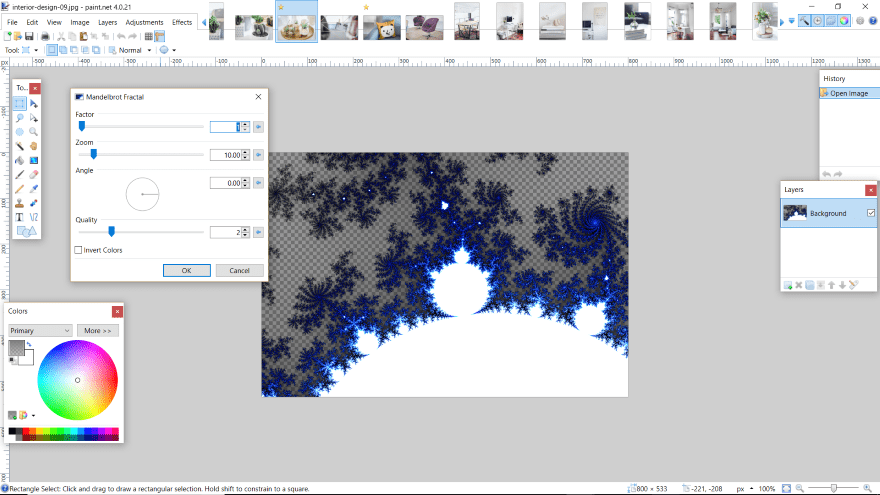
And here’s Mandelbrot fractal.
Stylize
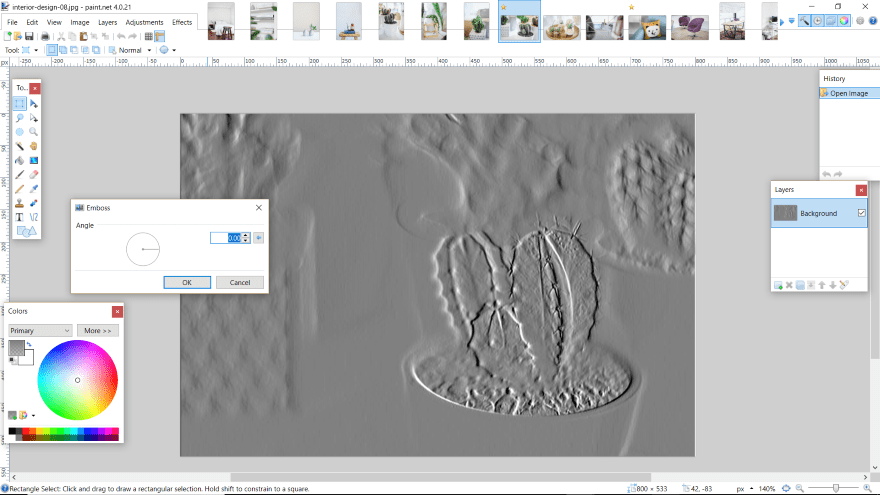
Stylize includes edge detect, emboss, outline, and relief. This one is emboss.
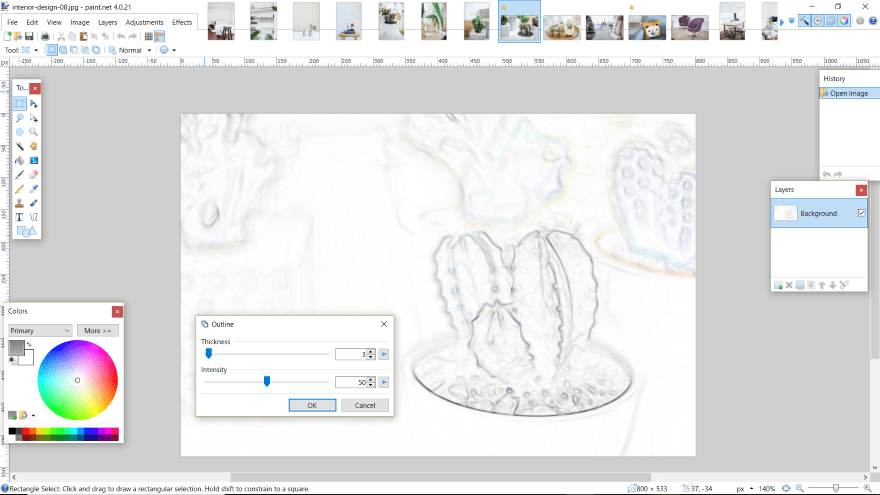
Here’s outline. This would be useful for creating a sketched look.
Tools
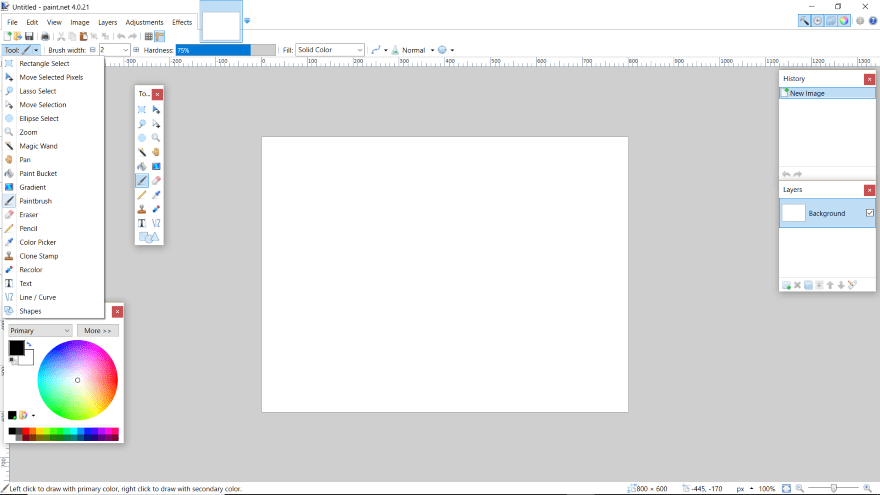
Tools include the typical selecting tools such as rectangle, lasso, ellipse, and magic wand. It also includes a paint bucket, gradient, paint brush, eraser, pencil, color picker, recolor, text, shapes, pan, gradient, line/curve, etc. You can choose your tools from a dropdown or from the floating toolbox.
Select Tools
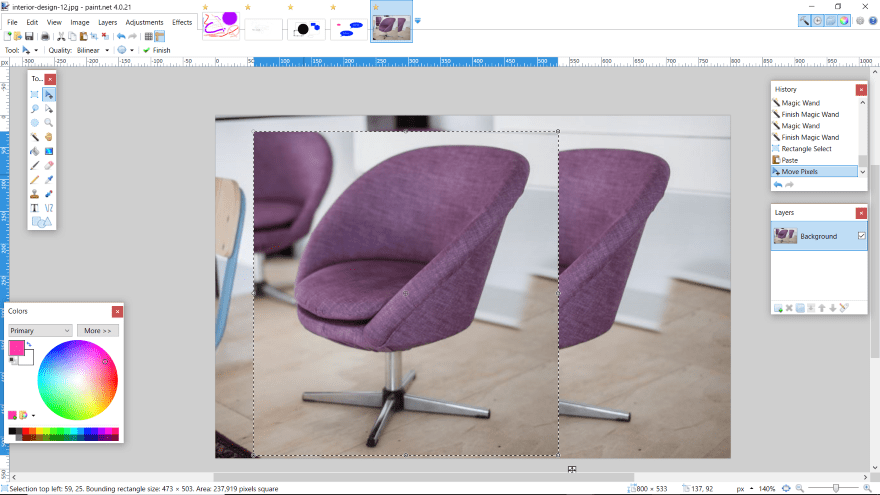
In this example I’m using the rectangle selection tool. I’ve copied a portion of the image and pasted it into a different location. Select anything to make a copy using the select tools. Paste it anywhere, move it around. Stretch, resize, recolor, etc. You can also move selected pixels.
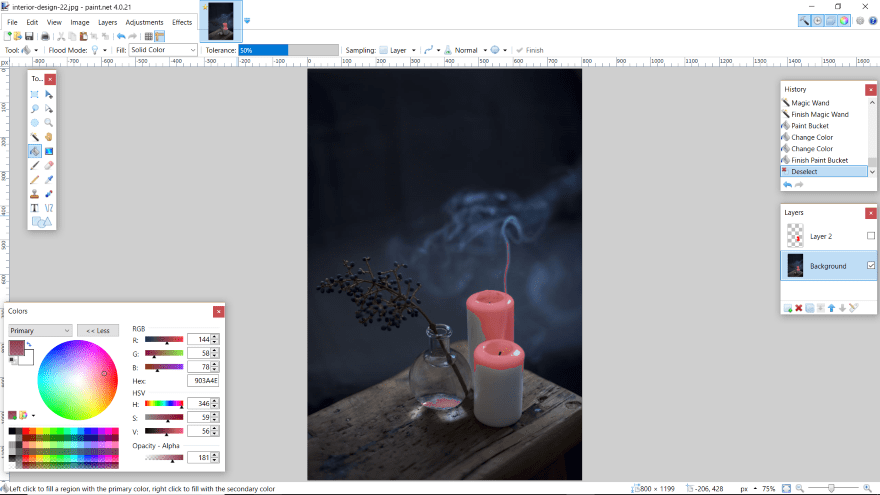
Here’s an example of selecting using the magic wand. I selected portions of the candles and added some red with enough opacity to make it look like it blends with the wax. I also selected the bottom of the vase and added a darker shade of red to make it look like a little bit of its content is still in the bottom.
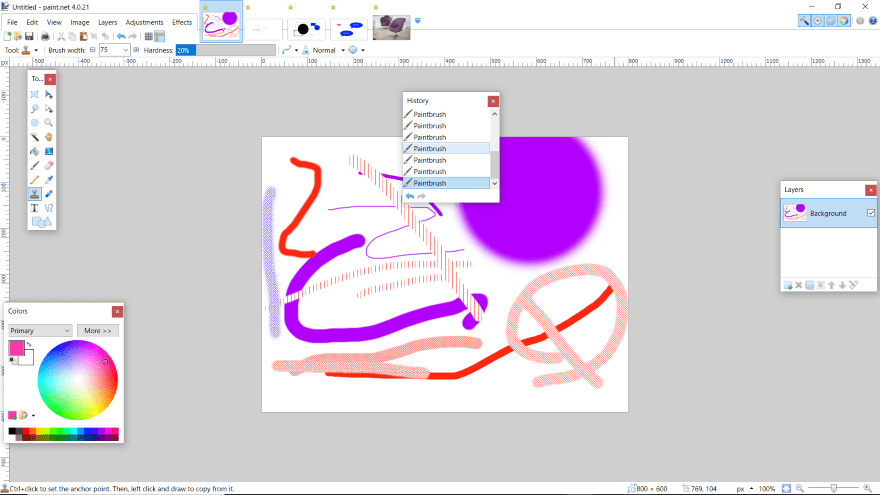
Brushes

Brush widths go from 1-2000 and you can set the hardness to any percentage you want. It has dozens of fill effects (brushes). It’s limited with its brushes, but you can install lots more brushes with plugins. It has 15 blend modes which includes dodge, burn, multiply, overlay, and more. It also has 2 selection clipping modes.
Pencils and Text
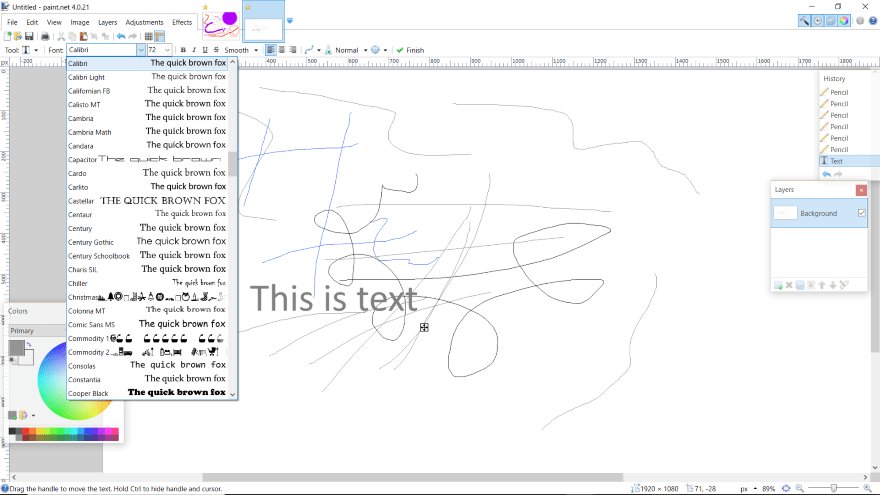
Pencil only has one tip but you can choose colors and gradients to help you mimic the various types of pencils. You can also add text, which includes lots of fonts and modes.
Shapes
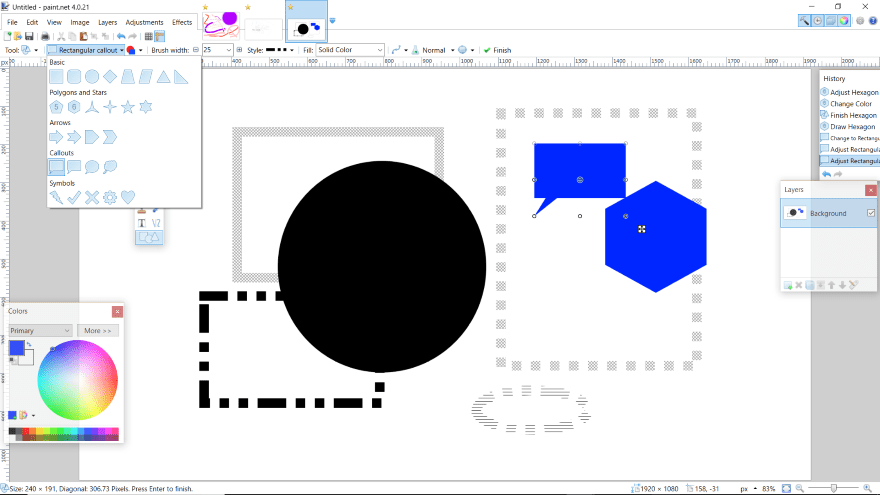
Create 27 different shapes, choose the style, colors, sizes, etc. Stretch them, drag them in any direction, etc.
Clone Tool
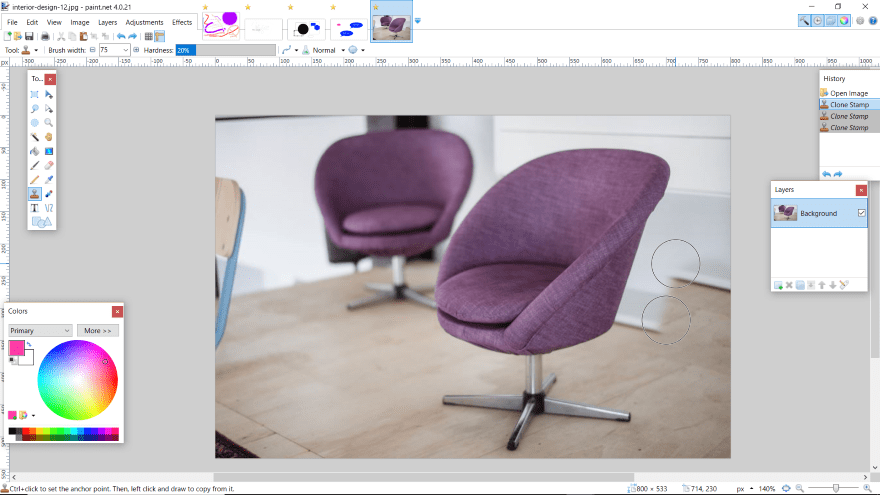
The clone tool lets you choose a portion of the image to clone and then you can paint the image with the cloned area. In this image I’ve cloned the floor and I’m using this to move the wall back a few feet on the right side.
History
It has unlimited history, so you can go back through every step and undo or redo to every point.
File Types and Quality Settings
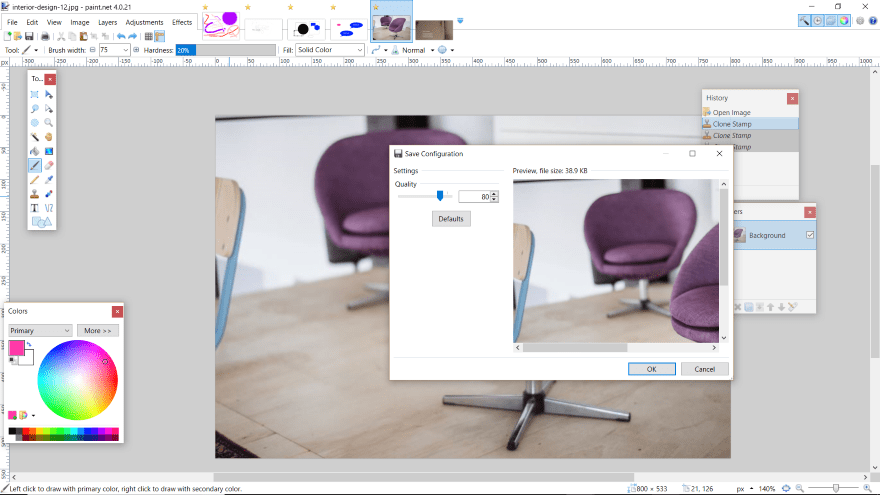
Save as paint.net, BMP, JPEG, PNG, TIFF, TGA, or DirectDraw Surface. When you save, you have quality adjustments, which will vary depending on the file-type you choose. This example is a JPEG. It provides a preview so you’ll know if you like the quality. It provides you the file size too, which is great for making decisions about your image quality.
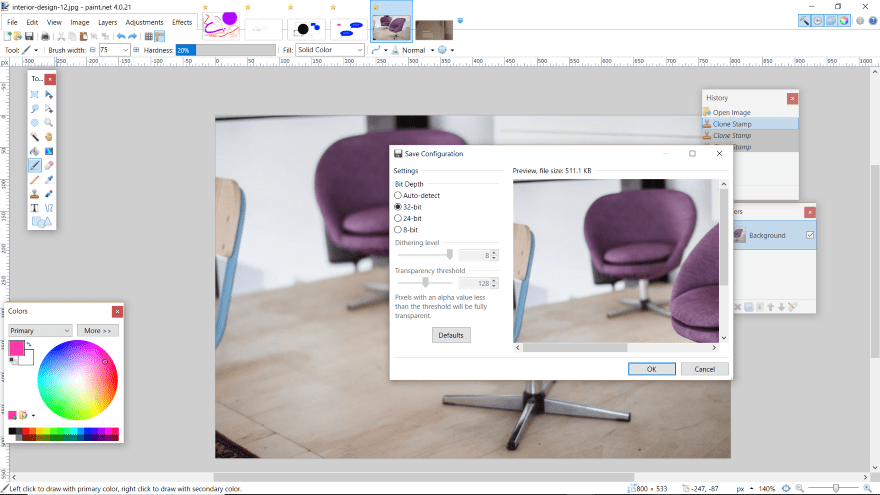
Here are the settings for saving as a PNG. I can choose the bit depth. If I choose 8-bit I can set the dithering level and transparency threshold.
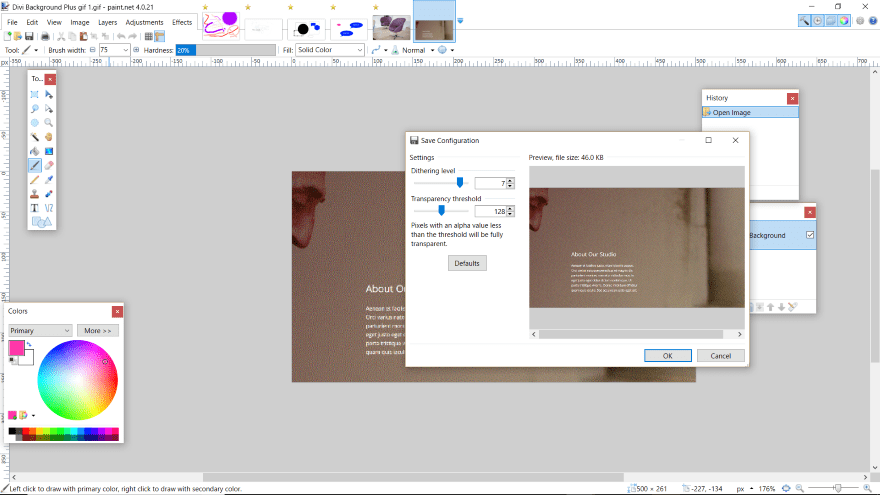
Here are the adjustments for a GIF. I’ve found GIF’s difficult to deal with because it doesn’t show the animation. It will open and save them though.
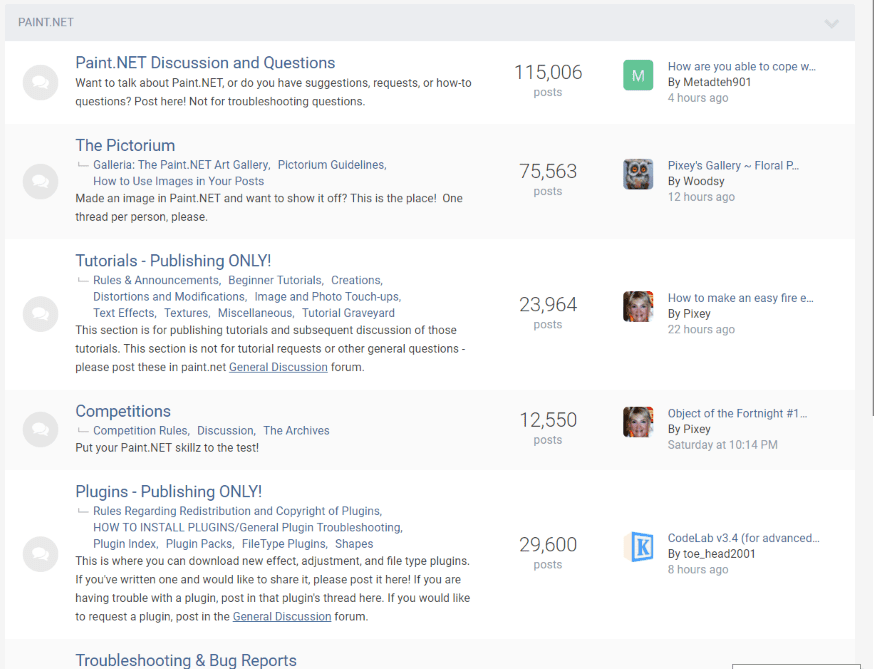
Plugins
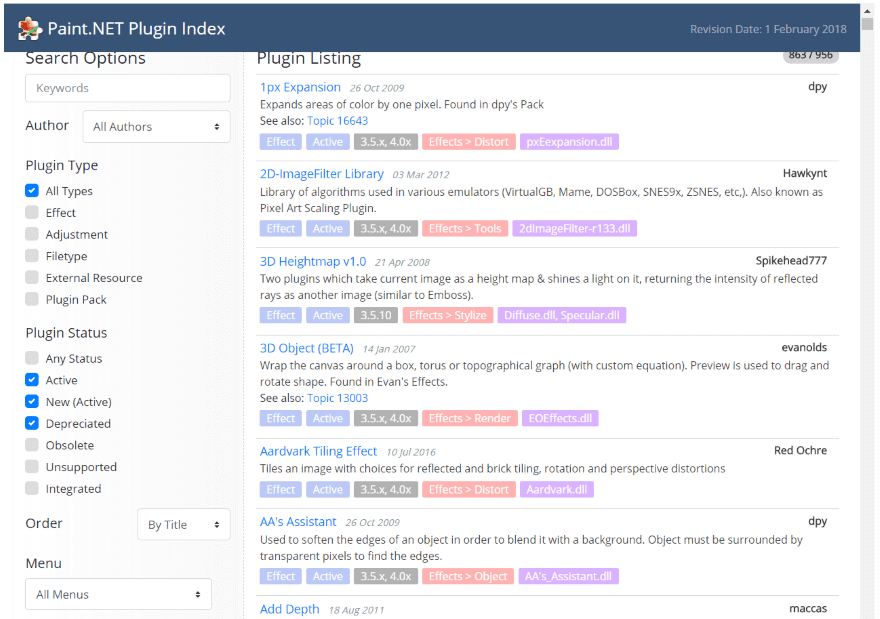
Paint.NET can be expanded with plugins. There are almost 1000 free plugins (over 800 active) available in the plugin index in the forum. You can add masking, liquify, brushes, more blend modes, more selection tools, transforming tools, pens, and lots more. Plugins are installed manually. The plugin index includes step-by-step instructions. It isn’t difficult, but it isn’t robust like WordPress.
Documentation and Download
Documentation is provided at the website and is accessible through the help button in the upper right of the screen in the Paint.NET app. The website also includes a forum and lots of tutorials. Here you can access the plugins. You can keep up with news at the Paint.NET blog.
DOWNLOAD – You can download it for free from the publisher’s website: GetPaint.NET
Pinta – A Paint.NET Alternative
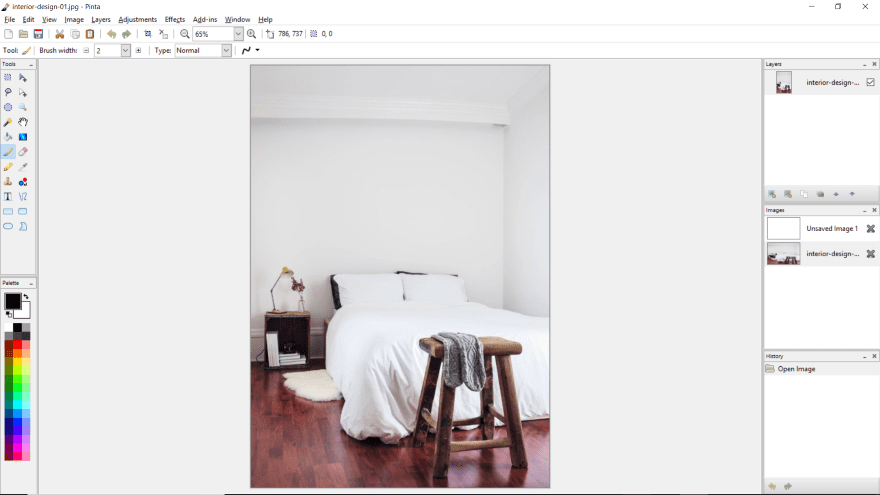
An alternative, which was inspired by Paint.NET, is an app called Pinta. It’s available for Windows, Mac, and Linux, and is also free. It doesn’t have the community that Paint.NET has, but it includes a lot of the same features (its code adjustment and effect filters actually came from Paint.NET) and is also worth considering – especially if you’re a Mac or Linux user and want something like Paint.NET.
Ending Thoughts
I don’t consider Paint.NET to be a Photoshop replacement for high-end graphics designers, but for those Windows users who just need some good photo editing tools that goes beyond brightness, cropping, and resizing, while adding tools such as brushes, layers, blending modes, and cloning, this might be all you need.
Paint.NET is lightweight and fast. I’ve used it for basic image editing for several years now and I’m pleased with its performance. In fact, the majority of the images you’ve seen in my articles have been edited with Paint.NET. I use it on a laptop (an Asus i7 with GeForce 940M) and often have 30 or more images open with no problems.
My favorite aspects of Paint.NET is how easy it is to use and the amount of features it has. It has a small learning curve, making it a great choice for drawing and for editing images without feeling like you need to take a class. The essentials for most needs are here and you can add more features with close to 1000 free plugins. Not bad for free.
We want to hear from you. Have you tried Paint.NET? Let us know about your experience in the comments.
Featured Image via MatiasDelCarmine / shutterstock.com
The post Paint.NET: A Free and Simple Photoshop Alternative for Windows appeared first on Elegant Themes Blog.