Flat design is great, but 3D elements take web design layouts to a new level. Websites with animated 3D graphics and interactive 3D scenes are becoming more mainstream than ever before. Clients now want those types of designs on their websites and they will ask you for them. Learning how to incorporate 3D design into your web design projects will only improve your career path and get you more clients. Thankfully, resources like Three.js are easily available for Divi designers and developers to add custom 3D elements to their websites.
In this post, we’ll look at the basics of Three.js and why it’s a good choice for adding 3D elements to your websites. Yes, even your Divi websites. To get started with Three.js, you will need some coding knowledge, specifically HTML, CSS, and Javascript. If you are still learning how to code, follow the step by step tutorial on the Three.js website from the very start. If the terminology of where to add the code is new to you, there are plenty of tutorials available to walk you through the technical steps. I suggest you watch some videos, maybe take a course in Skillshare or Udemy to really get a feel of how to incorporate the Three.js library into your designs.
Let’s get to it.
What is Three.js
First of all, what is Three.js?
Three.js is a javascript 3D library that provides , , CSS3D, and WebGL renderers. It brings 3D designs to your browser without the need of a plugin. The library can help you create simple 3D elements, complex 3D interactions, and creative animated games. Three.js is an open-source library with a Github repository where users can share their own Three.js creations.
Of all the renderers that Three.js covers, the most commonly used is WebGL. Creating 3D elements with WebGL alone needs lots of lines of code and plenty of mathematical knowledge. Three.js makes it much easier to create a scene and render it with WebGL.
Understanding a 3D Scene and Three.js Terminology
To create a 3D animation with Three.js, first you must understand how a 3D scene is set up. The three elements necessary to build a 3D setting are the following:
- The scene
- The camera
- The renderer
The scene is where you set up all the 3D elements that Three.js will display. Visually it resembles a theater stage or a television set. the camera is the point of view of the scene and how a human would technically see the elements on the scene. The renderer puts it all together and draws the scene. If you are fluent in 3D animation, then you surely recognize this as a standard for setting up a scene.
Once the scene is set up, objects are placed in it. Objects are built in three steps:
- The geometry
- The material
- The mesh
The geometry of an object is the skeleton or basic outline of a shape. To give the geometry a color or texture, the material is applied. The combination of the geometry and the material is called a mesh.
The Three.js library already has lots of basic geometries for you to use. There is no need to build them from scratch. You just have to call them from the library into your code and then customize them. Apart from using hex codes for colors as the material, you can create textures with images or find them in texture libraries.
After the scene is set up and geometries are added, you add functions to light the scene, animate the objects and lots more. Apart from the basic objects available in the Three.js library, you can also upload other 3D images from online libraries or ones you create on Blender.
Getting Started With Three.js
It couldn’t be easier to get comfortable with Three.js. The Three.js website has all the documentation you need to understand how the library works and how you can use it.
In the Three.js website and on their Github, you will find a live version of the code for the simplest Three.js application. They use JSFiddle but you can also see it working on CodePen or Codesandbox.io
I suggest you follow the steps in the Three.js website to really understand how it all works. Either with Codepen, your Terminal or preferred coding software. The entire Three.js library is available on the Threejs.org website to use once you have set your scene and started noticing what can be done. Below you can see the basic Three.js application working on JSFiddle. Click on “Edit with JSFiddle” to play with the code.
Three.js Learning Resources
Since Three.js is an open-source API, there are always things happening on their GitHub repository. Meaning there are always lots of new things to learn. Thankfully, they have created a digital manual that is constantly updated for changes. You can find it at discoverthreejs.com. This is by far the best resource out there. If you need a step by step tutorial on how to set up the application and use the library assets, here is a great course on Skillshare that takes you through all the steps in the Three.js documentation.
Likewise, this YouTube tutorial shows you the basics of setting up a scene with Three.js but does expect you to know basic web development skills.
If you’d like to take a deep dive into Three.js and WebGL, this Udemy course explains it all and promises to have you fluent in creating 3D content by the end of it.
Looking for a nitty-gritty, quick and dirty tutorial? This step by step code tutorial on CreativeBloq is just what you need.
Three.js Examples
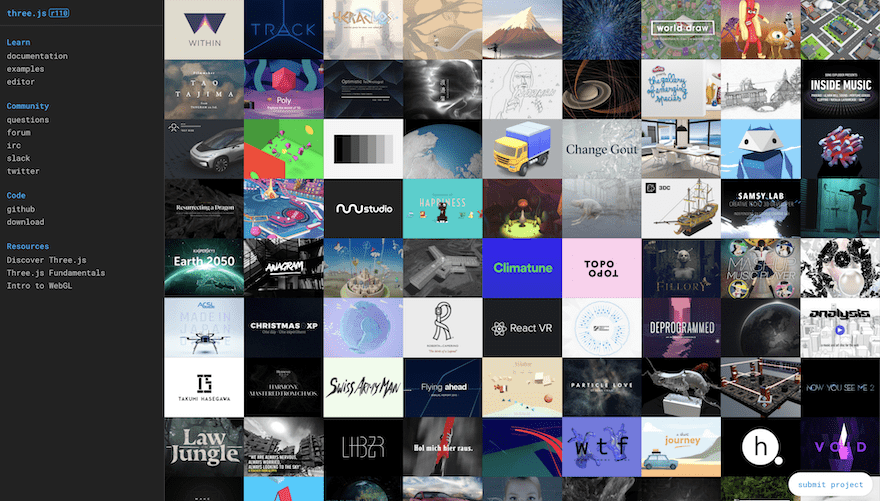
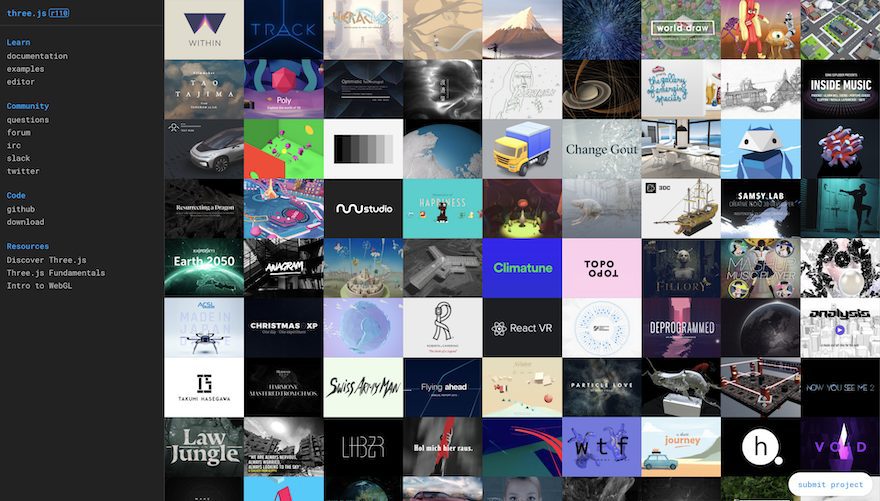
There’s nothing better than some inspiration to start designing your own 3D designs with Three.js. To see some pretty incredible Three.js creations, just go their website and explore away.

Using Three.js With Divi
Using Three.js with Divi is quite simple. You just need to add the javascript library to your project files and add it to your HTML. To add an application to any Divi layout, first create the 3D design separately on your favorite coding software or your computer’s terminal. When the build is ready, copy the javascript into a code module. Make sure you use opening and closing tags.
Conclusion
Three.js is a powerful resource for adding 3D elements to a website. In this post, we looked at the bare basics of how Three.js works. There is so much to the API that you really have to dive deep and experiment. The possibilities are truly endless. From a simple rotating cube to a complex interactive game inside a rich digital world. What will you create with Three.js?
Featured Image via theromb / shutterstock.com
The post Using Three.js to Add 3D Elements to your Websites appeared first on Elegant Themes Blog.

